
09-10-2015, 05:53 AM
|
|
Junior Rocketeer
|
|
Join Date: Aug 2015
Posts: 16
|
|

Let me preface this post by saying that one of the pictures is out of sequence but I think the reader can get the idea nonetheless. I cut and sanded the balsa strips used for the two conduits on the main body tube of the Patriot. As per the instructions, I wrapped some medium grit sand paper around the body tube and ran the conduit strip across it until the strip conformed to the contour of the body tube. This takes some patience and you need to be sure that you are applying even pressure along the conduit as you sand it across the tube/paper. I then glued the conduit pieces to the main body tube using carpenter's glue, applied a weight or two and set it aside to cure.
[IMG] 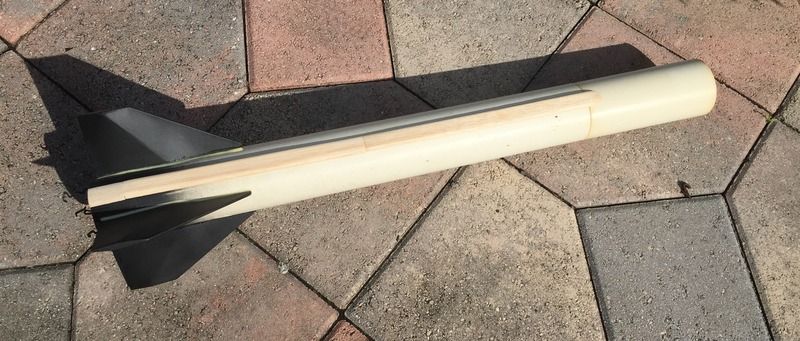 [/IMG] [IMG]  [/IMG] [IMG] 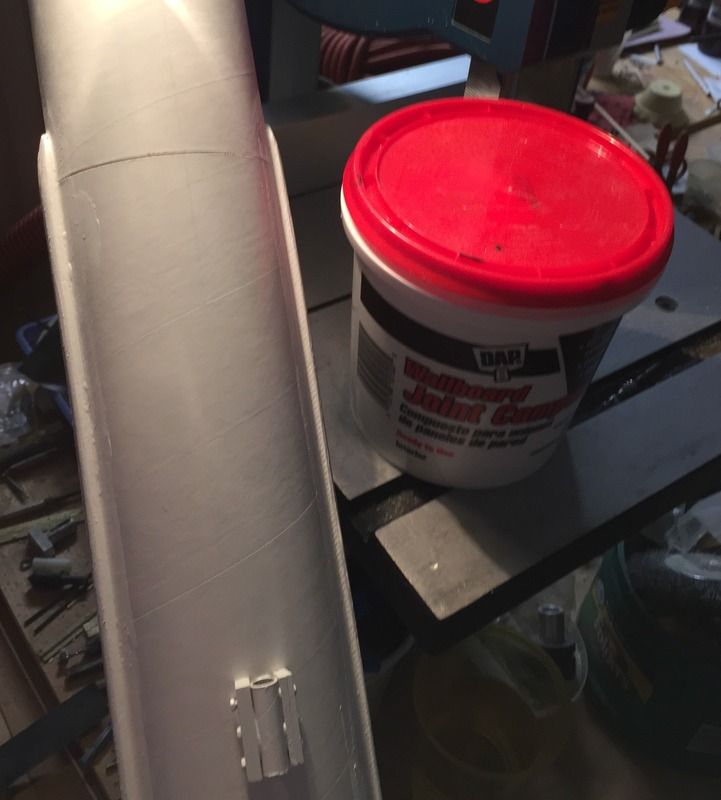 [/IMG]Once the conduit had dried, I applied drywall mud to the seams and to the sides in order to fill the gaps between the conduit and the main body tube. The drywall paste dries fast and sands easily and did a nice job of improving the overall look of the conduit. I also applied the drywall compound to the seams between the upper and lower body tubes before applying the white base coat.

|

 [/IMG] [IMG]
 [/IMG] [IMG]
 [/IMG]After the paint had dried, I noticed one or two imperfections in the fin fillets and applied more epoxy to smooth things out. Now, its time to focus on the conduits.
 [/IMG] [IMG]
 [/IMG] [IMG]
 [/IMG]Once the conduit had dried, I applied drywall mud to the seams and to the sides in order to fill the gaps between the conduit and the main body tube. The drywall paste dries fast and sands easily and did a nice job of improving the overall look of the conduit. I also applied the drywall compound to the seams between the upper and lower body tubes before applying the white base coat.


 Linear Mode

