
 |
|
#1
|
|||
|
|||
|
The Estes Patriot Missile kit has always appealed to me due in part to its large size and the fact that it is a multi engine rocket. In the past, I generally build TLP rockets since they are fairly scale in appearance and/or based on actual missiles past or present. This particular kit has been sitting on a shelf in my workshop for several years until I finally broke down and decided to take a shot at putting it together. its been a while since I have done any rocket kit building so I may still be a bit rusty.
[IMG] 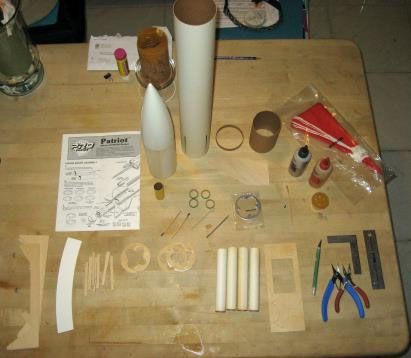 [/IMG] [/IMG] After a careful inventory of all the materials and fittings it was time to begin work on the motor mount. The instruction booklet appears fairly concise and the parts are neatly bagged and easy to locate. I generally use a fast curing two part epoxy, carpenters glue, micro balloons for fillets, a Dremel stylus, Xacto knife etc. for most of the assembly. |
|
#2
|
|||
|
|||
|
The motor mount assembly consists of four tubes secured by plywood formers and a metal baseplate secured to one end of the assembly. The MM also serves to anchor the four Patriot fins providing a really solid mounting surface. This particular feature removes a lot of the guesswork regarding the location and measurement of the rocket fins.
[IMG] 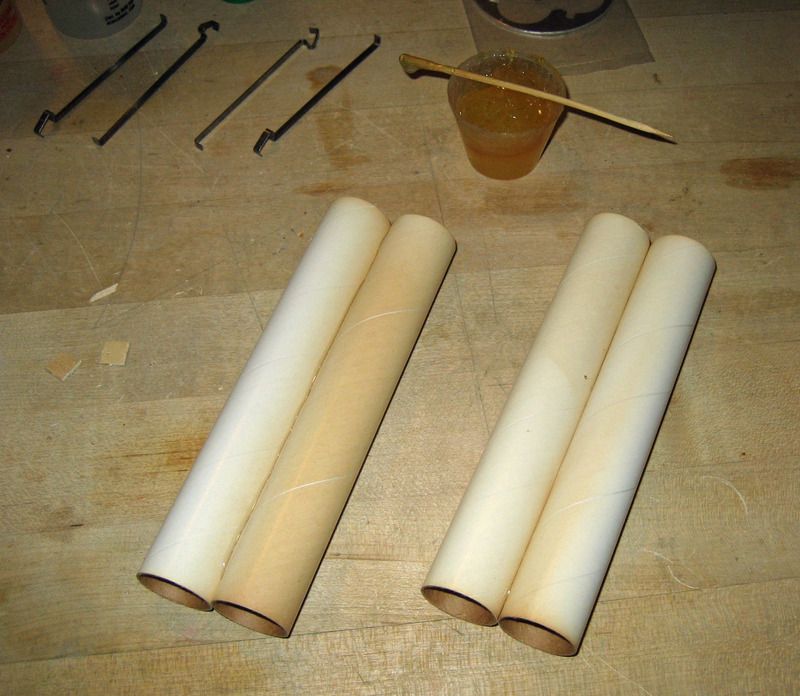 [/IMG] [/IMG] [IMG] 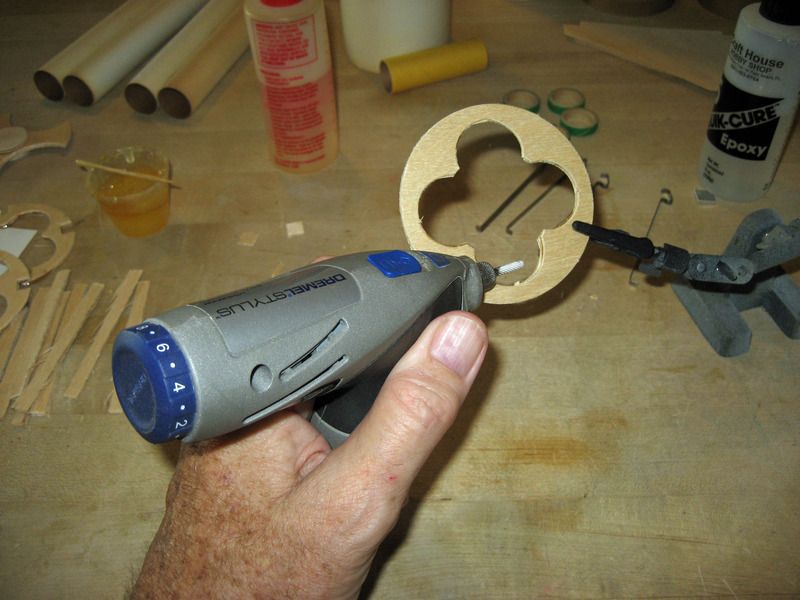 [/IMG] [/IMG] [IMG] 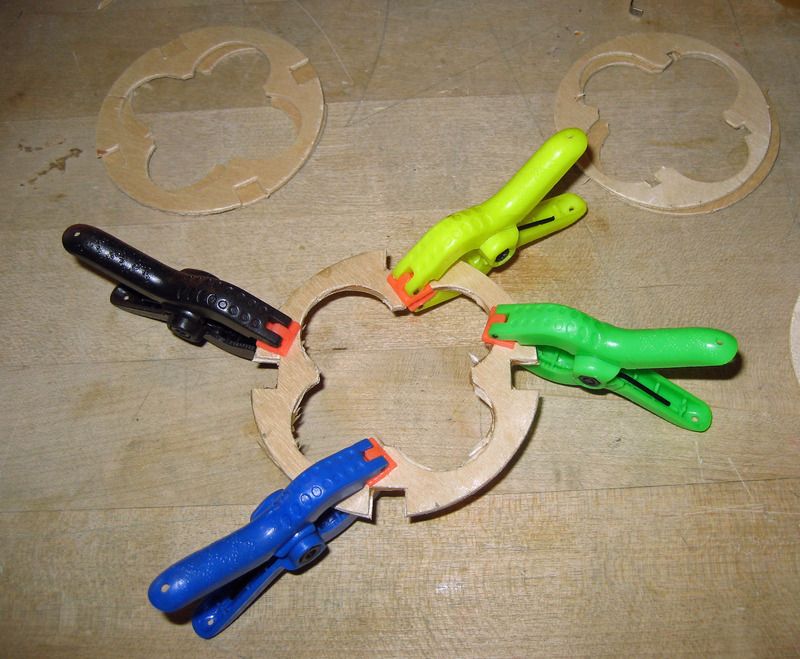 [/IMG] [/IMG] [IMG] 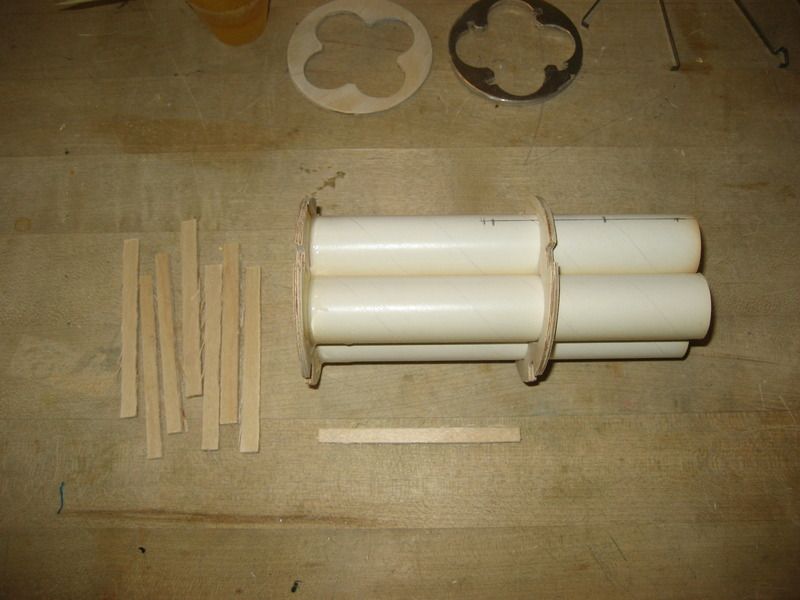 [/IMG] [/IMG] The MM tubes are glued together using carpenter's glue and while they were drying I took the opportunity to clean up the plywood formers using the Dremel Stylus. These will be epoxied together using two part epoxy and then text fit with the body tubes. The tubes were measured and cut for the motor mount clips before gluing the formers into place. |
|
#3
|
|||
|
|||
|
I forgot to mention that I added the four rings and engine clips inside each motor mount to keep the D motors firmly in place. The 1/4 inch plywood strips were added to the slotted formers which will serve to anchor the rocket fins to the motor mount. Once again, two part epoxy was used which provides for a really strong, solid bond. The metal former was the last piece to be secured to the MM. I put it aside to cure overnight.
[IMG] 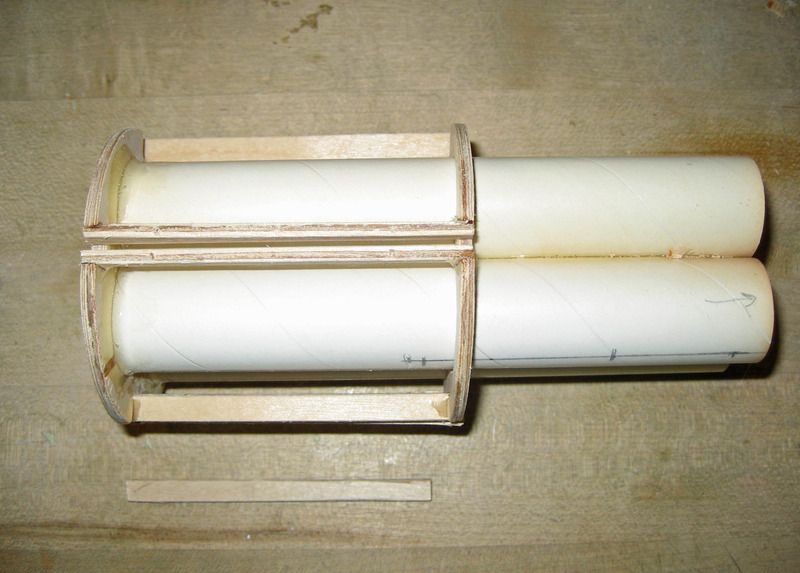 [/IMG] [/IMG] [IMG] 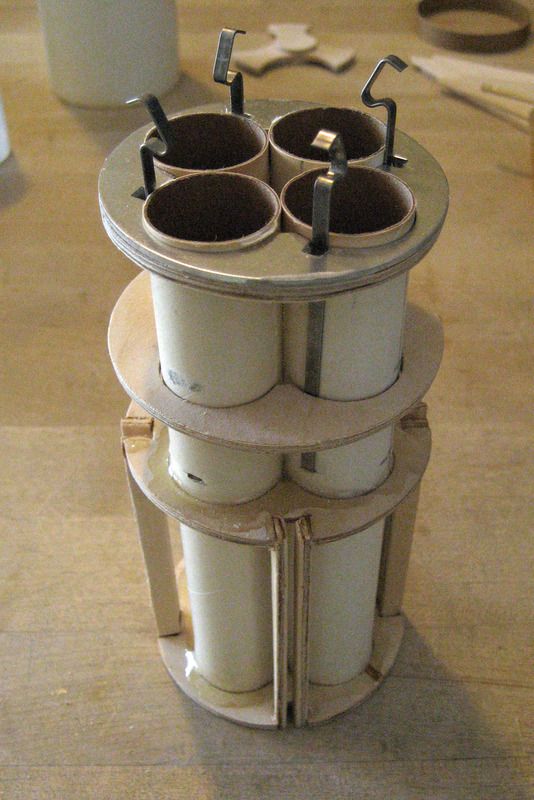 [/IMG] [/IMG] [IMG] 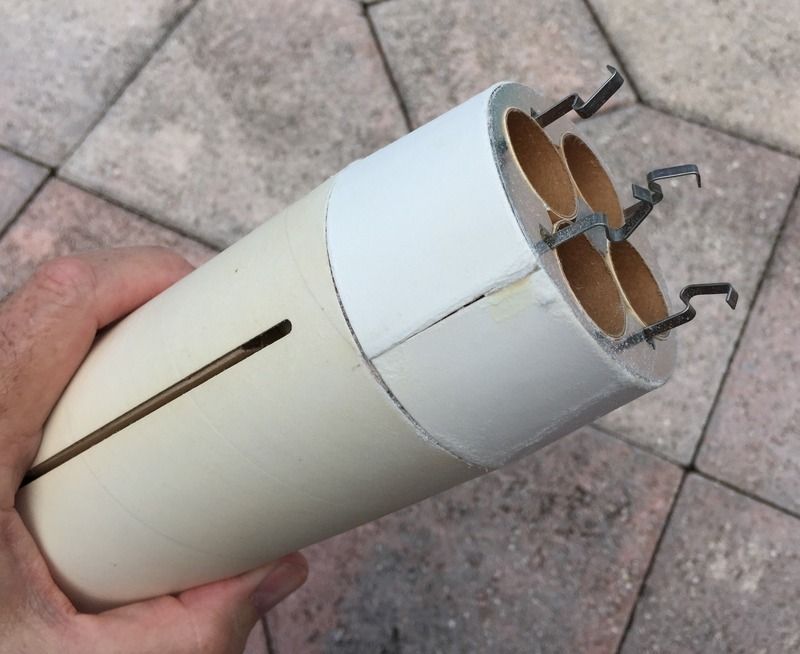 [/IMG] [/IMG] Once the MM assembly is fully cured, I lightly sanded the formers and mounting slots for the fins to make sure that everything fit smoothly before permanently gluing the MM into the main fuselage using two part epoxy. I cut out the tail cone shroud from the card stock provided in the kit and carefully glued this into place using carpenter's glue. I |
|
#4
|
|||
|
|||
|
After gluing the tail cone shroud in place I decided to smooth out the edges and imperfections in the shroud. Coating it with thin CA helped to strengthen it but the obvious seams did not look good. I applied glazing putty and black primer before the tail cone finally looked decent (I think).
[IMG] 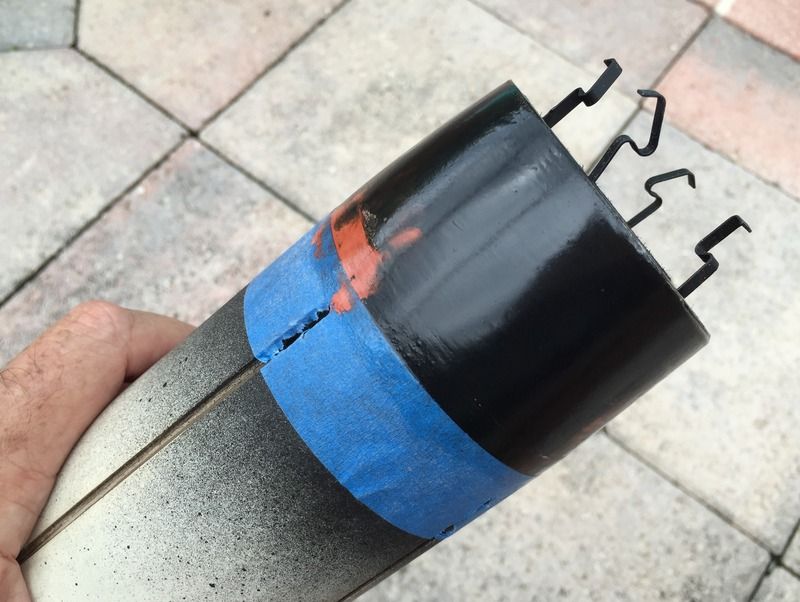 [/IMG] [IMG] [/IMG] [IMG]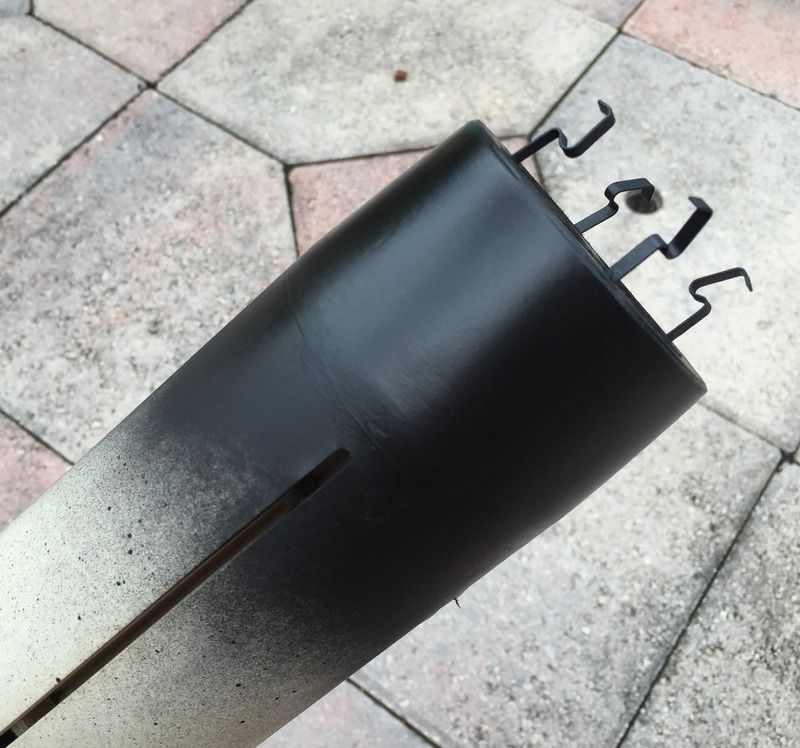 [/IMG] [/IMG] |
|
#5
|
|||
|
|||
|
Next on my list was the assembly of the Patriot fins which feature balsa ribbing with a cardstock veneer. I tend to be somewhat of a klutz with this particular design and decided to deviate from the instructions a bit in putting these fins together.
Once I had glued the cardstock in place, I reinforced it with thin CA glue and set them aside to dry. Next, I added a layer of 3/4oz fiberglass cloth from Thayercraft and coated each side with polycyrlic sealant. I sanded each surface with a fine grit sanding block and then added a few more coats of the sealant. This not only strengthens the rocket fins but provides a smooth finish as well. [IMG] 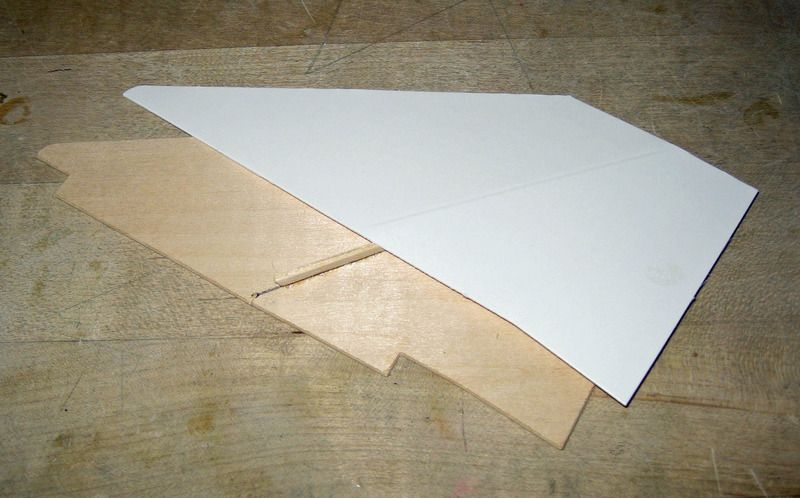 [/IMG] [IMG] [/IMG] [IMG]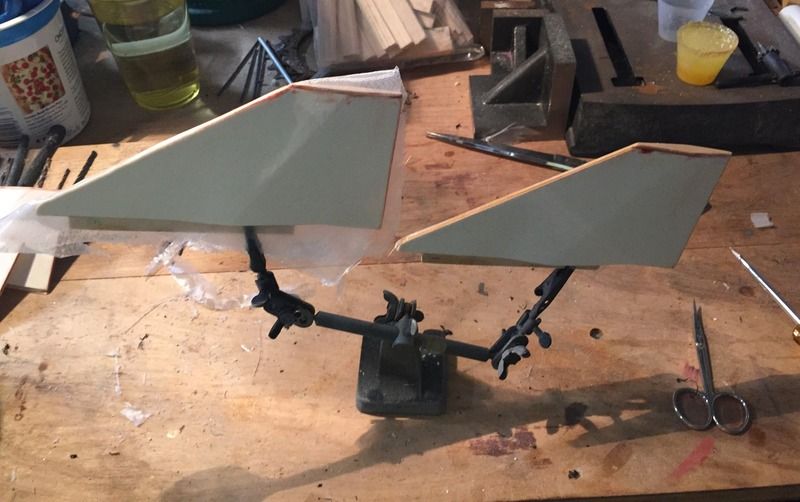 [/IMG] [IMG] [/IMG] [IMG]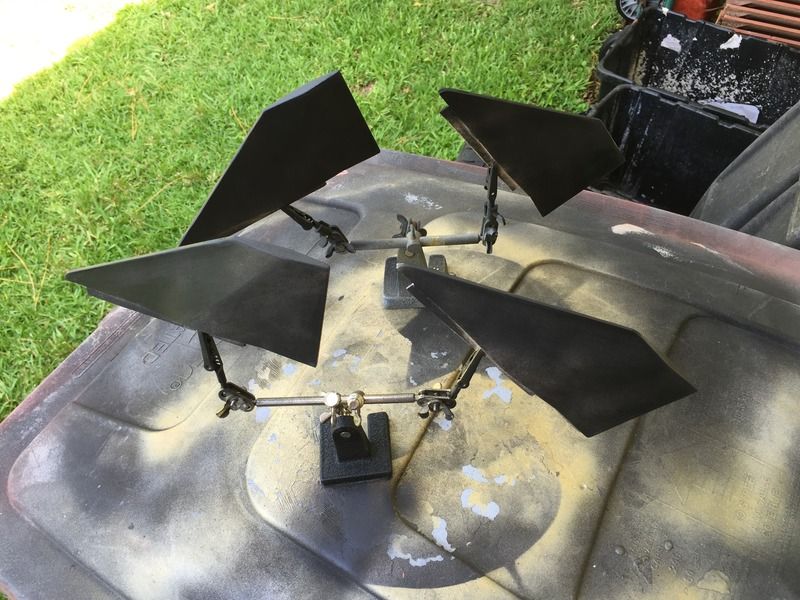 [/IMG] [IMG] [/IMG] [IMG]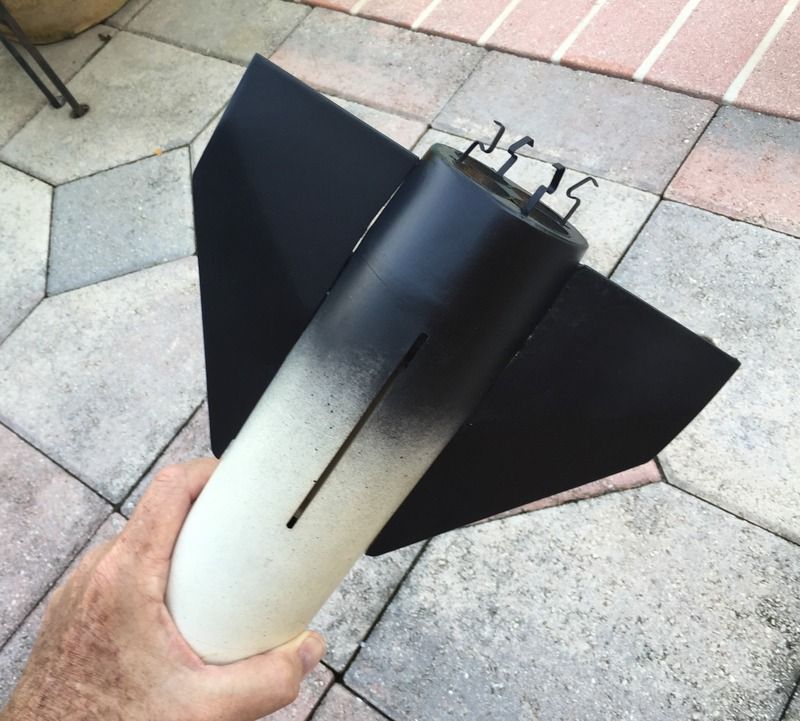 [/IMG] [/IMG]I added fiberglass cloth to the ends of the fins after using glazing putty to fill in any imperfections. I test fit the fins in the slotted body tube before permanently gluing into place. So far so good...I think. |
|
#6
|
||||
|
||||
|
I had that kit close to 20 years ago. I'll be interested to see yours completed.
Someone in our club found out I had one, and was so obsessed with buying it, I finally relented. I regretted selling it, and always wanted to find another to build. My first "big" (29mm) kit was the North Coast Patriot. It was the first rocket I built that used a G motor, and my first rocket using an Aerotech reloadable motor. I still have that Patriot, although it is a little shorter due to a crunched tube, resulting in a spoiled red/white/black paint job. Sadly, this shorter rocket is sporting camo paint these days. 
__________________
Lee Reep NAR 55948 Projects: Semroc Saturn 1B, Ken Foss Designs Mini Satellite Interceptor In the Paint Shop: Nothing! Too cold! Launch-Ready: Farside-X, Maxi Honest John, Super Scamp Last edited by LeeR : 09-07-2015 at 11:31 PM. |
|
#7
|
|||
|
|||
|
Quote:
I really like he dimension to your wings. Could you explain a little more to the process how you added the rib to the fin, and did the cardstock, fiberglass process? I would like to do this with my new project on my Launchpad Exocet. I was looking at some photos on the actual missile and it has this design. Thanks. |
|
#8
|
||||
|
||||
|
Quote:
Hi Jumpmaster, The instructions for this kit can be downloaded here: http://www.spacemodeling.org/jimz/est2066.htm That covers everything but the glassing. |
|
#9
|
|||
|
|||
|
Thanks Simon for the help on this one. I will add that you have to be careful gluing the card stock to the balsa or else you will experience twisting or distortion to the "skin" of the fin. On my TLP Nike Hercules build (I'm going to add this build to the forum soon) I used the 3/4 oz fiberglass cloth, coated it with the polycrylic sealant (paint dept at Home Depot), and used lightweight auto body filler (Eastwood.com) and more sealant. Sand in between coats with a fine grit sanding block. You have to be careful not to add too much weight to the fins. It's time consuming but the results are worth it. I've built both versions of the TLP Exocet missile and really enjoyed the flight characteristics. Hope this helps.
|
|
#10
|
|||
|
|||
|
Lee, I don't know how long this Patriot kit has been sitting on a shelf in my workshop but it has been at least ten or twelve years. I was holding my breath when I cracked the seal on the box concerned that old age or carpenter ants might have destroyed the balsa etc. I couldn't find tha original parachute but purchased two 18 inch rip-stock units from apogee.com. So far, so good.
|
 |
| Thread Tools | Search this Thread |
| Display Modes | |
|
|