 |
|
#41
|
||||
|
||||
|
Quote:
Stefan, Sorry for the delay in replying; I've been occupied with other projects and stuff... When you say "Vertical fairing", are you talking about the flat conduits, or the fin fairings? The one I'm doing is the early fixed-fin version, so it has no fin fairings -- the fins just attach directly to the side of the body. If you're describing the two flat conduits, I fudged them at 3/16" wide. One is long and reaches up to the top edge of the upper corrugated wrap; the other is short and only reaches to the top of the lower corrugated wrap. Like I mentioned early in this thread, I'm not shooting for a contest-quality model here, just dressing this one up to look a little more like the original... 
__________________
Craig McGraw BARCLONE Rocketry -- http://barclone.rocketshoppe.com BARCLONE Blogsite -- http://barclone.wordpress.com BARCLONE Forum -- BARCLONE Forum BARs helping BARs SAM 0044 AMA 352635 |
|
#42
|
|||
|
|||
|
The flat conduits were the ones I was interested in.
Making a slightly more authentic semi-scale model is just what I'm shooting for. Thanks for your great write-up! Stefan |
|
#43
|
||||
|
||||
|
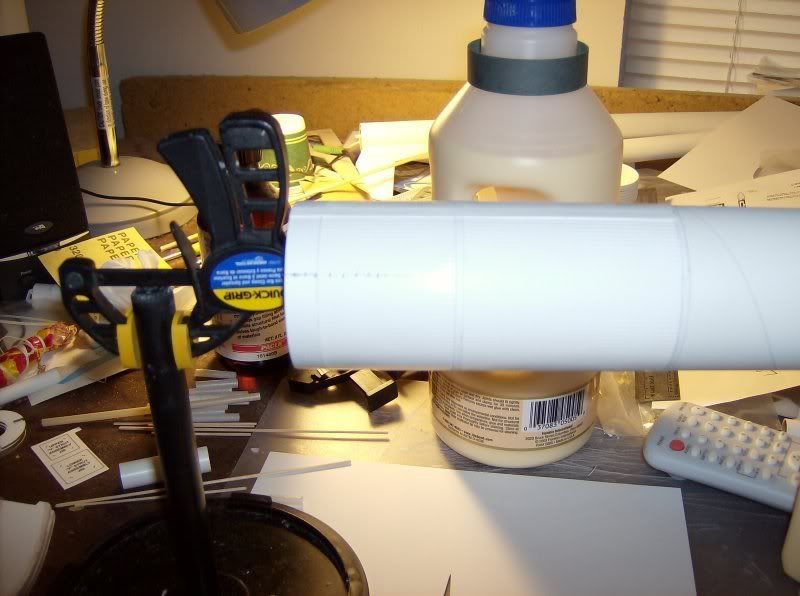
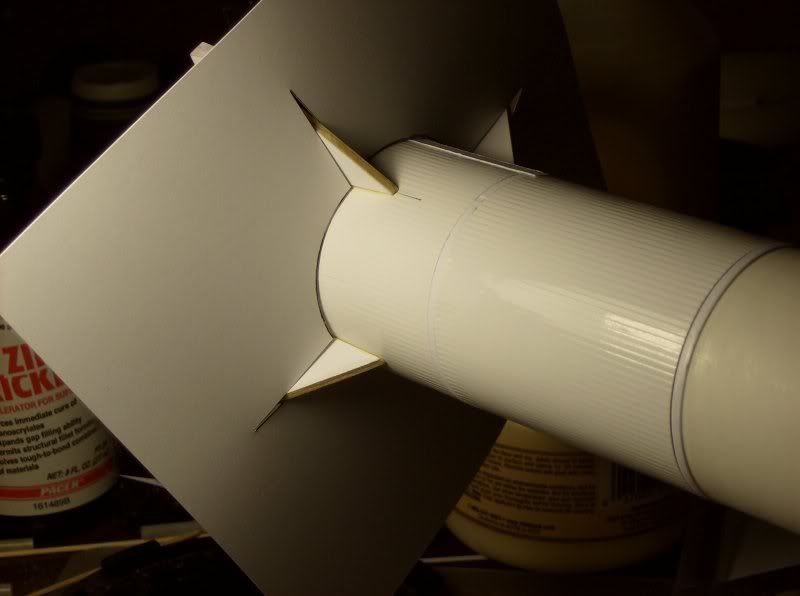
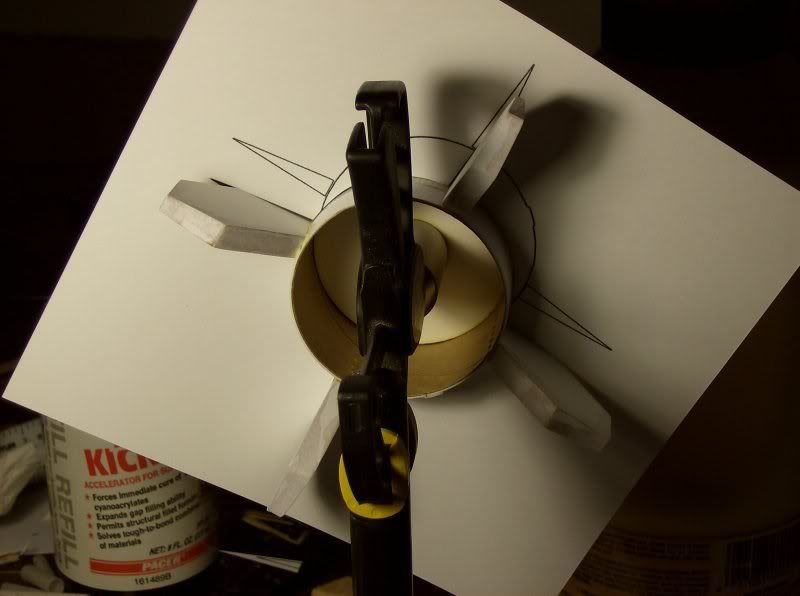
Well, it's been a little while since I worked on the model, but I finally got the fins attached. I used an old technique of punching some small knife blade slits along the length of the attachment locator lines, so that the glue would seep into them and "lock" the fin in place. Sort of a "blind rivet" approach. The first image shows one of these lines, but the image is a bit blurred to see the slots. They're about 1/16" apart...
 The real secret in keeping the fins aligned correctly is in this alignment guide, printed onto cardstock and cut with the #11 knife.  Even though it's thin, it works reasonably well. This last shot is a rear view which shows the slits from the inside. Look close...   This completes the construction of the body. All that's left to do is the finishing work. I'll probably use FNF to fill the spiral, then hit everything with Rust-O-Leum primer. The aluminum finish of the corrugated areas will start with Plasticote Chrome, and will dull down when the clearcoat is applied. The next steps involve building the Apollo capsule. I've already sanded the cone portion to fit the shroud, but the kit shroud has been sacrificed in the process. I'll print up another one to fit, which thankfully doesn't need the images of the original. The kit says to turn the shroud inside-out for this model, so all I need is the basic outline. Until then...
__________________
Craig McGraw BARCLONE Rocketry -- http://barclone.rocketshoppe.com BARCLONE Blogsite -- http://barclone.wordpress.com BARCLONE Forum -- BARCLONE Forum BARs helping BARs SAM 0044 AMA 352635 |
|
#44
|
|||
|
|||
|
Finally got started on mine. Used the trailing edge stock for the fins. Man, does that make it so much easier! Fins took almost no time, are super strong, and have no visible rib marks like the skin fins do.
On the wraps I tried two ways. The lower wrap I used regular white glue. The upper wrap I used spray adhesive. I prefer the spray adhesive. You get an even coating, and it adheres nicely...but not too strong where you can't pull it up and get a second chance. You have to work quick though. I just used card stock instead of label paper for the portion below(5/16") the lower wrap and between the stages. I cut 3/16" from the lower wrap since it appeared to be a bit too wide. Nothing is really exactly to scale on this model anyway, so I just fudged here and there to make it "look" right. Using the wrap Gordon provided, I cut out the conduits and used them as a template to make some out of card stock. Used a glue stick to glue the conduits on. Just need to build the tower, which I'll probably work on today. I got styrene rod in the appropriate sizes to do the tower. Yes, yet another shortcut. But after the success with the solid core fins, I'm not feeling guilty.  Thanks for the tips and info in this thread, it has helped tremendously! Thanks for the tips and info in this thread, it has helped tremendously!Last edited by foose4string : 03-23-2007 at 09:22 AM. |
|
#45
|
||||
|
||||
|
Quote:
When you start working that tower, take pictures of how it goes together and post them on this thread. Since the SII-B thread has already gone through the stock kit sequence, I'd like to see an alternate method of tackling that tower.
__________________
Craig McGraw BARCLONE Rocketry -- http://barclone.rocketshoppe.com BARCLONE Blogsite -- http://barclone.wordpress.com BARCLONE Forum -- BARCLONE Forum BARs helping BARs SAM 0044 AMA 352635 |
|
#46
|
|||
|
|||
|
I haven't done a step by step of the tower, but I just took a picture of the completed main tower struts and the materials used. I oversized the smaller strut just a hair. I could have gotten a .040 in the Evergreen, but chose the .047 instead. Figured the extra bit of material might be a tad stronger and would be barely noticeable to the naked eye. The Plastruct is just a hair over as well(.060), but still fits the jig ok. The Ambroid pro weld does a nice job of fusing the plastic without melting it too much. Just pinned the strut in place as per the instructions. Some tweasers, a bit of prayer and cursing combined, and it came together ok. Need to work on the V struts now.
|
|
#47
|
|||
|
|||
|
It's a tough job no doubt about it, but I think the "ant scale" tower in the Zooch 1B was just as nerve wrecking, and was good practice for this.
 |
|
#48
|
|||
|
|||
|
Quote:
 . .
__________________
Paul If we weren't all crazy, we would go insane - Jimmy Buffett NAR #87246 www.wooshrocketry.org |
|
#49
|
|||
|
|||
|
Quote:
I'll take your word for it.  |
|
#50
|
||||
|
||||
|
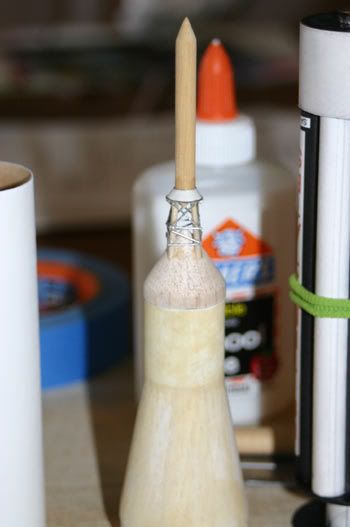
Now so far I've only done one SEMROC capsule. I tried the plastic...didn't like it.
I'm going to start soon on the Saturn 1B and a "few" of the Little Joe II's. I chucked the dowel into my Dremel and that didn't seem to take long.
__________________
"I'm a sandman. I've never killed anyone. I terminate runners when their time is up." Logan from "Logan's Run" http://sandmandecals.com/ |
 |
| Thread Tools | Search this Thread |
| Display Modes | |
|
|