
|
|
#11
 09-05-2009, 01:22 AM
|
||||
|
||||
|
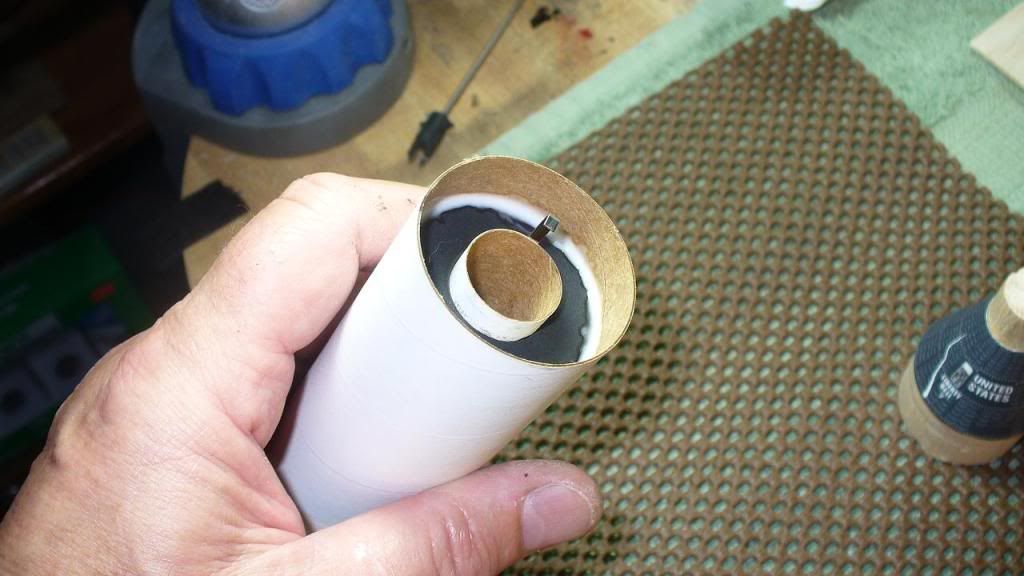
And I forgot to post these out the paper wraps. Also got the engine mount installed.
   More tomorrow. Steve 
|
|
#12
09-05-2009, 07:28 PM
|
||||
|
||||
|
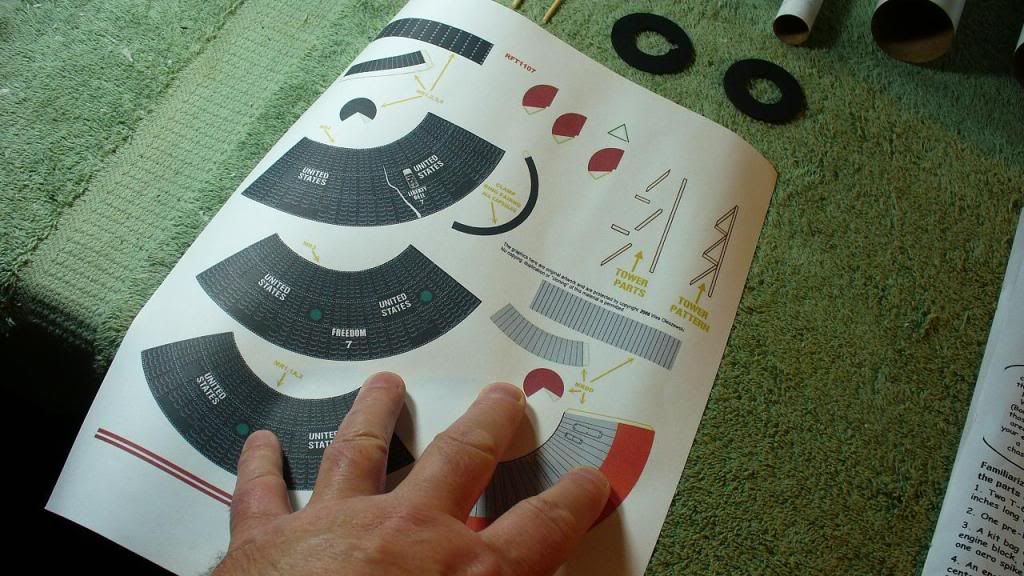
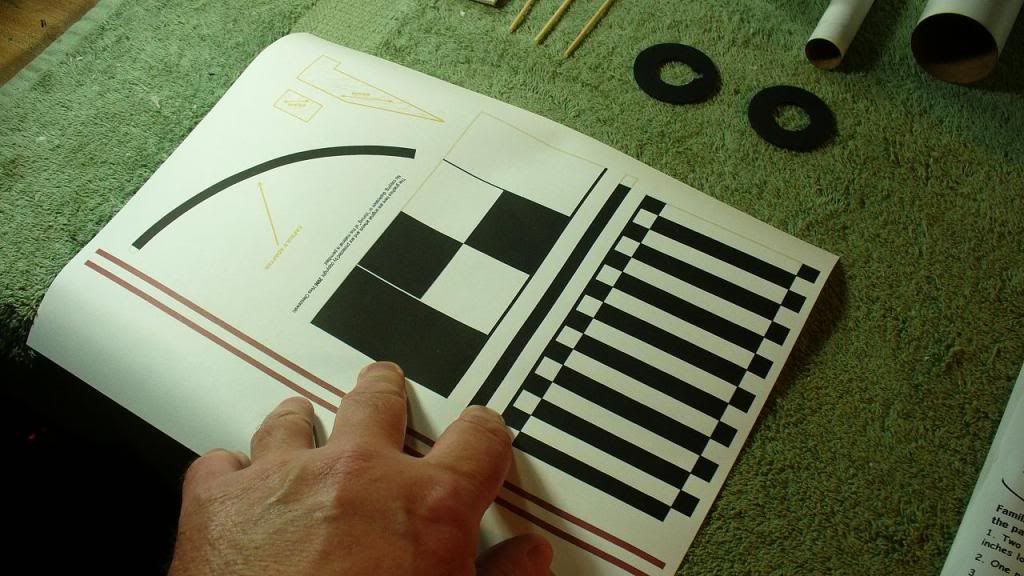
As it turned out all I had to do was match the width of the Estes upgrade graphics to that of the original Dr. Zooch graphics and they were bang on within a hair. They look great with a lot more detail.
I printed on just heavy weight paper and used 3M 77 to attach them. Worked just great. Later the whole model will get several coats of Crystal Clear Krylon. Now to move on to the fins and then the dreaded escape tower. Steve 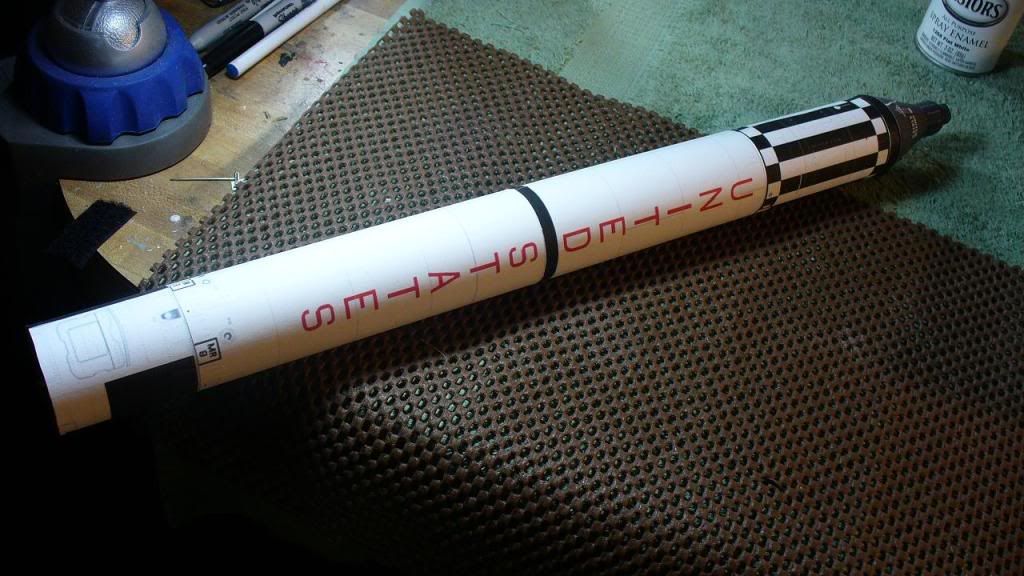 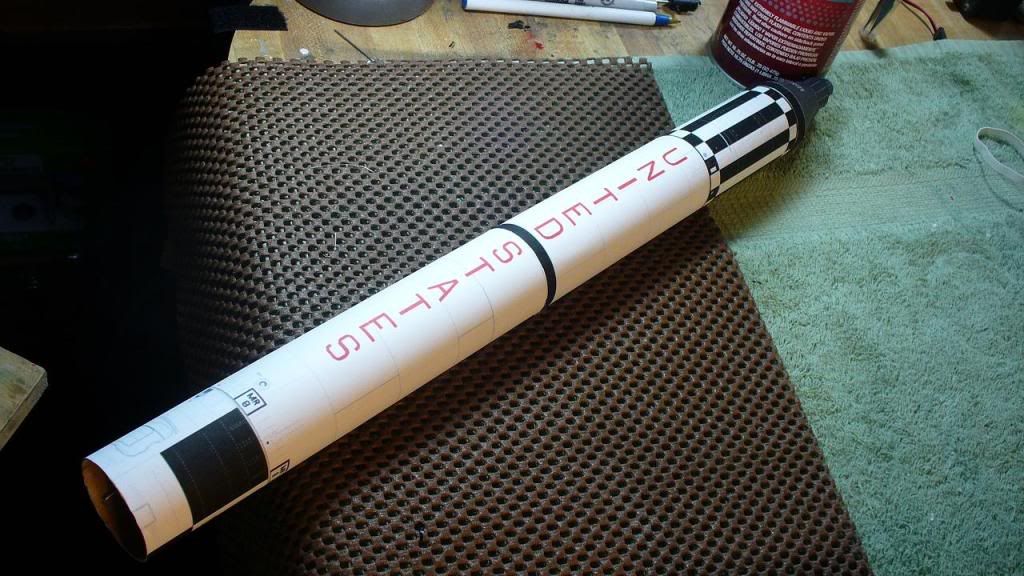
|
|
#13
09-05-2009, 08:02 PM
|
||||
|
||||
|
I'm enjoying your build thread!
__________________
Enjoy life, it has an expiration date.
|
|
#14
09-05-2009, 08:28 PM
|
||||
|
||||
|
When I first looked into the kit I didn't find many threads that showed step by step up close and personal pictures of the kit. So I'm hoping this will be of help to the next guy or girl that might want to get the kit and build it.
Glad you're enjoying it. Thanks, Steve
|
|
#15
09-06-2009, 12:30 AM
|
||||
|
||||
|
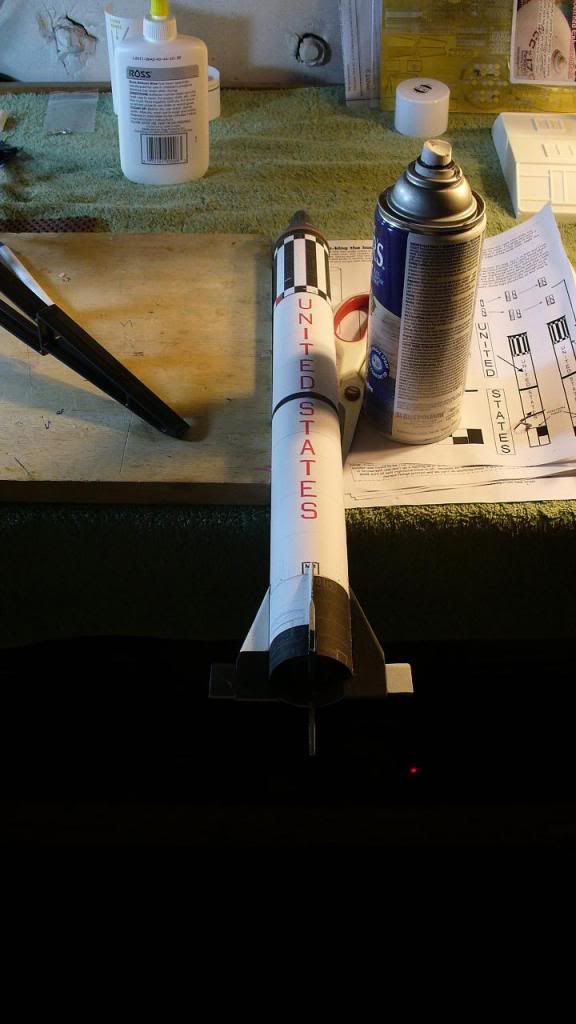
A bit more progress. I managed to glue the lugs even with the fins. Can you say dummy? Well I moved them. It wasn't that bad.
Another screw up I'll let you guys see if you can notice it. Makes it more fun. I'll give a hint. It's cosmetic. Look closely. Still I'm not bothered much. Keep in mind it you use the paper wraps over the entire tube you need to scribe out the paper so that the lugs are making direct contact with the tube or you could have an interesting first launch. I did the same thing on the fins. Much like removing monocoat on a covered fuse when one attach's stabs. Cut the material away so you have wood to wood. Or in this case wood to cardboard. Here's some more pics. The dreaded escape tower is next. Yikes! Steve 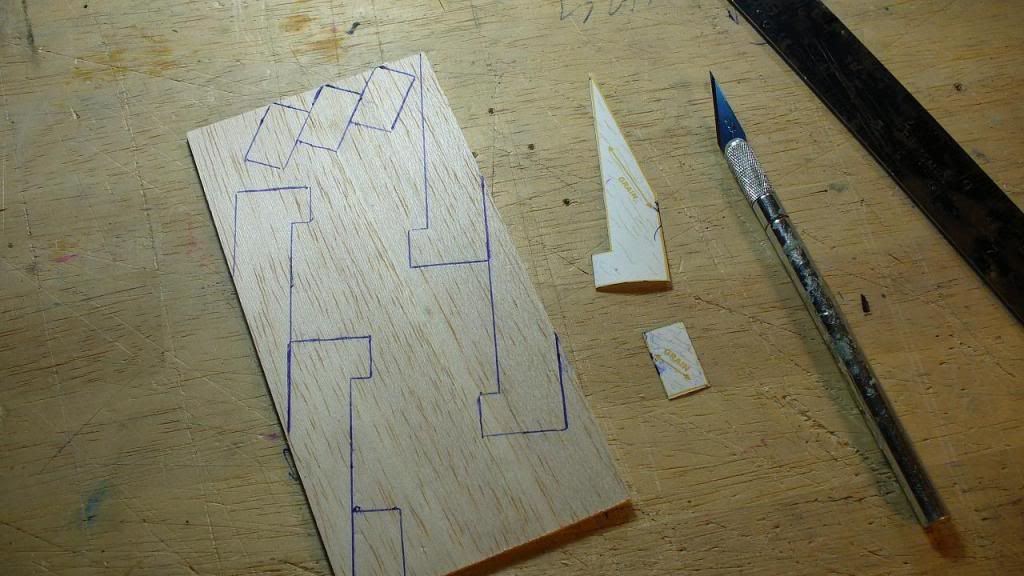 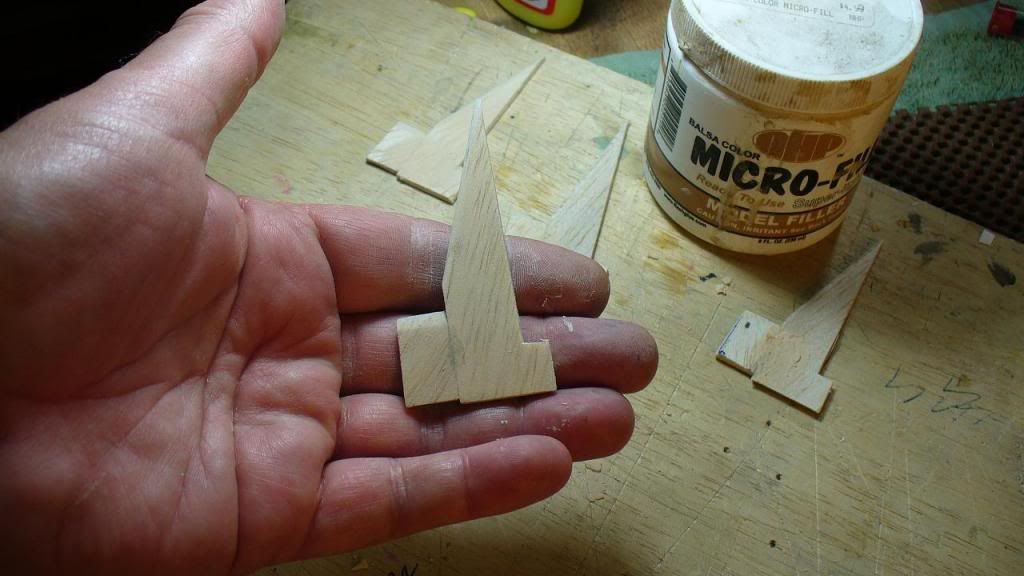 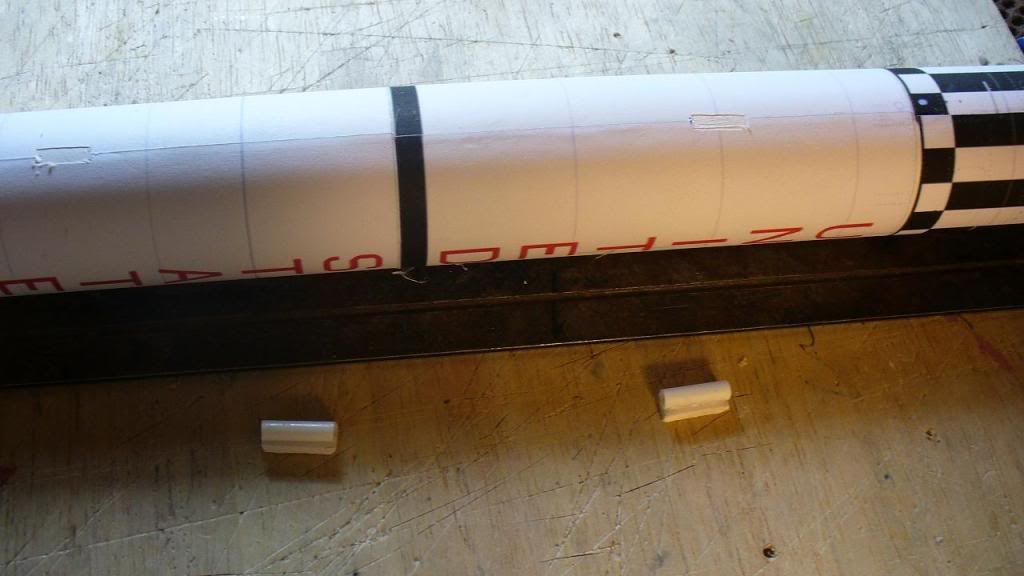 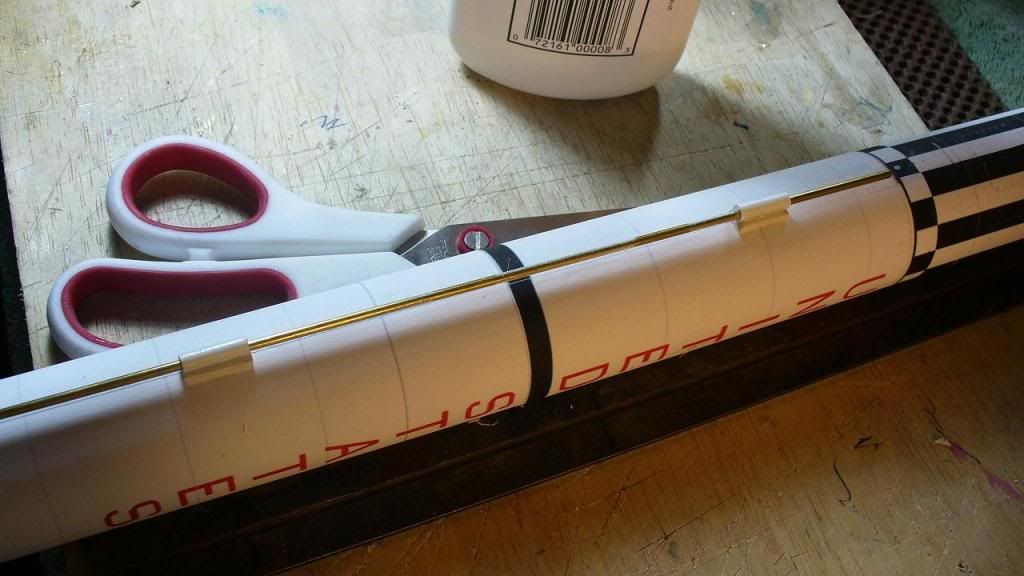
|
|
#16
09-06-2009, 12:31 AM
|
||||
|
||||
|
The last for tonight.
|
|
#17
09-06-2009, 01:03 AM
|
||||
|
||||
|
OK one more standing up.
Steve 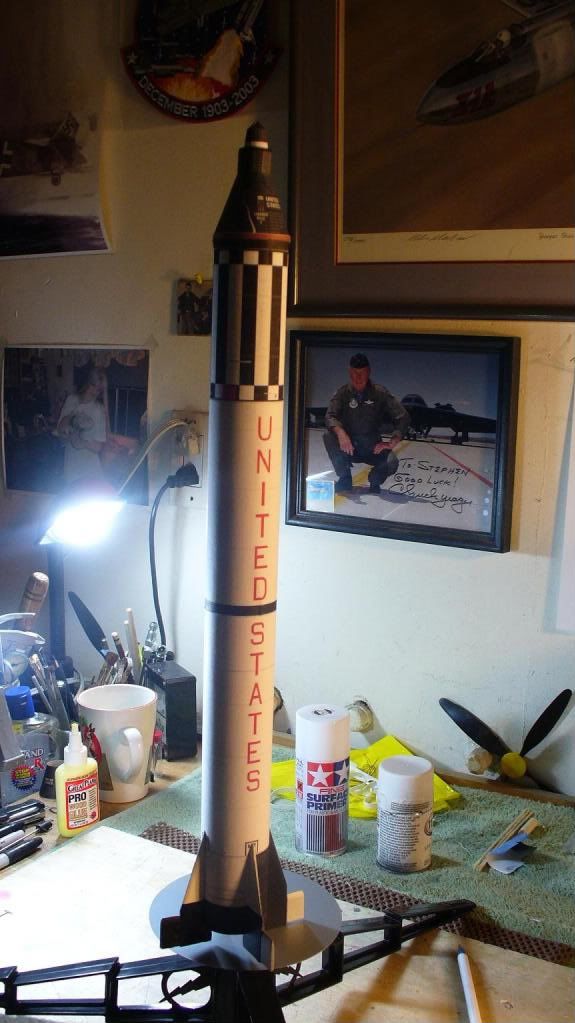
|
|
#18
09-07-2009, 12:38 AM
|
||||
|
||||
|
Day three and I have her finished except for installing the parachute.
I built the tower and I have to say what a bear! But it works out well in the end and requires a lot of eye balling just like the instructions say. It and when I loose the darn thing at 900 ft. I'll do it over in styrene. I think it would have been easier and about the same weight. May be not. I used the Crystal Clear Krylon all over the rocket and the capsule. I used coat after coat and left it outside in the heat of the day until it started to shine. Doesn't feel like paper wraps anymore or look like it. This should protect it well from moisture too. Almost done. the only mod so far was the Estes paper wraps that have more detail. Build very straight forward and makes a nice model for display or for flying. Steve 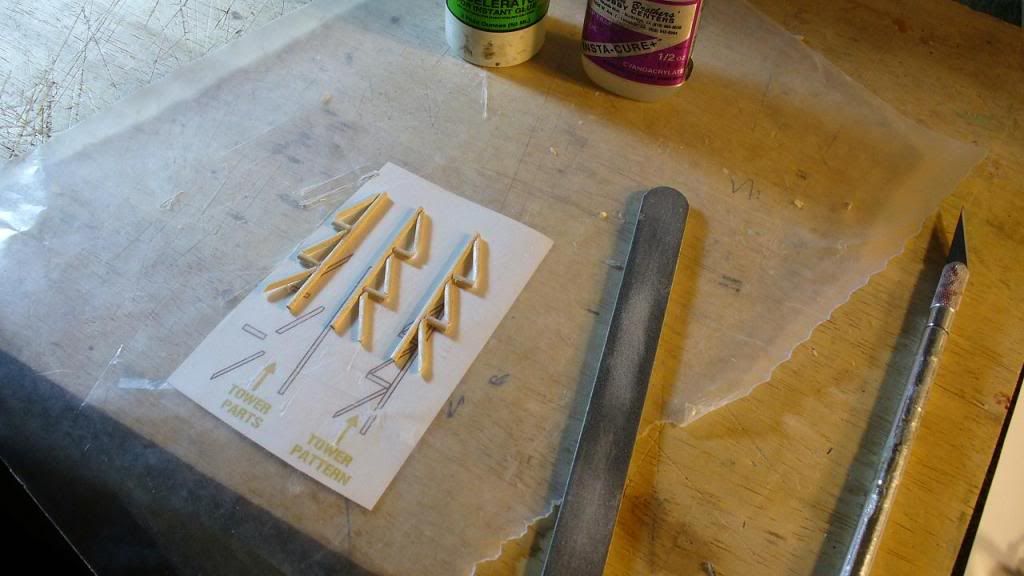 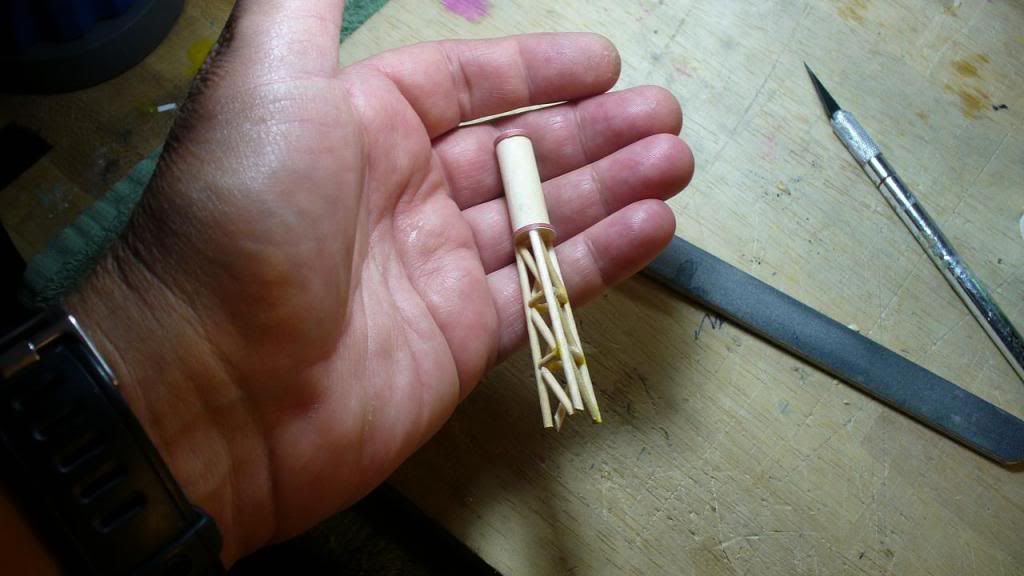  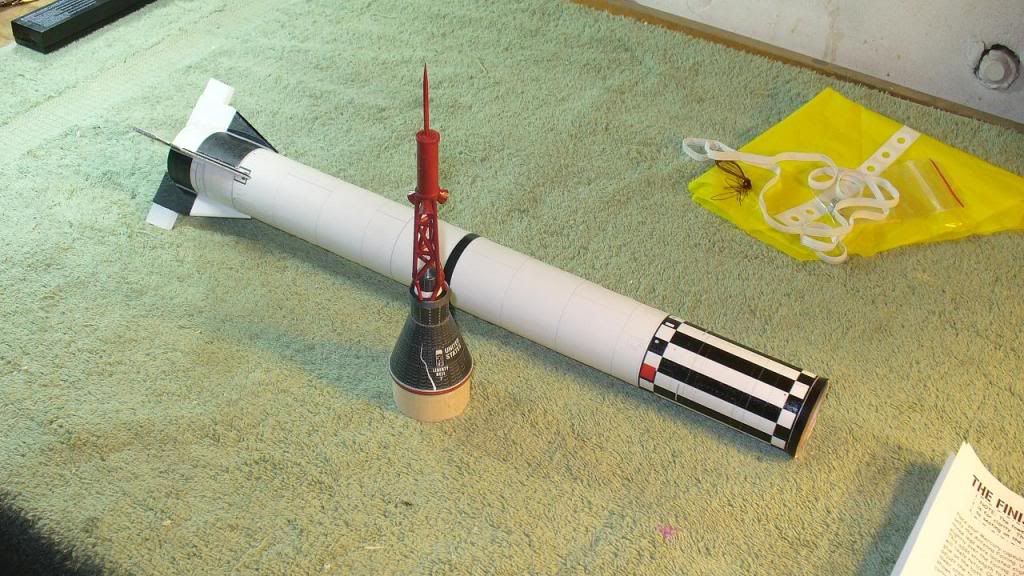 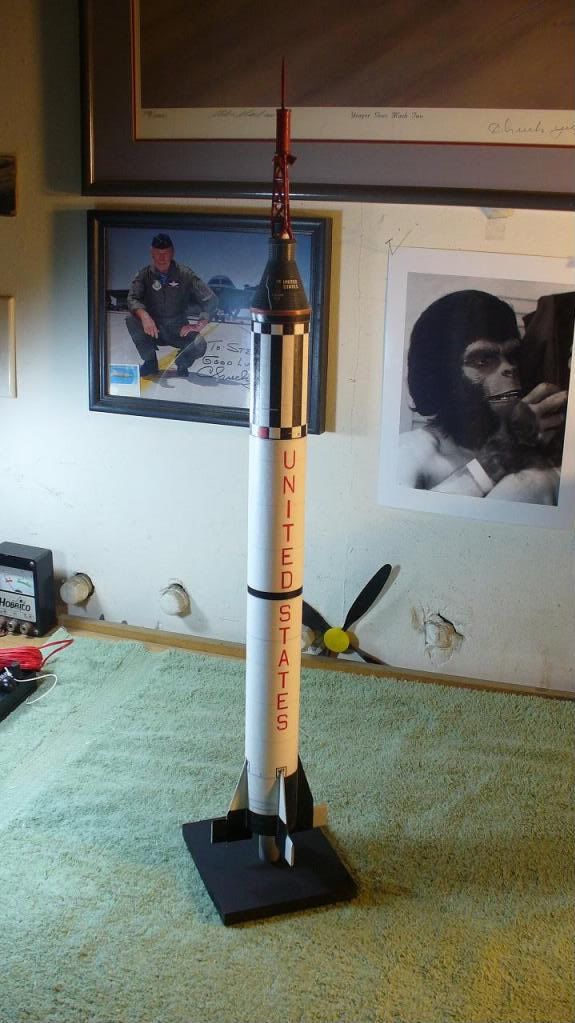
|
|
#19
09-07-2009, 04:22 AM
|
||||
|
||||
|
Now that turned out very nice

__________________
Leo My rocket fleet and more @ Leo's Leisure Site and on YouTube - My latest project: ALTDuino
|
|
#20
09-07-2009, 06:05 AM
|
||||
|
||||
|
That looks great! Nice job!
I've just started a Dr Z Redstone and was wondering did you make the Estes wraps or did you find them on the web?
__________________
Tony Vincent NAR # 45082 L1 CMASS, MMMSC Member
|
 |
| Thread Tools | Search this Thread |
| Display Modes | |
|
|


 Linear Mode

