This first section begins where most models begin -- with the motor mount. The use of laser-cut components makes this process so much easier, and Carl is to be congratulated for the accuracy of these parts. I found them to slip together with just enough friction to keep them from excessively moving around while gluing, but not so much that I needed to sand the rings to make them fit over the motor tube.
The first image show the mount in partial profile, after initial fitting and glue-up:

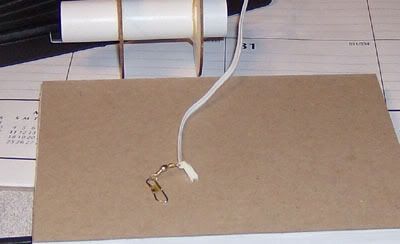
Beginning with the assembly of these parts, I made a change from the instructions. I wanted a tighter fit of the rings over the engine hook, but without crushing the tube by trapping the hook under the ring. To get this fit, I sanded some shallow flat notches in both rings. The next image shows the tool I use to sand these notches:
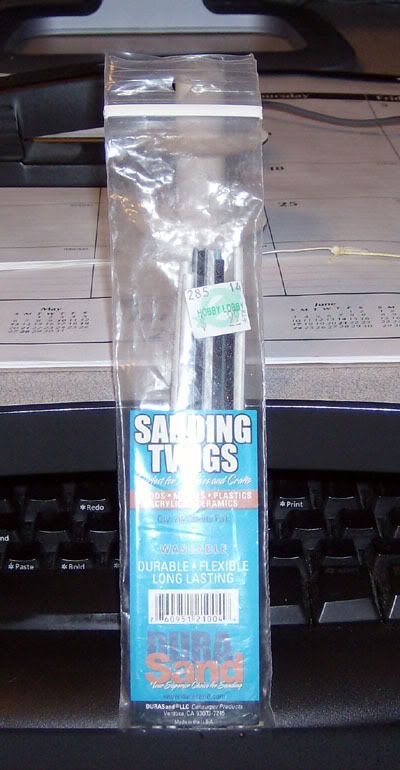
Using one of these twigs, the same width as the hook, I carefully sand a shallow flat notch in each of the rings, with the one in the normal lower ring directly opposite the pre-cut engine hook opening. This allows the rings to fit more snugly over the hook, holding it in position better. Next, the former lower ring will become the top ring:
What I am now able to do is tie the Kevlar thread around the motor tube, and run it through the larger slot:
I use these CA applicators to put the glue to the joints:
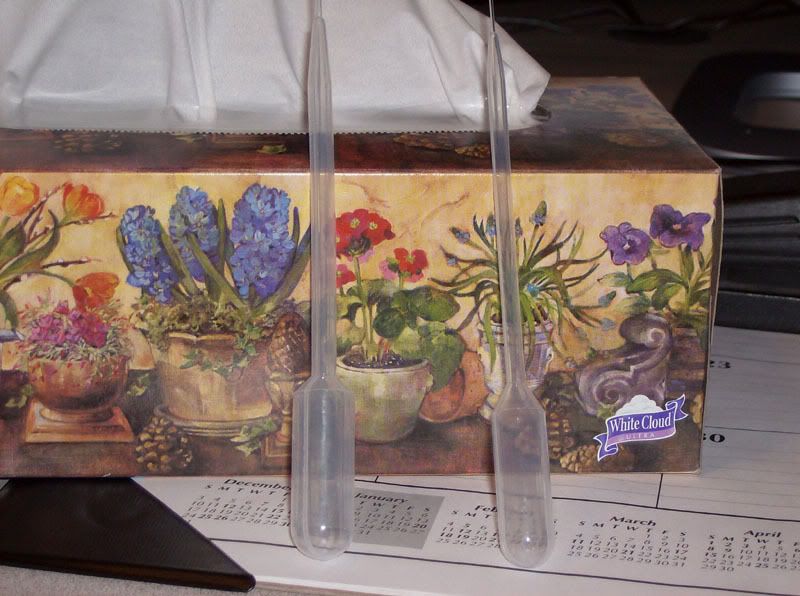
I am using Titebond II for this project, which is my glue of choice for building most models. The glue is applied thin -- about 50-50 with water -- and this allows the glue to wick into the joints and get deep into the "roots". When the first layer is dried, apply a second layer right over it and this will secure the parts without the typical waste of glue. It really doesn't take that much glue to work with these paper components. Once the glue dries, these parts are rock-solid.
Now, I attached a snap swivel to the free end of the elastic chord:
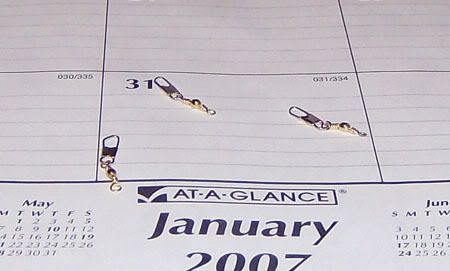
Here is the snap swivel attached:
And now, the motor mount subassembly is complete, ready for insertion into the body tube:

This ends the first part of the project. Next message will deal with the fins.