
|
Thanks for the datasheet, Sandman. I think I'm going to dress it up a bit now; I can see a couple of easy enhancements from those drawings.
|
Booster construction
So now we come to the first part of the booster, which is the application of the motor mount and the two corrugated skirts. As I mentioned in the previous post, Sandman sent in that illustration of the A-001 flight qualification vehicle and it provided me with an opportunity to dress up the model just a little. Please understand, I am not a scale competition builder, and even I recognize some obvious flaws in my handiwork. However, even the modest trims I've added will improve the kit's appearance, especially once the primer and the paint have covered all of the most critical visual flaws.
Attaching the motor mount was relatively simple. The fit was loose, so I had to do the glue-up in two steps. For the first step, I placed the main body tube upright on my desk and slid the mount down from the top, until the hook was touching the desk. This makes the hook tip even with the bottom edge of the tube. Next, I mixed up a 50-50 dilution of yellow glue and ran a few generous drops around the outer edge of the upper centering ring. 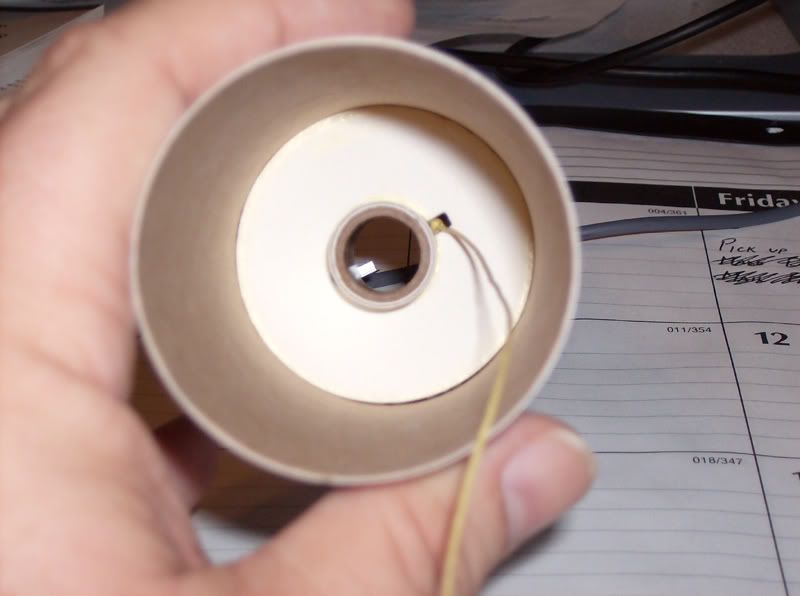 I allowed this to dry overnight before flipping the tube over and doing the same thing with the lower ring. 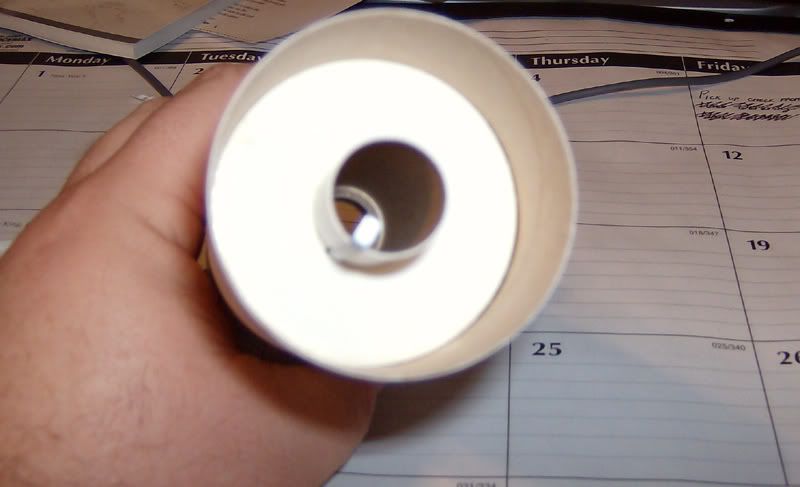 Once the rings were dry, I started on the skirts. The kit has no real detail on the booster, except for the skirts, and these are incorrectly sized relative to the actual vehicle. The lower skirt is too tall, and the upper skirt is too short, placing the separation joint farther up the side of the body than it should be. I elected to keep the skirts as they came instead of modifying them. But I did attempt to trim out the skirts with some label paper separation panels, based on Sandman's drawing. Starting with the lower strip, we need a 10mm high panel that goes completely around the body, even with the bottom edge. Here's that panel applied:  It takes three thicknesses of label paper to equal the thickness of the skirt. Next we add that short skirt (:o ) to the model, using full-strength Titebond II. The glue needs to be spread evenly and thinly to prevent blisters under the skirt. 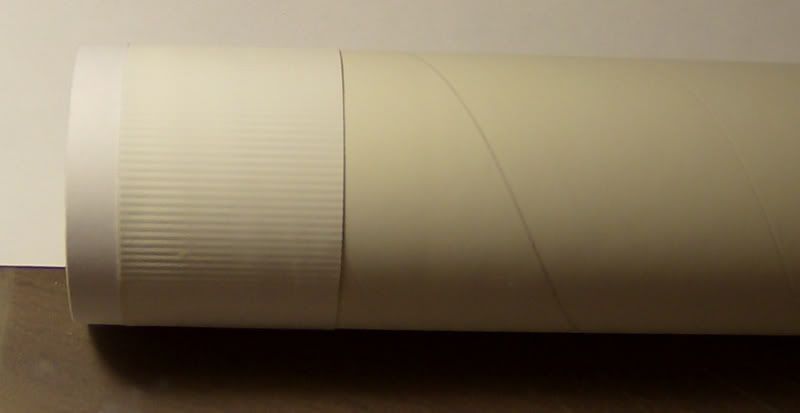 No, I didn't get all of the blisters out from under it; they are quite visible in several places. No room for those pictures, however... The separation strip is made from three thicknesses of label paper, 2mm wide, and is applied directly above the lower skirt. I followed this with the upper skirt. 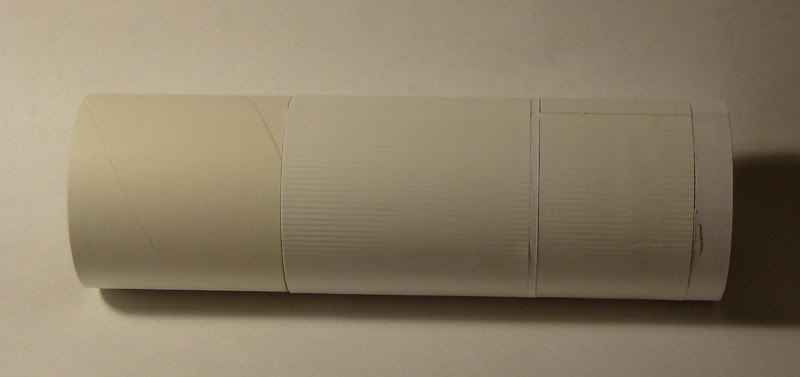 Just above the upper skirt is yet another separation band, where the booster and the boilerplate service module came together. Shown here is one of the upper straps being applied: 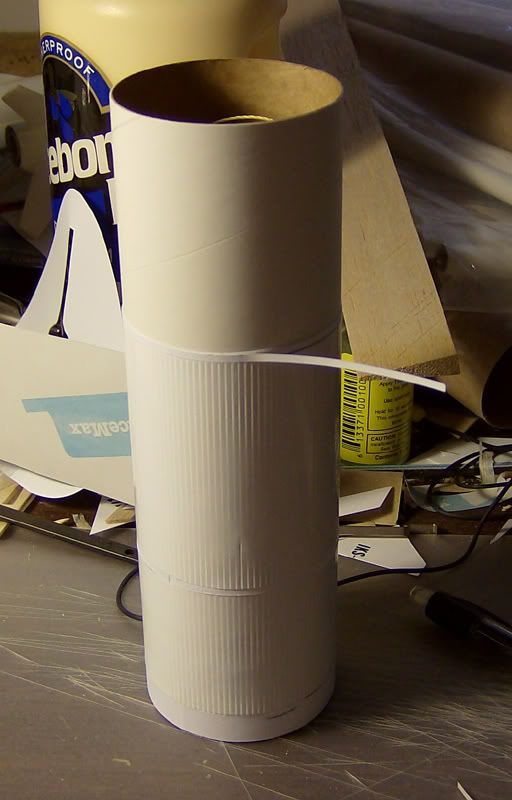 Once these straps are in place, I sealed the upper strap with CA, then sanded the excess off. Now we come to a more prominent detail that cannot be left off, or it would be quite conspicuous by its absence. These are the two flat conduits that run vertically along the sides of the body, 180 degrees apart. I simulated this with more label paper: 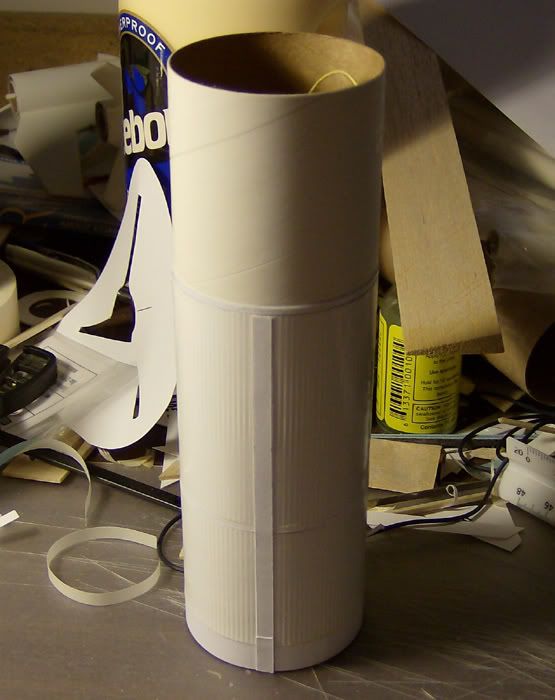 This side conduit does two things for the model: It is visible, and it covers the splice joint in the skirts. These areas, when painted, are supposed to be natural aluminum in color, while the command and service modules are supposed to be white. The only trim color is black, and the decals in the kit should be close enough for the service module. |
1 Attachment(s)
Yer gettin' ahead of me!
Here's the lower wrap pattern. |
I had the same bubble trouble on the wraps with mine. I don't know how much of the bubbles are air and how much are glue. I tried to remove excess and leave a thin film, but I think it collected as I rolled and smoothed the wrap. The bubbles were all toward the end of the wrap, not at the beginning.
|
Quote:
Same problem here. There are places where I've rubbed the ribs out completely trying to work the glue (or air) out. I think it's mostly glue, because it makes the wrap feel spongy (like moisture). |
Quote:
I gave up trying to get them out before rubbing the ribs down very far. The moisture softened the wrap making the effect even worse. I used contact cement for the Centuri Saturn 1B and V plastic wraps years ago... a different animal, no doubt. But I think I used it on the Estes Space Shuttle wrap on the external tank a few years later also. I believe I'll go with that on the Semroc Saturn 1B because the external tank doesn't show any of the problems I had with the LJII and it's also a paper wrap. I wish I could remember for sure what I used on it. |
Quote:
I was going to mention contact cement, which is what I'm going to use when I do my Estes 1/70 Saturn 1-B kit. Contact cement doesn't give the bubbling/warping problems the regular glue does, but you do have to be extra certain you have your aligment(s) correct or you don't get a second chance. |
Yes transparent glue
I discovered an permenant stickflat "gluestick" glue a few years ago. It works great on paper and can be watered down to a desired consistancy. Also works on cloth, leather, glass, metal, and wood. I found it a Micheal's if my memory serves me. It comes in a 1lb 3 oz. jar and it is called:
YES manufacured by Gane Brothers & Lane Inc. Elk Grove Village, IL Hope this helps, JP James Pierson NAR# 77907 |
I've got an unfinished Estes Saturn V 25th anniversary with paper wraps. I looked at it while ago and the wraps look really good. It looks like I used Elmer's white glue on it as there is no yellowing at the edge of the wraps that would show with yellow glue, nor brown from contact cement. That means one of three things were different from the LJ-II application.
1. White glue might not have caused bubbling (didn't soak in and soften paper like yellow did?) 2. Estes paper wraps may be different allowing easier application 3. I have lost a lot of skills over the years since I started the Saturn... :eek: Maybe a combination... |
Quote:
Yes, I did; and I see a correction that needs to be made. The flat conduit opposite the skirt wrap seam doesn't go above the separation between the two skirts. I need to trim this conduit per this new drawing. That is a highly noticeable error. Thanks again, Sandman! |
| All times are GMT -5. The time now is 11:41 PM. |
Powered by: vBulletin Version 3.0.7
Copyright ©2000 - 2024, Jelsoft Enterprises Ltd.