
|
|
#1
 12-11-2008, 02:11 PM
|
|||
|
|||
|
I was adding my build of Madcow's Bomarc to one already started by SkyCoop over at RP and I thought I should post the build here also. So here goes, it will be in multiple post due to the size restriction.
Here’s all the parts laid out. They came packaged very well and are all top quality. I also added a motor retainer which can be seen below the decals. 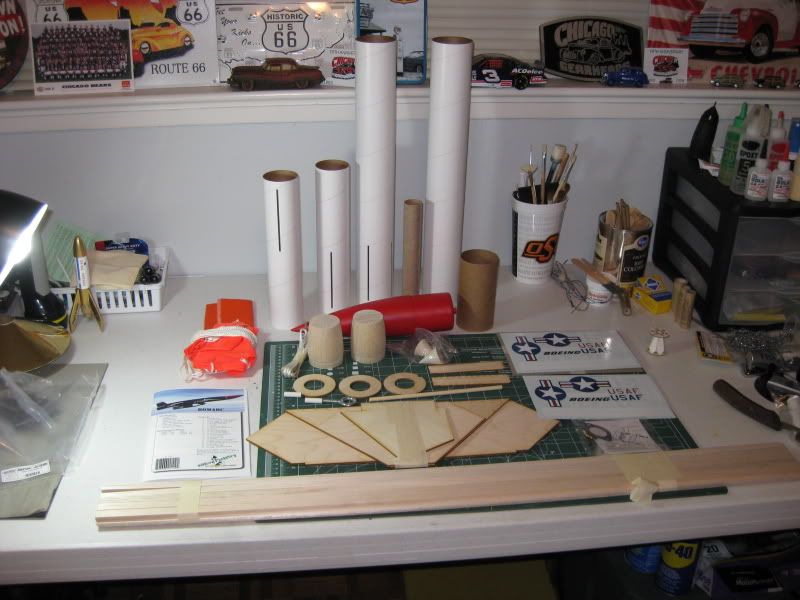 First I Glued the 2 plywood pieces of the wing together with CA. 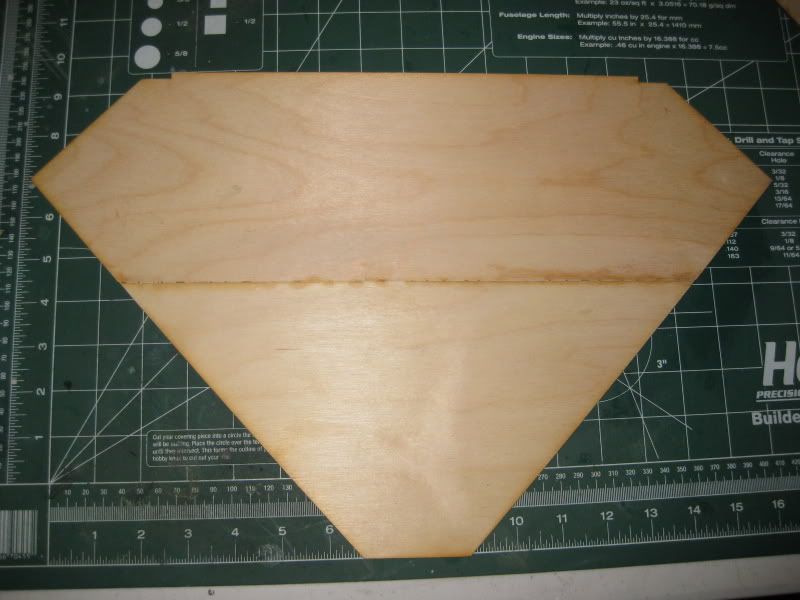 Next I cut out the balsa pieces per the directions and “planked” the plywood wing. For this I used Titebond II. 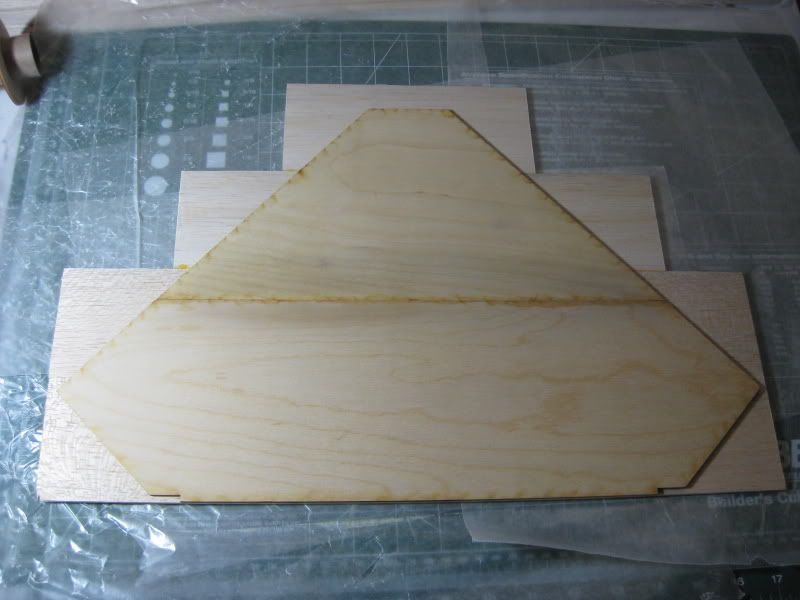 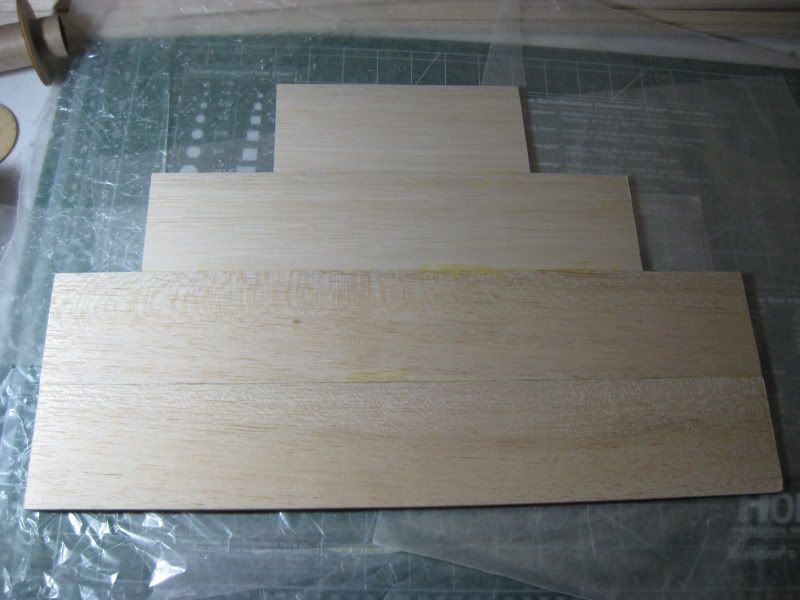 I laid out the wing and stab the proper distance between each other using the lines on the cutting mat to keep it straight (Thanks SkyCopp)  and then taped it in place so it wouldn’t move during assembly. I used “T” Pins (Left over from my RC days) to hold the 33” conduit pieces in place while the wood glue dried after which I taped the 2nd 33” piece to the 1st until it dried. and then taped it in place so it wouldn’t move during assembly. I used “T” Pins (Left over from my RC days) to hold the 33” conduit pieces in place while the wood glue dried after which I taped the 2nd 33” piece to the 1st until it dried.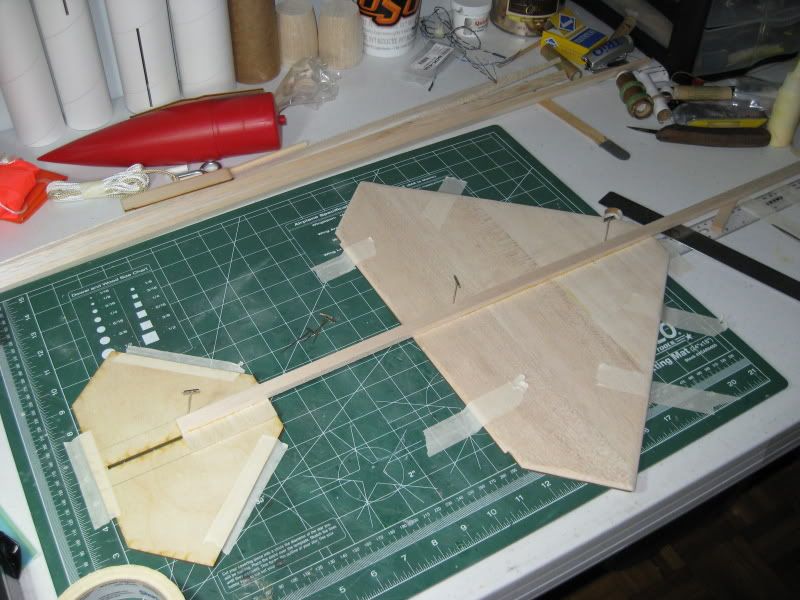 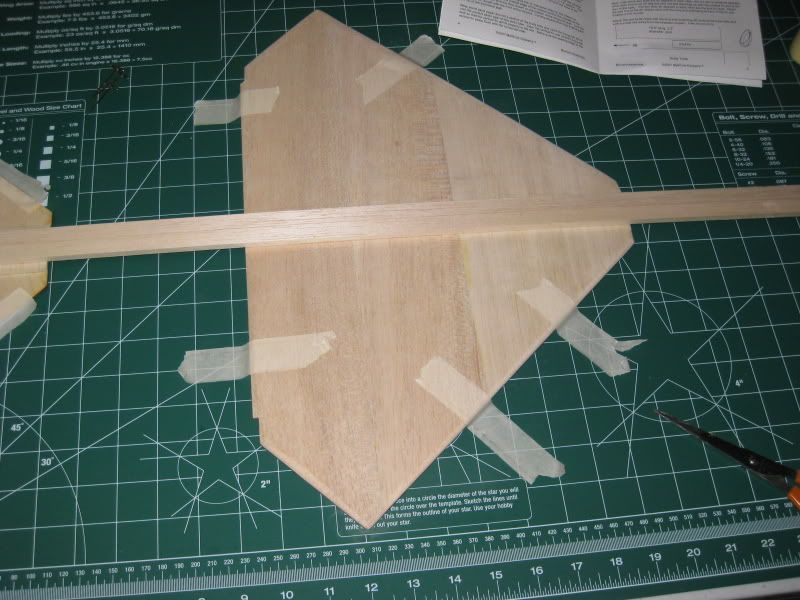 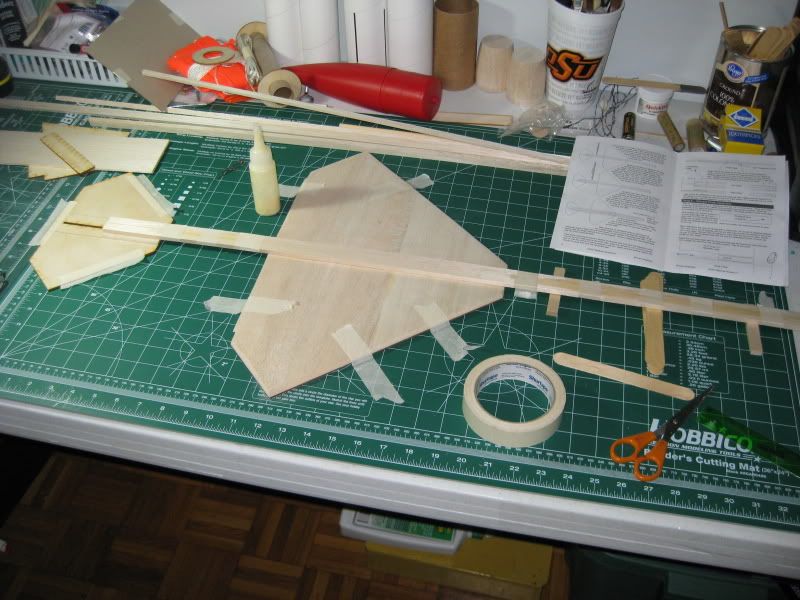 
|
|
#2
12-11-2008, 02:18 PM
|
|||
|
|||
|
Next I glued the 1/2 inch and ¼ inch pieces on to form the sides of the conduit. I found that my dry cell batteries to be the perfect weights to hold it all together while it dried.:yes:
I had to stop here for awhile because my wife came in and quietly put down that "Honey Do" list you see in 2 of the pictures. ") 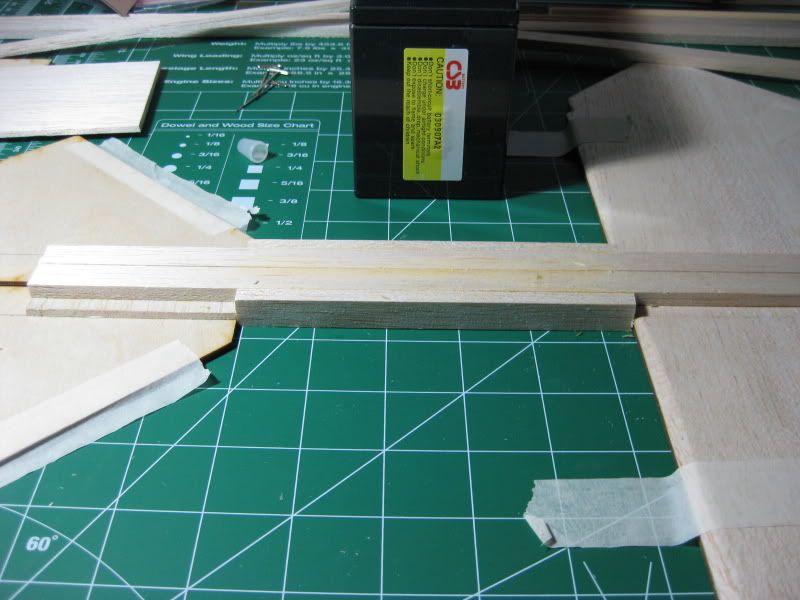 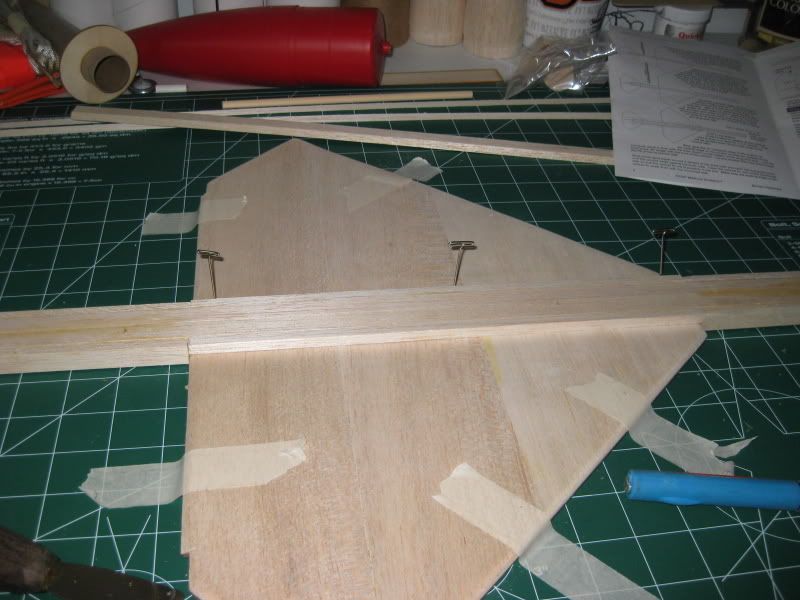 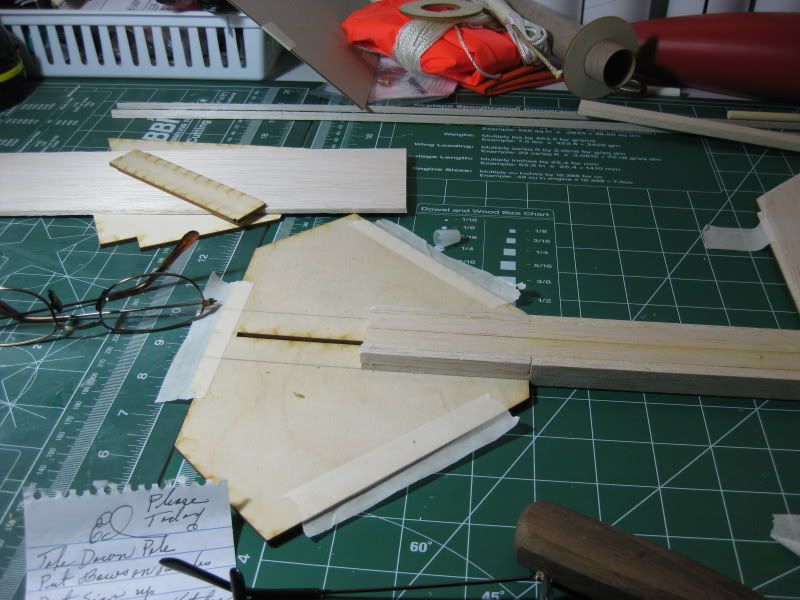 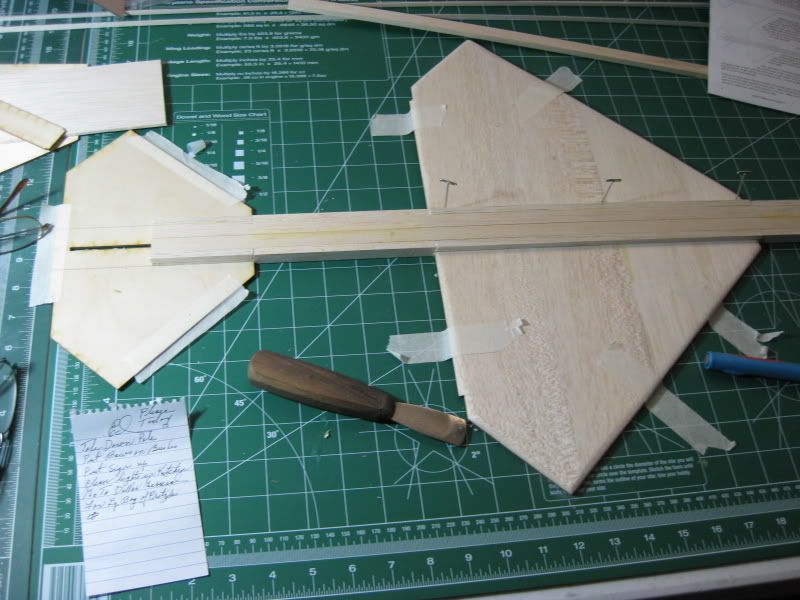 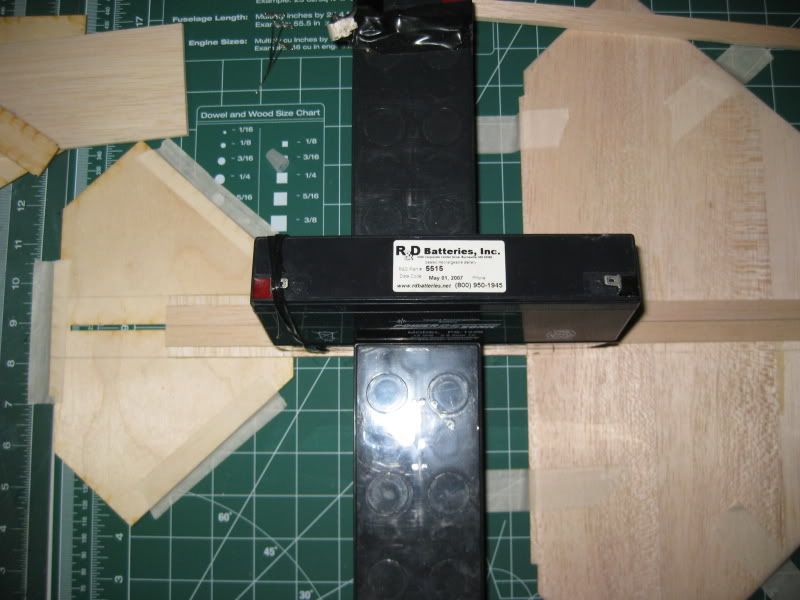 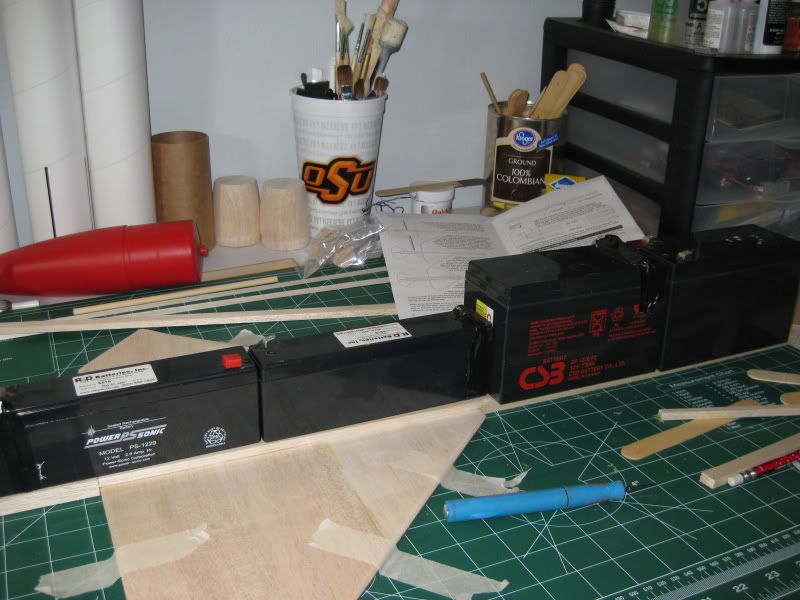 I then cut out the 3 inch pieces and glued them in the front of the conduit at the bottom to form the solid box to form the nose. 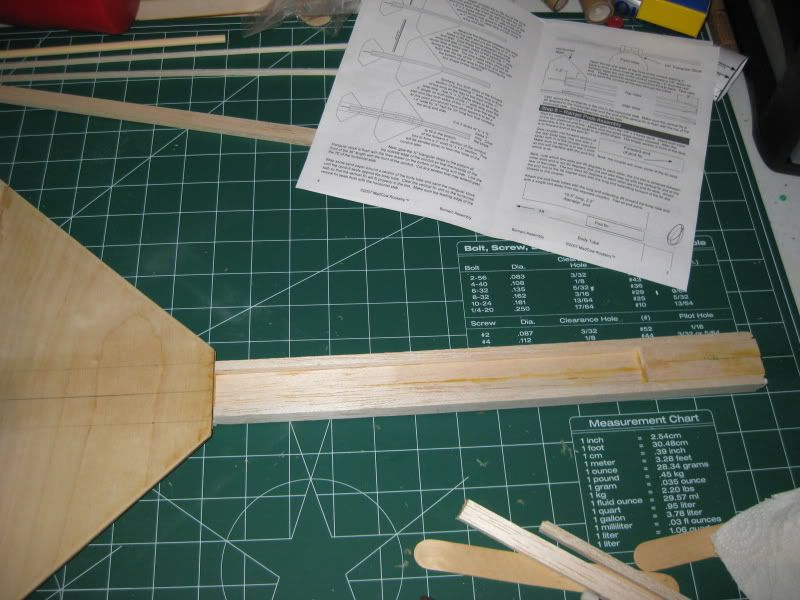
|
|
#3
12-11-2008, 02:25 PM
|
|||
|
|||
|
Listening to SkyCopp’s advice I elected to shape the front, rear and sides of the conduit before gluing on the ¼ inch triangle pieces to the bottom and that worked out well.
To save sanding time I broke out some of my woodcarving tools and my Dremel to pre-shape it before I started sanding it. That IMO saved a lot of time and sanding dust. 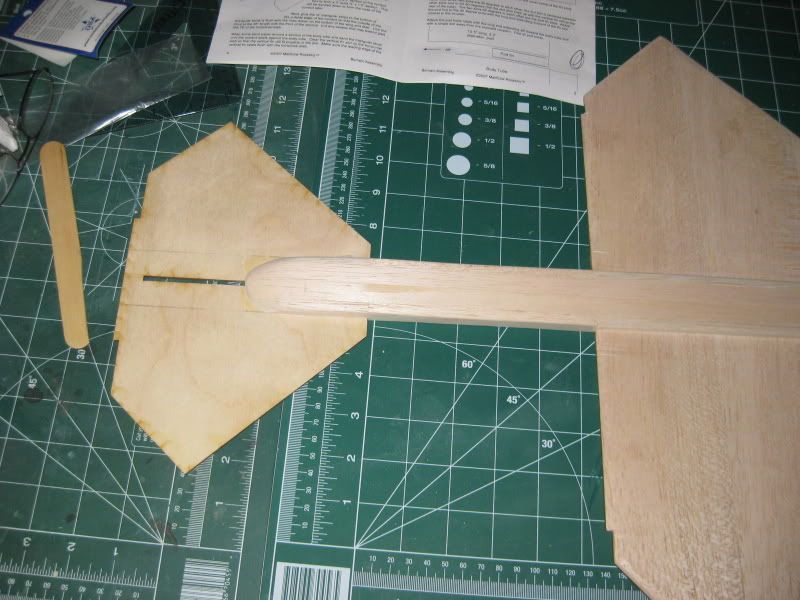 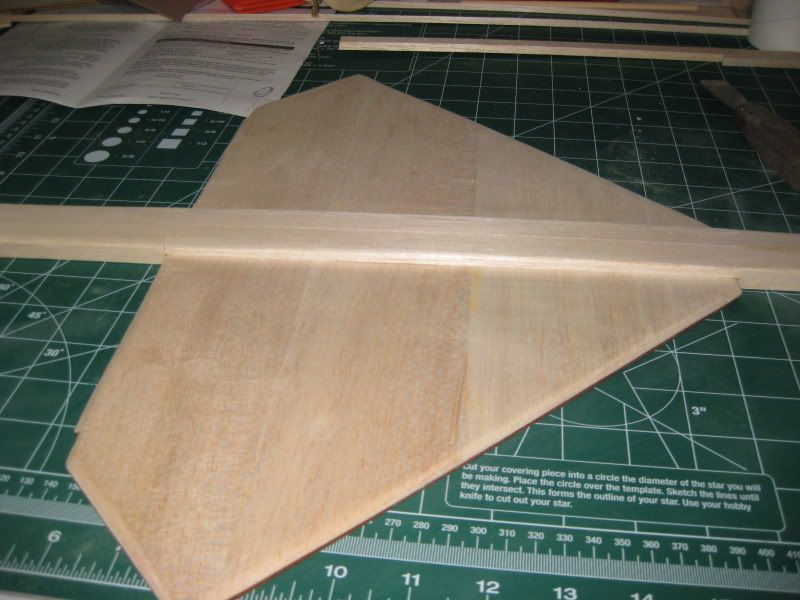 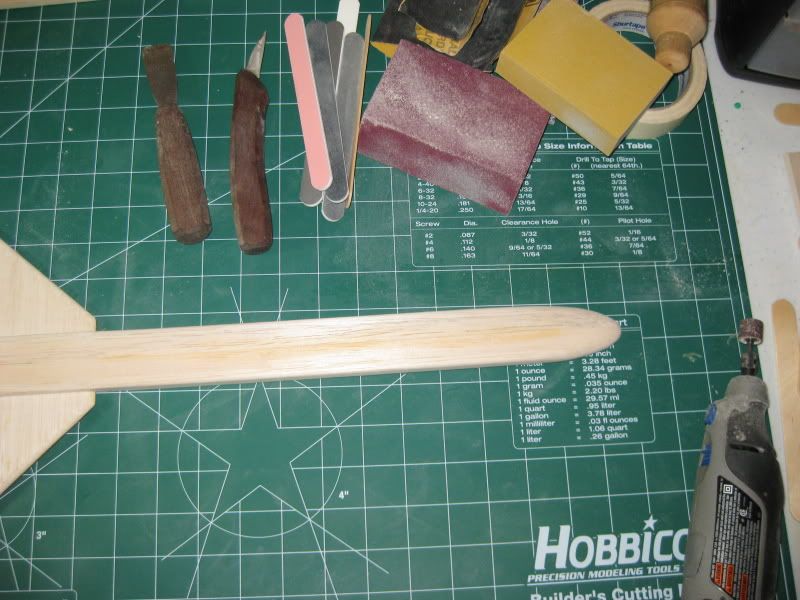 Now I cut the slot for the vertical fin again using my woodcarving tools and test fitted the fin. Nice and snug. 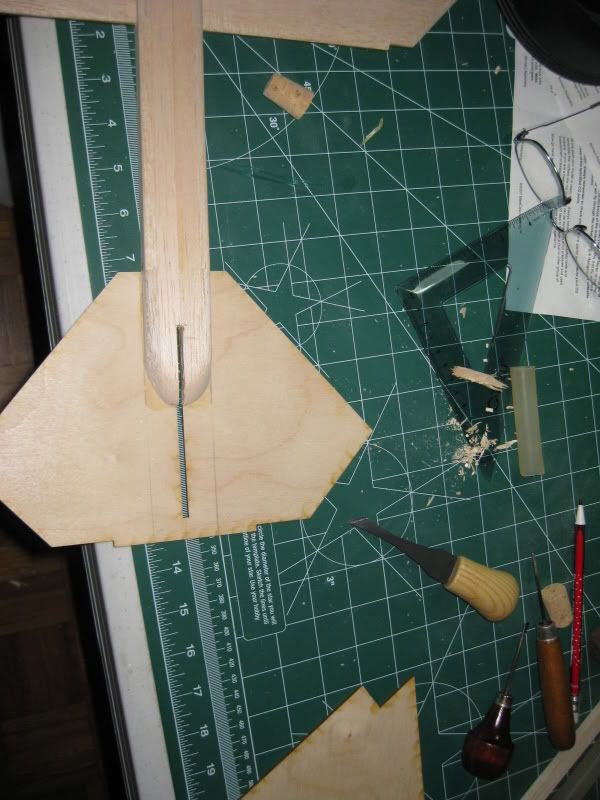 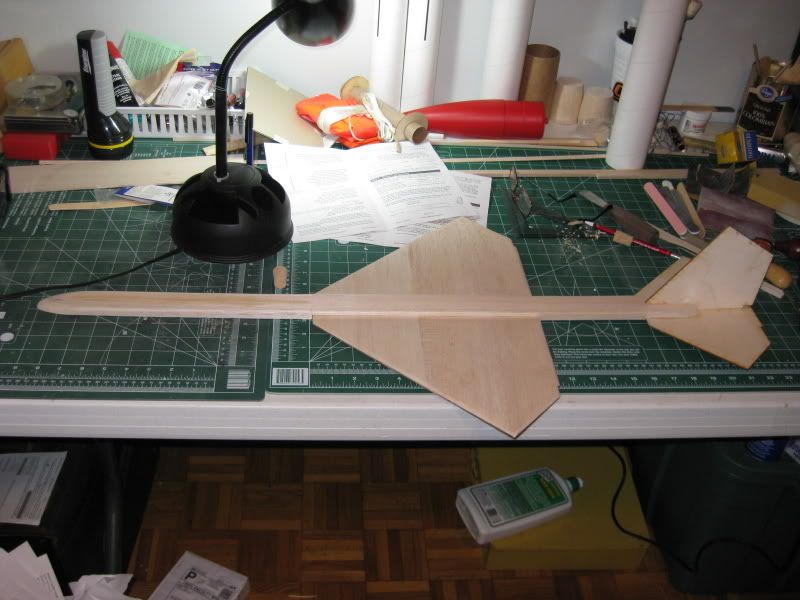 Here are three views of the top side. 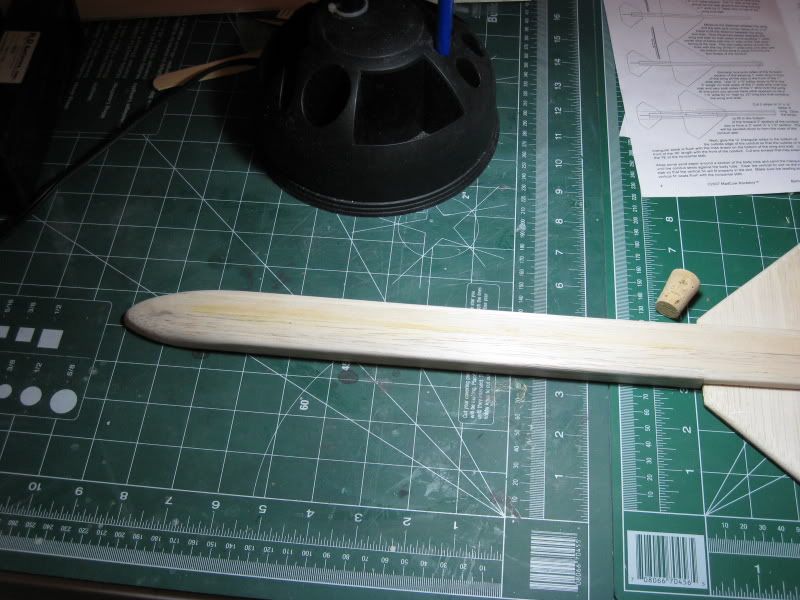 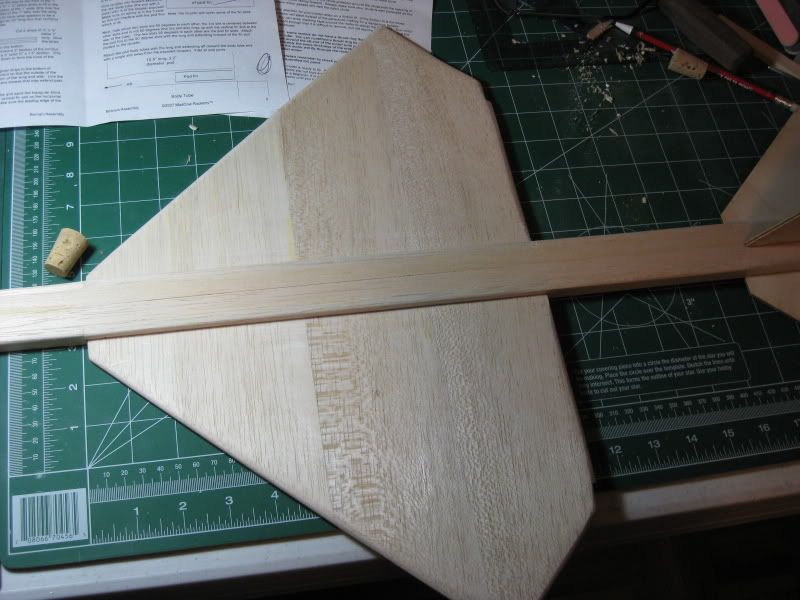 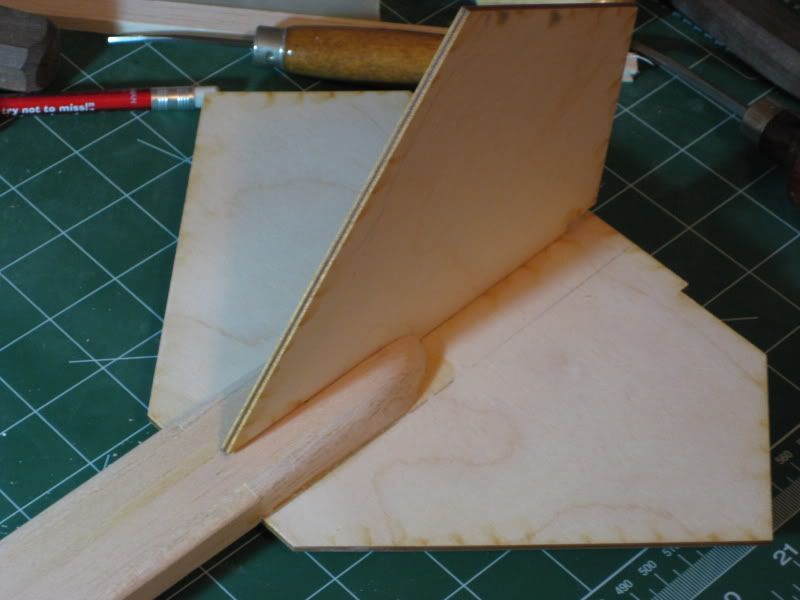
|
|
#4
12-11-2008, 02:27 PM
|
|||
|
|||
|
Turning the assembly over I began attaching the ¼ triangle pieces. I asked Mike and after confirming that it would not be a problem I used CA to attach it. I again used “T” pins to hold it initially while I tacked the rear. I then went fwd of the pin and began using thin CA to glue one 3-5 inch section at a time while holding the piece in line with my hand moving forward until I reached the nose. I managed to only glue my fingers once.
I then returned to the back, removed the pins and glued the remaining section.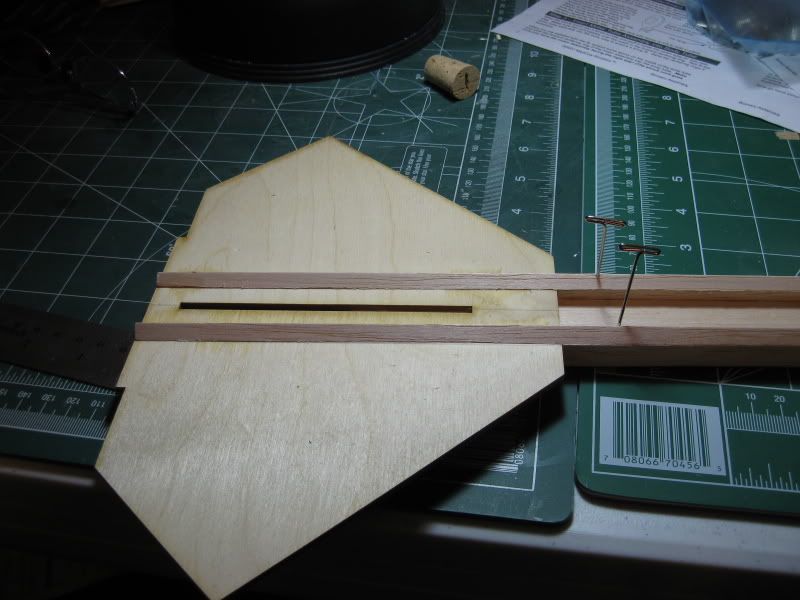 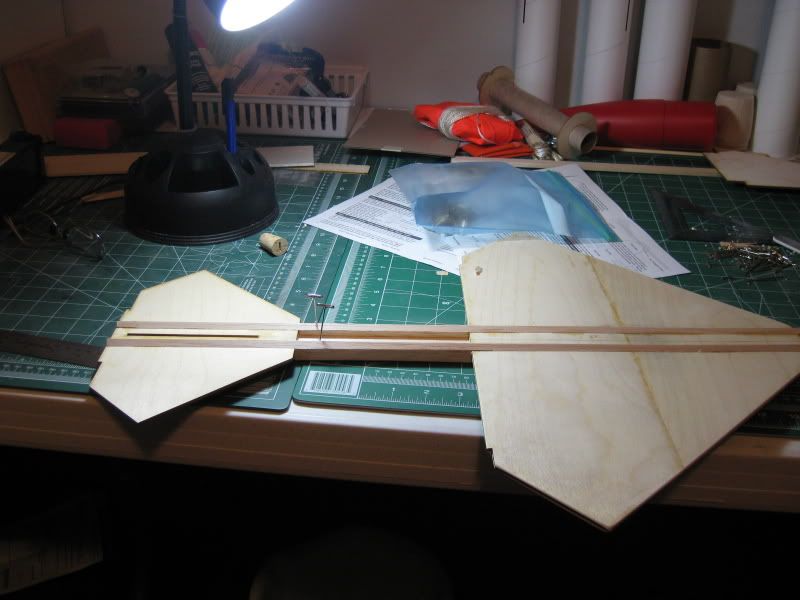 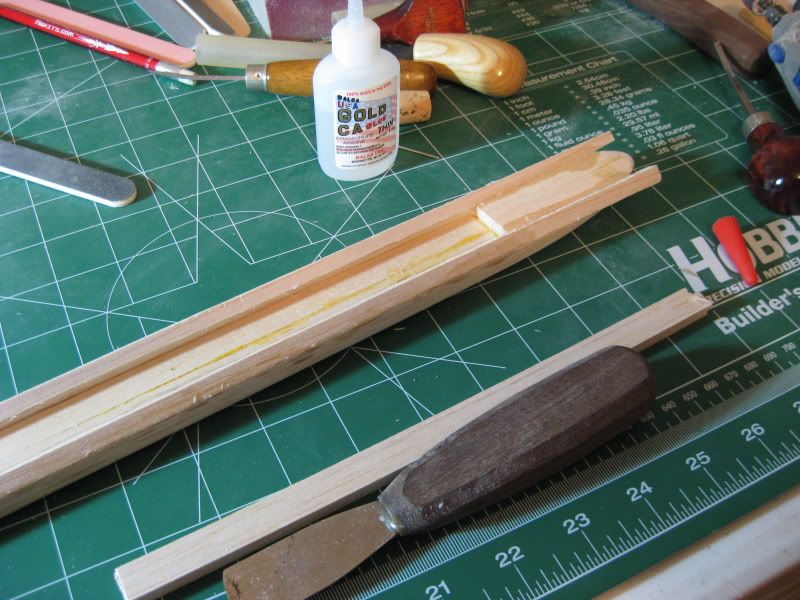 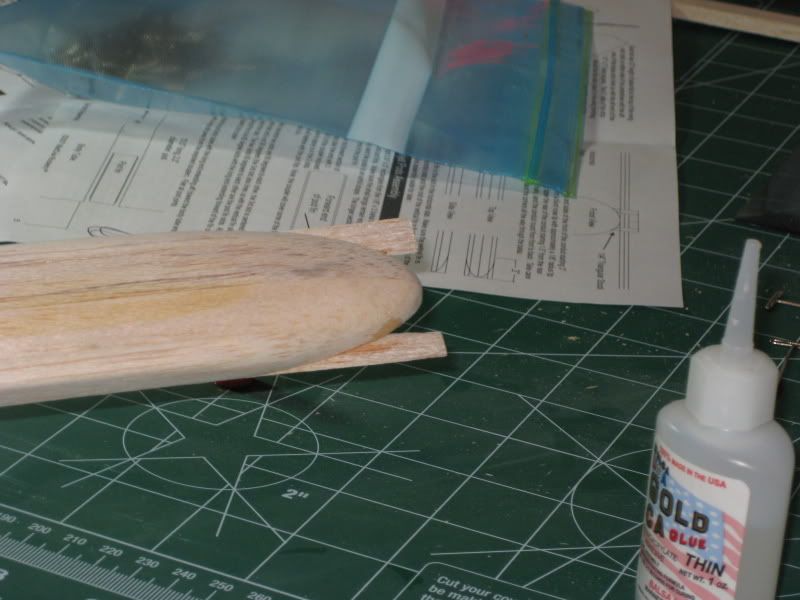
|
|
#5
12-11-2008, 02:31 PM
|
|||
|
|||
|
I wrapped a piece of sandpaper around one of the body tubes and began sanding the triangle pieces to the shape of the tube. As SkyCopp would say this is where I “Goobered” things up a bit.
I wasn’t paying attention  and didn’t keep the tube and sandpaper sliding true front to back and in doing so I took more off the right than the left and when I noticed it was too late. and didn’t keep the tube and sandpaper sliding true front to back and in doing so I took more off the right than the left and when I noticed it was too late. The tube did not lay right as there was too much space side to side. I fixed it by shaving off some thin pieces of leftover balsa and built that side back up again and re-sanded this time watching what I was doing. After all my :cursing: it came out all right. The tube did not lay right as there was too much space side to side. I fixed it by shaving off some thin pieces of leftover balsa and built that side back up again and re-sanded this time watching what I was doing. After all my :cursing: it came out all right. 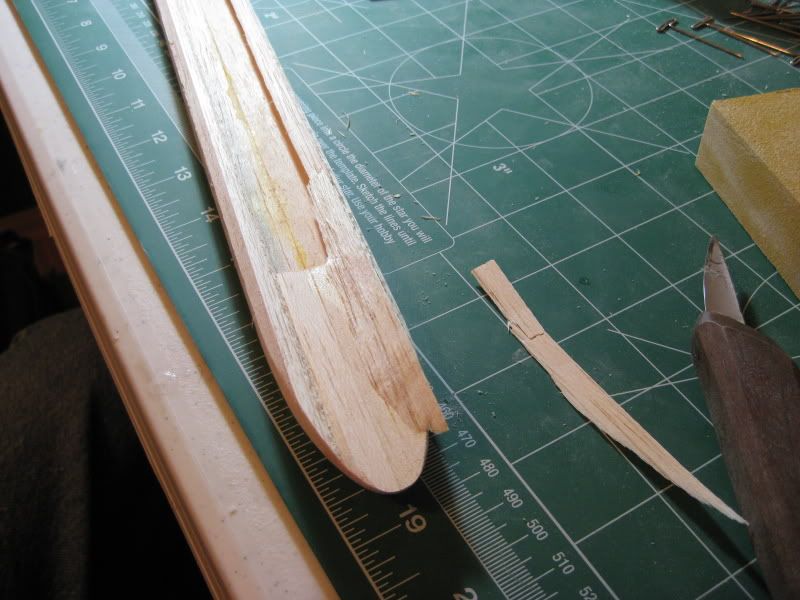 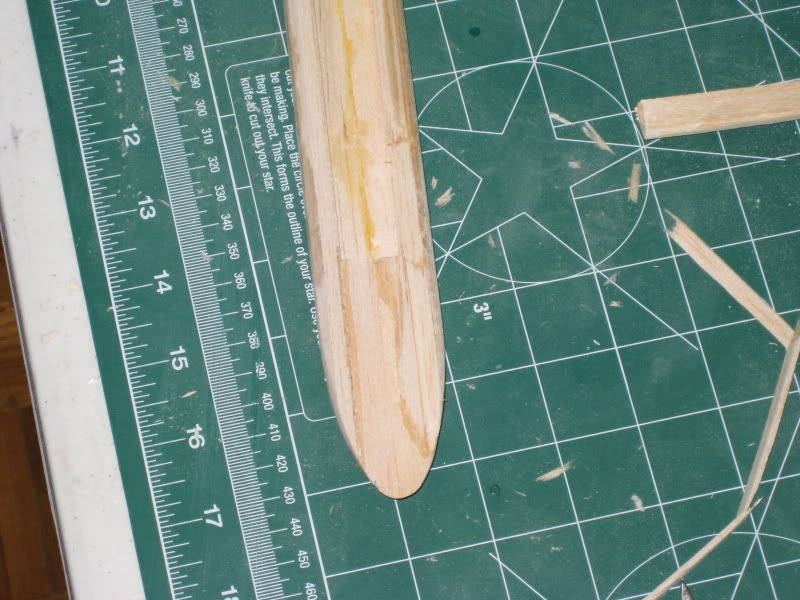 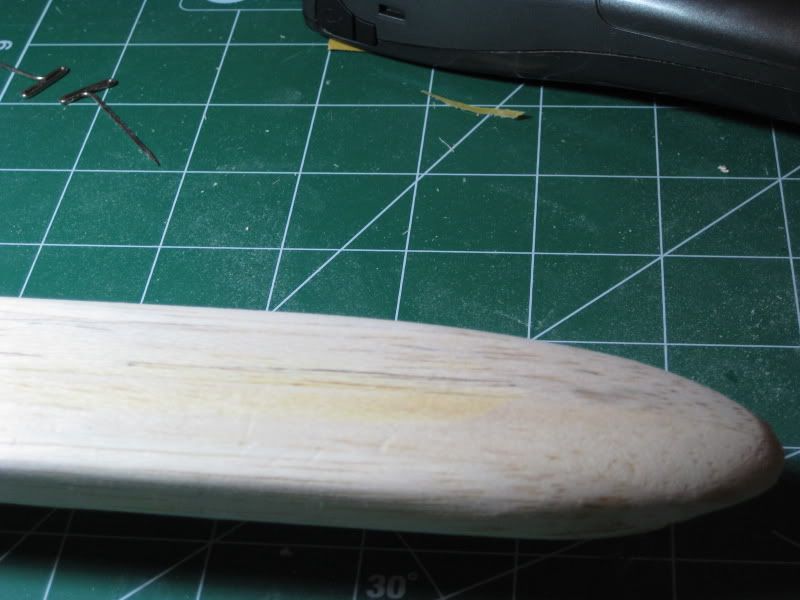 That is as far as I got so far while I’m waiting on an answer to my question about the rear tube slots from Mike.
|
|
#6
12-11-2008, 02:32 PM
|
|||
|
|||
|
Here is a link to "SkyCopp's" build thread at RP.
http://www.rocketryplanet.com/forum...read.php?t=2425
|
|
#7
12-16-2008, 02:26 PM
|
|||
|
|||
|
I fixed a problem with the vertical fin that Mike Stoop caught. (Wasn't far enough fwd and down)
Then I started on the pod fins and pod fin tubes.  I glued the ramjet nosecone's to the bases and I sealed them. I have some filling and sanding to do to them to take out the pits. Next I glued them to the pod fin tubes and put fillets on the pod fins. I epoxied the whole assembly to the wing and stab and then I realized a major screwup.  I'm working on solving the problem and I will post about it and the fix later. Time for a cocktail.  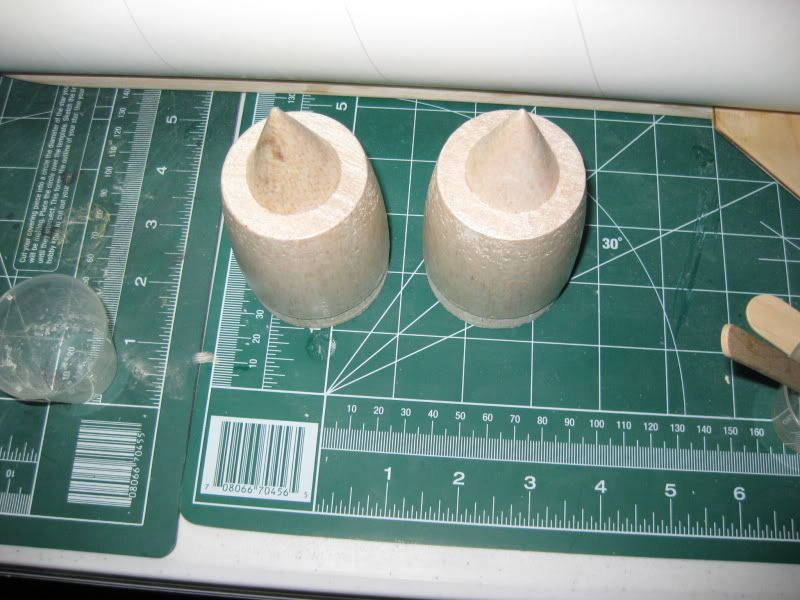 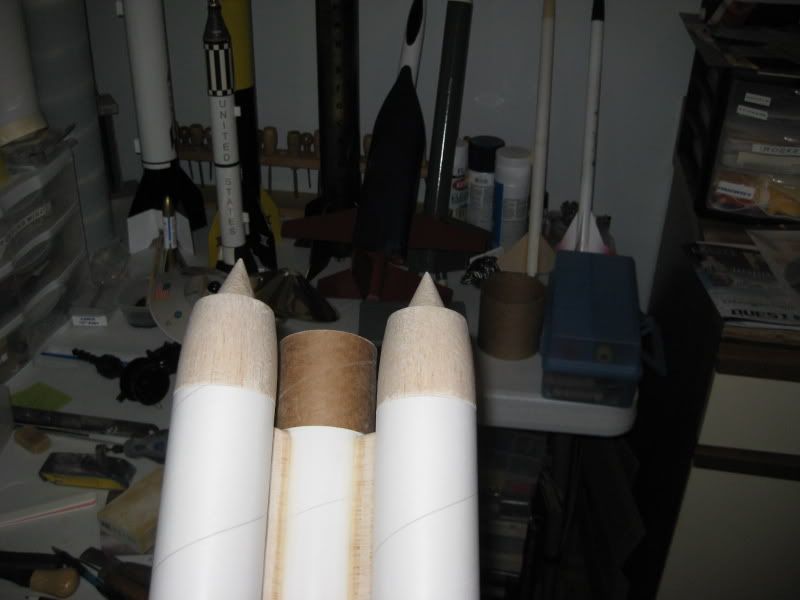
|
|
#9
12-16-2008, 05:38 PM
|
|||
|
|||
|
Well,,,I,,,Err,,,oh ya the list.
 I was able to put off half of them (I'm real good at giving her "Excellent" reasons why "I can't right now,,because") BTW,, Dave told me about GSFE II and the time frame of Jan- early Feb looks good for me. I'll PM him tonight to let him know. Quote:
|
|
#10
12-17-2008, 03:10 PM
|
|||
|
|||
|
I'm enjoying reading this. Please continue. And don't forget to include the final fate of the to-do list. :-)
|
 |
| Thread Tools | Search this Thread |
| Display Modes | |
|
|


 Linear Mode

