
|
|
#1
 07-03-2010, 12:28 PM
|
|||
|
|||
|
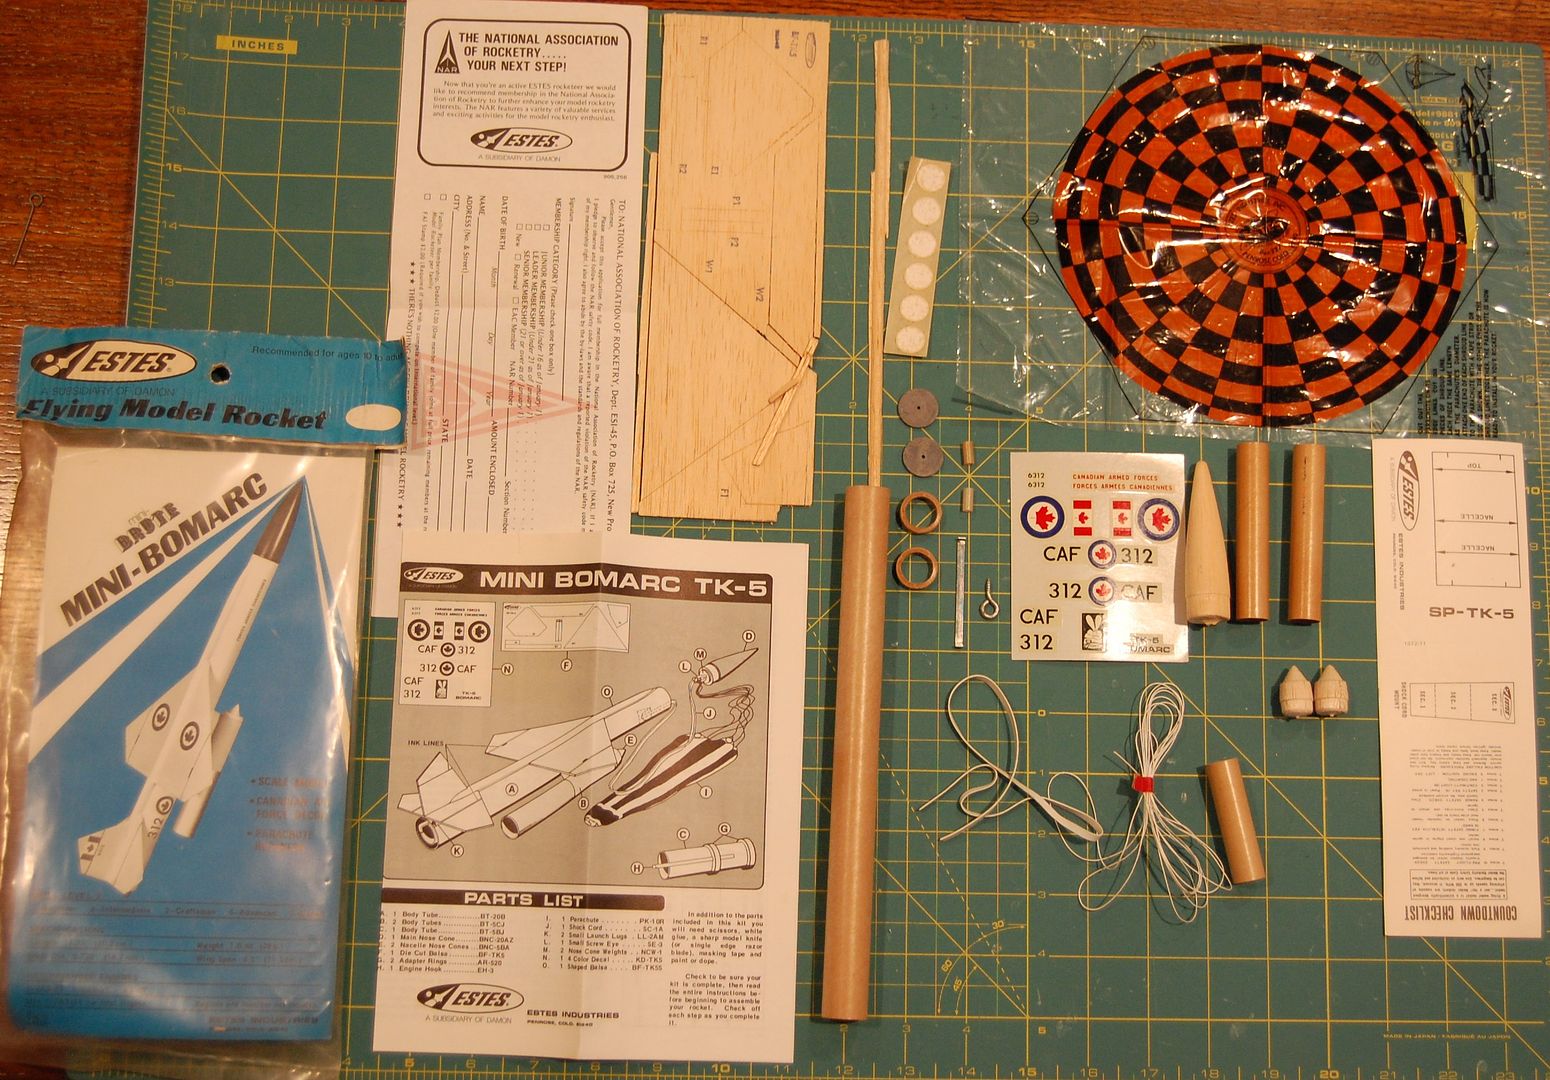
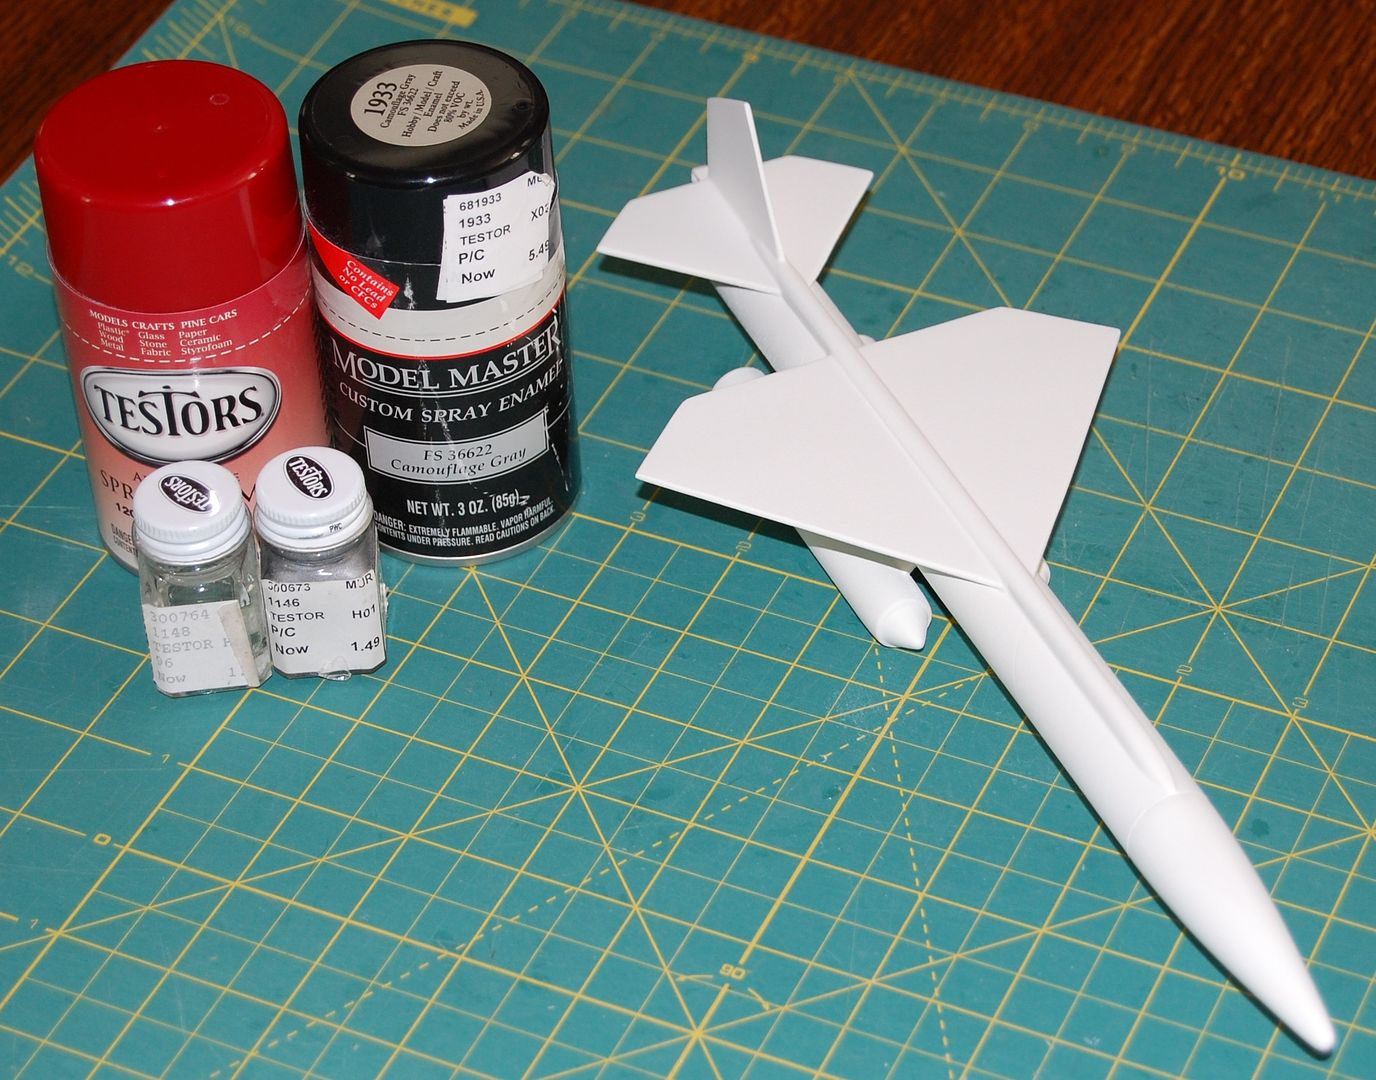
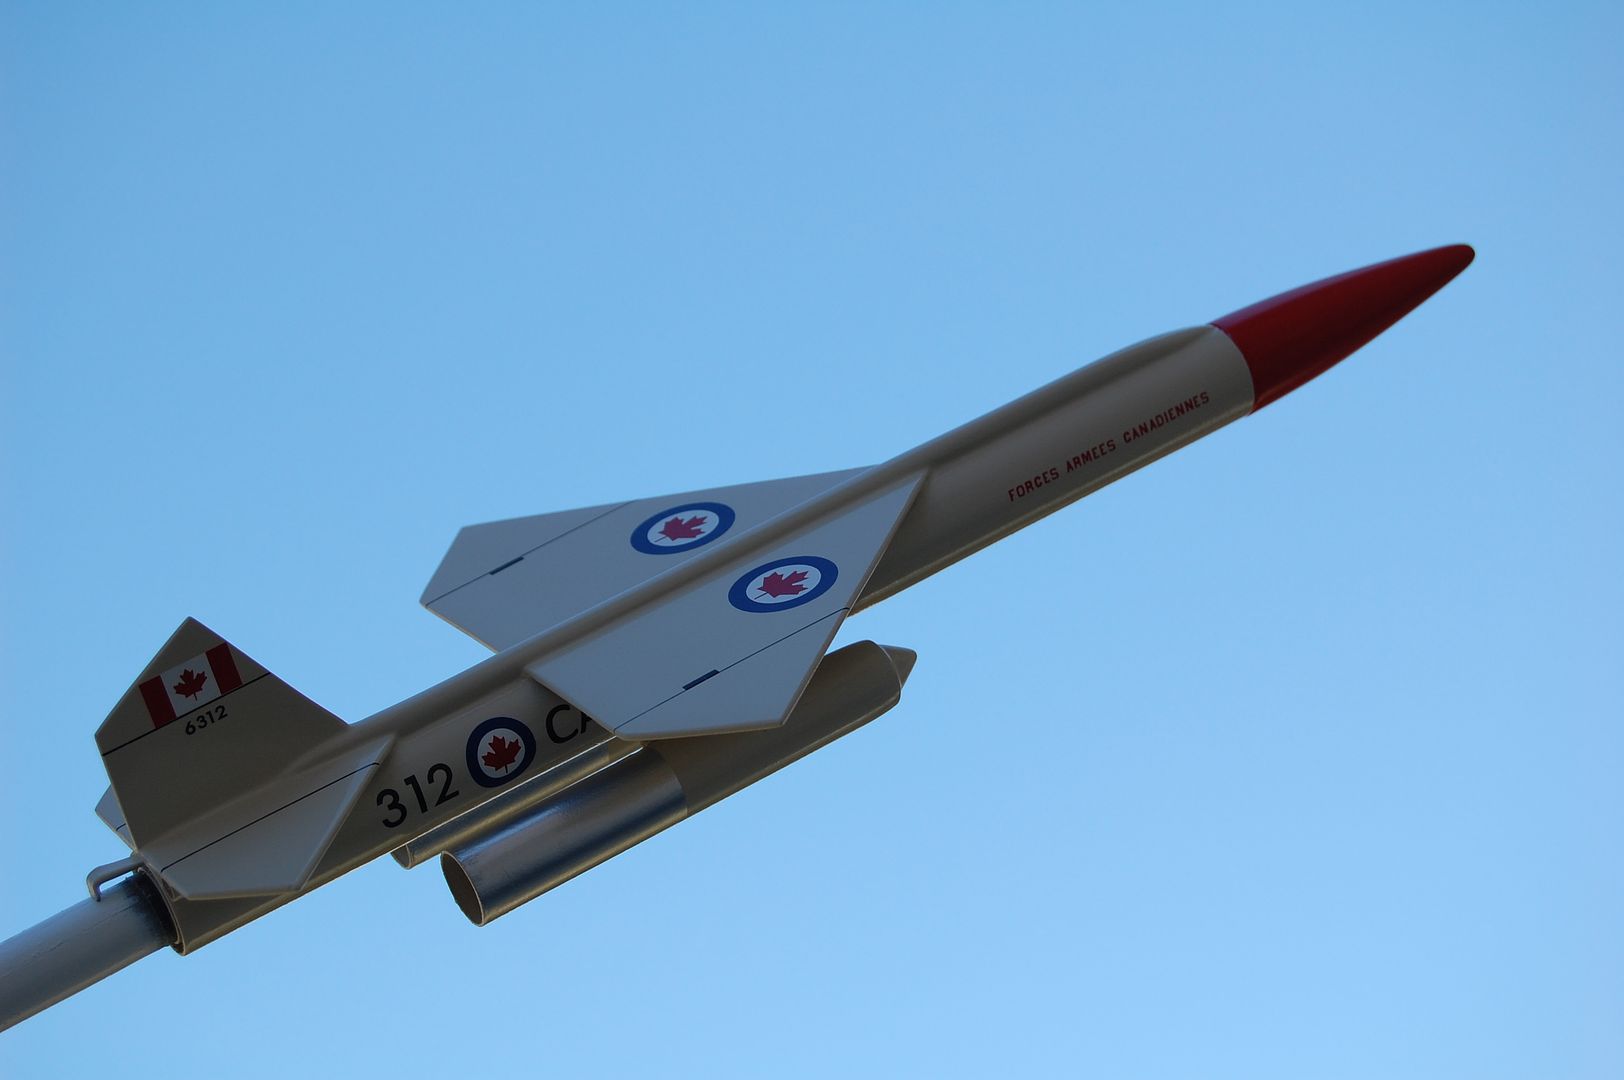
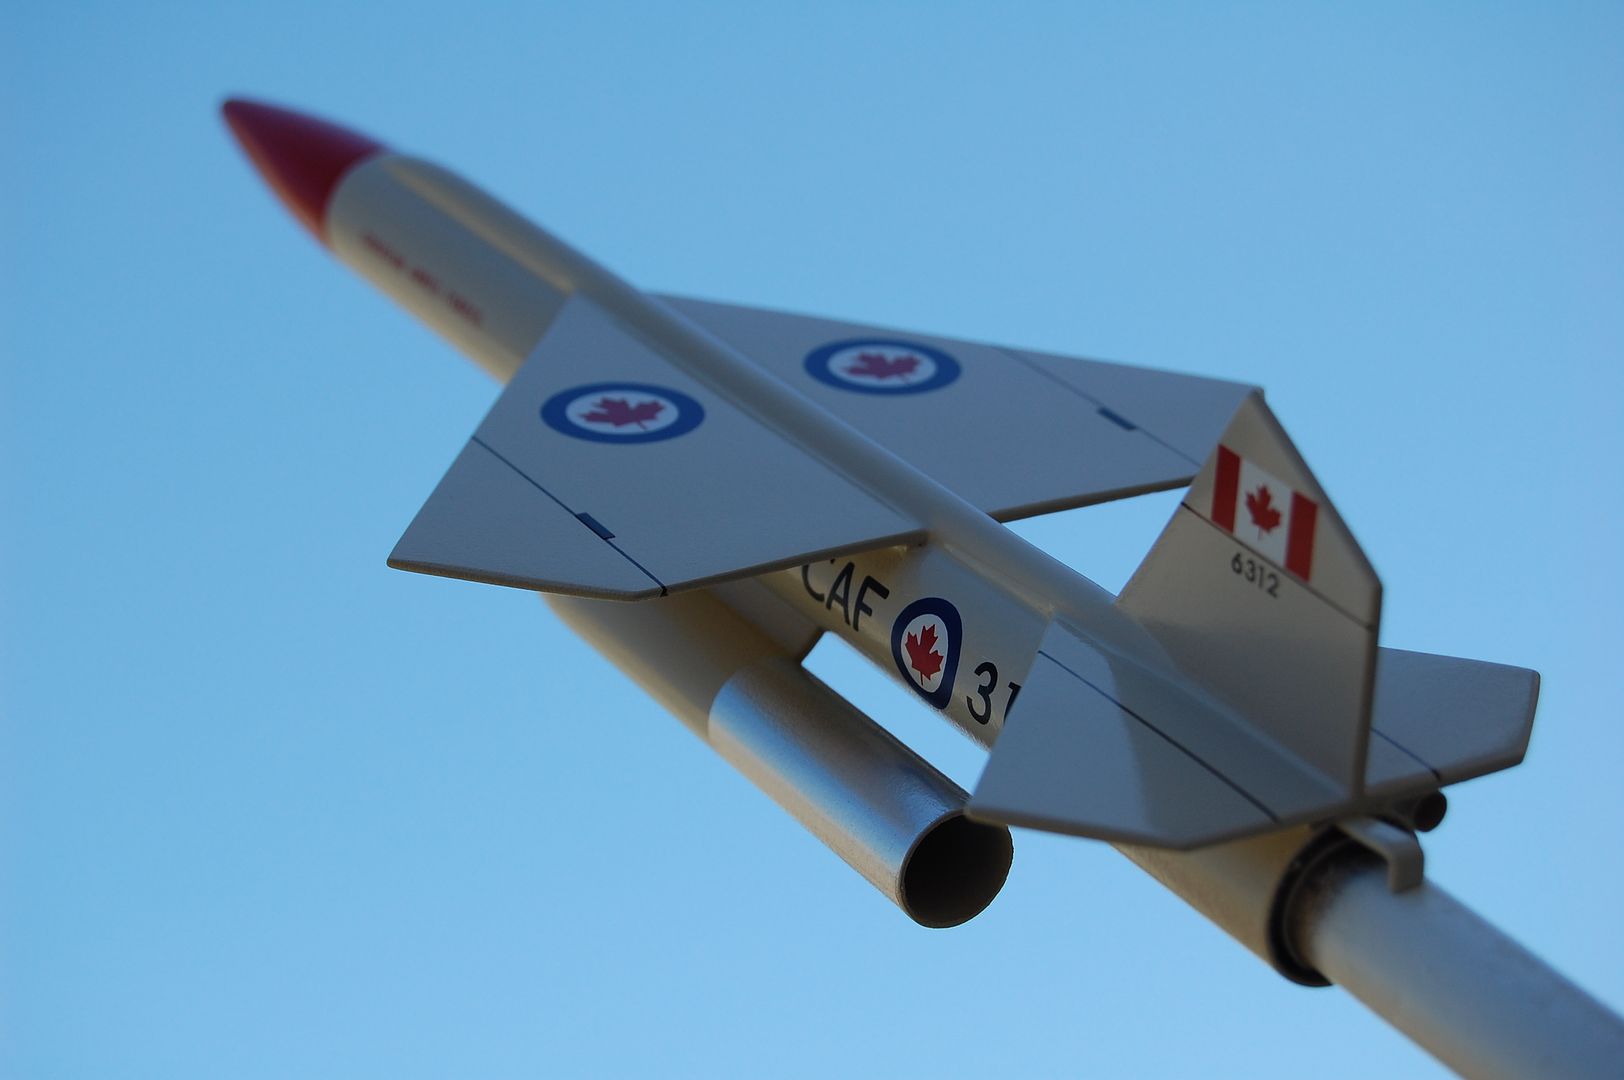
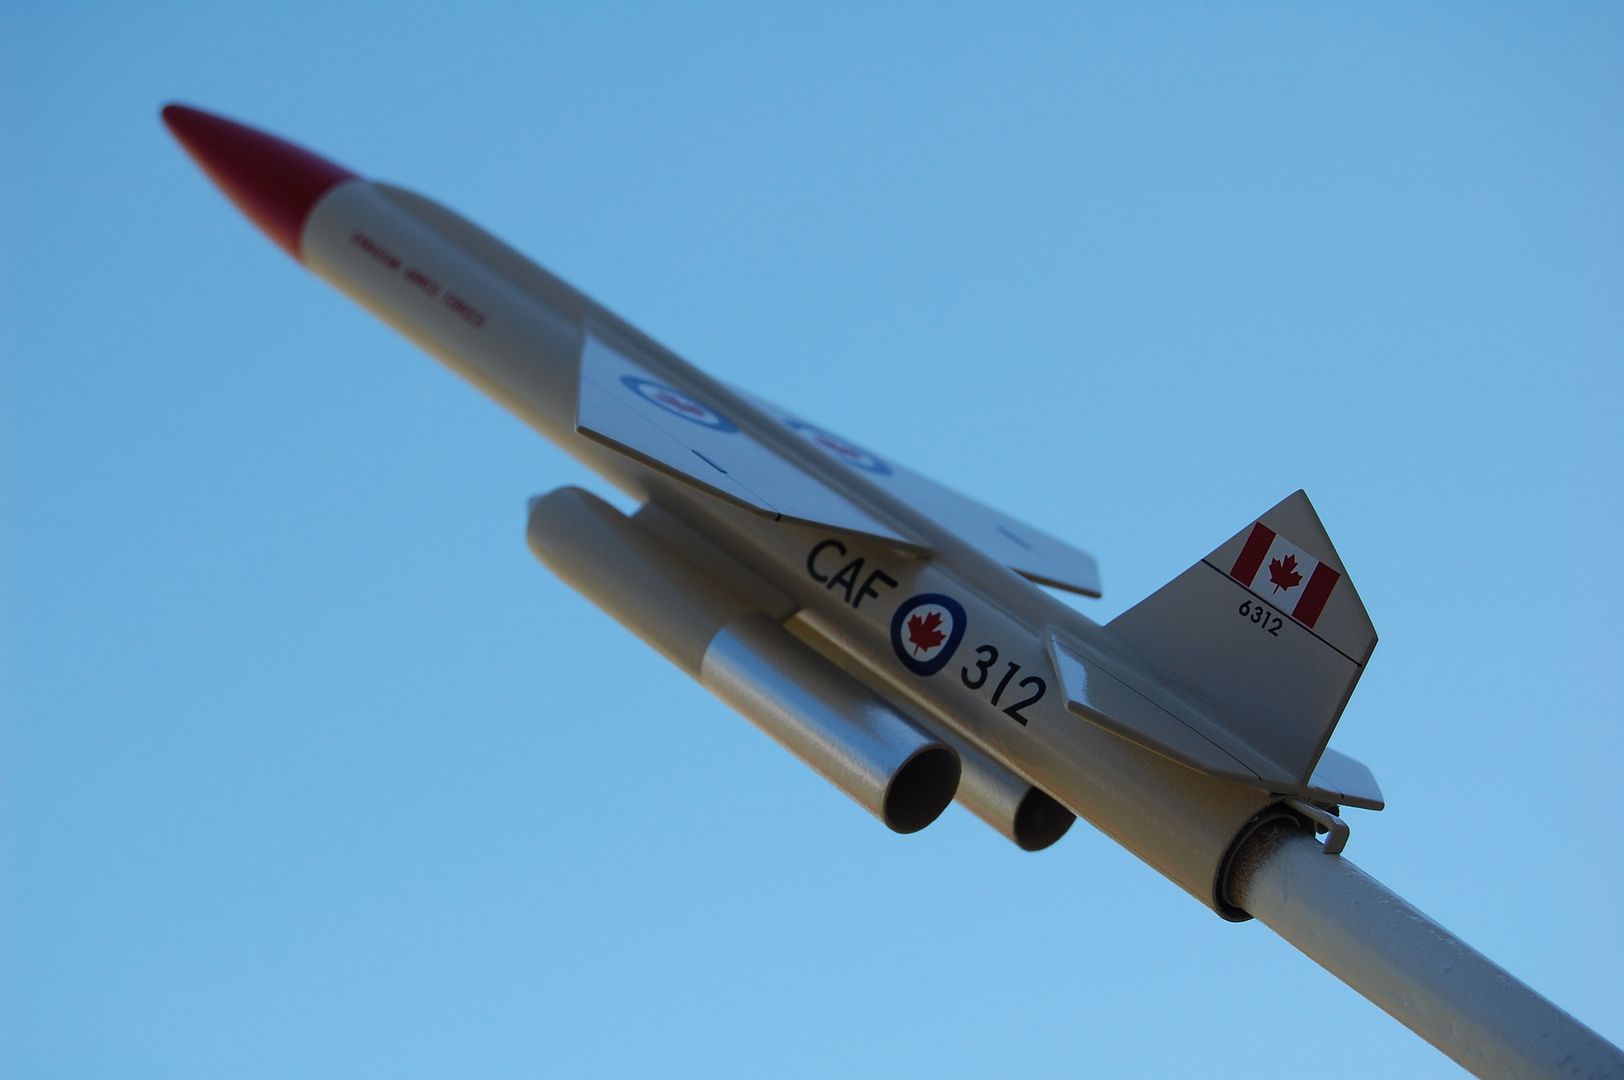
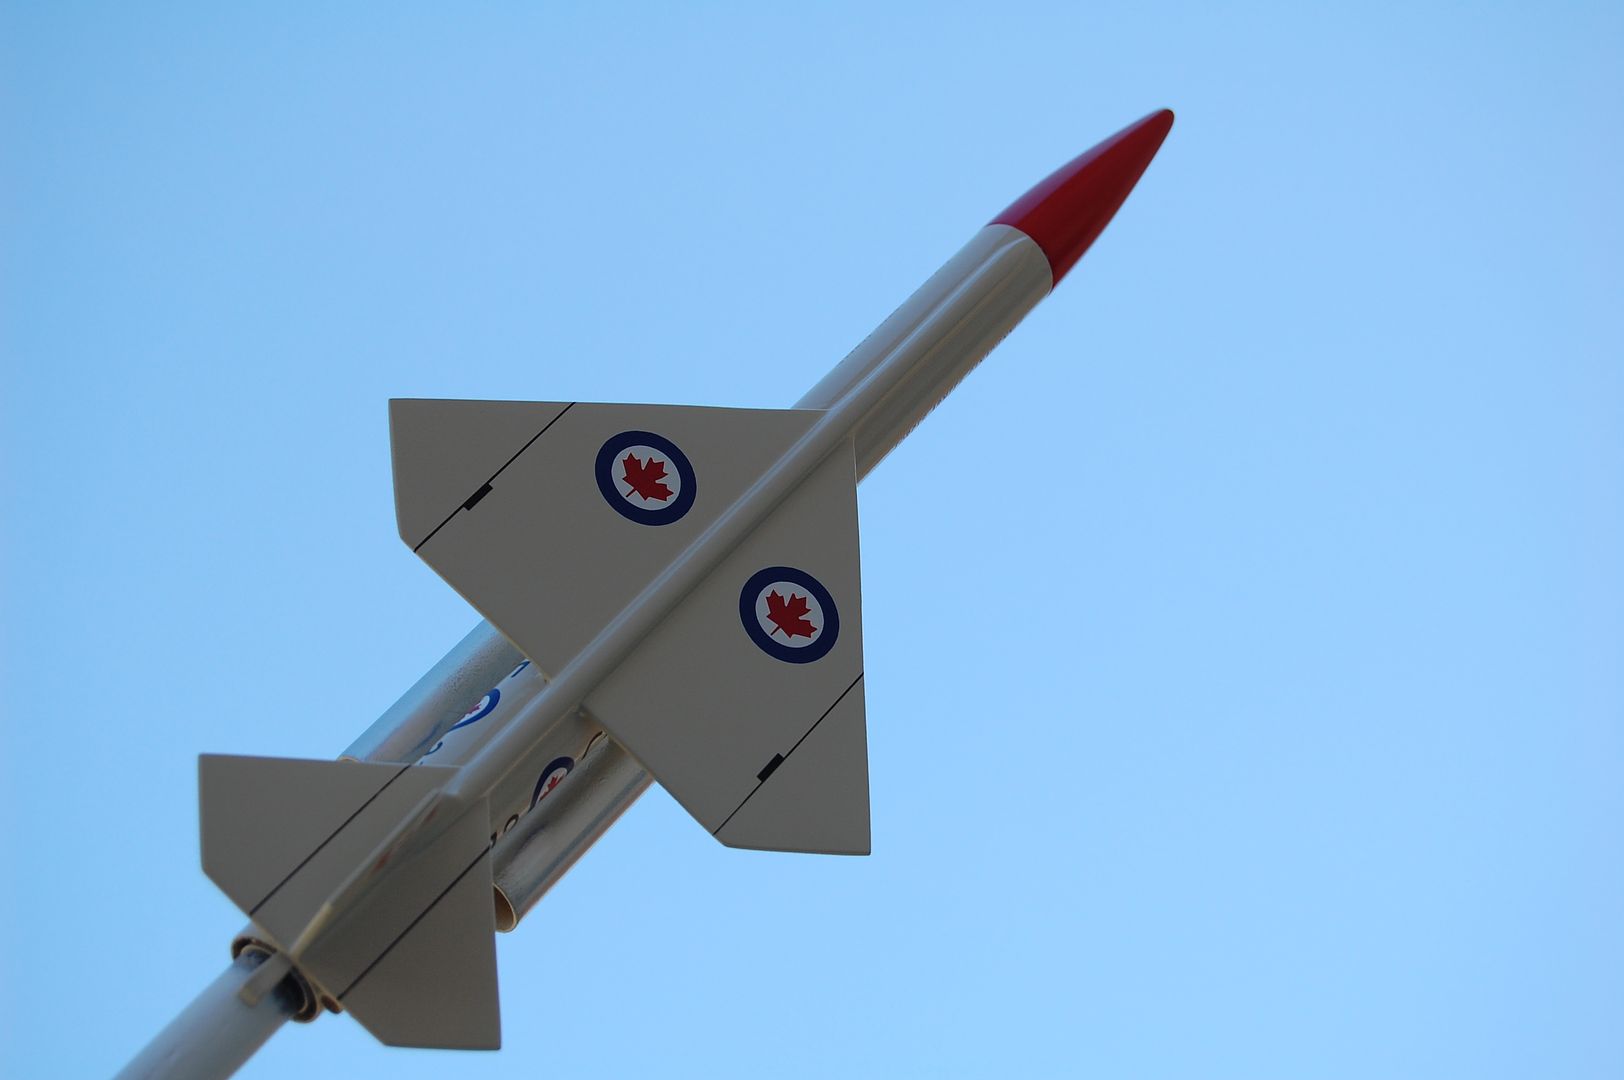
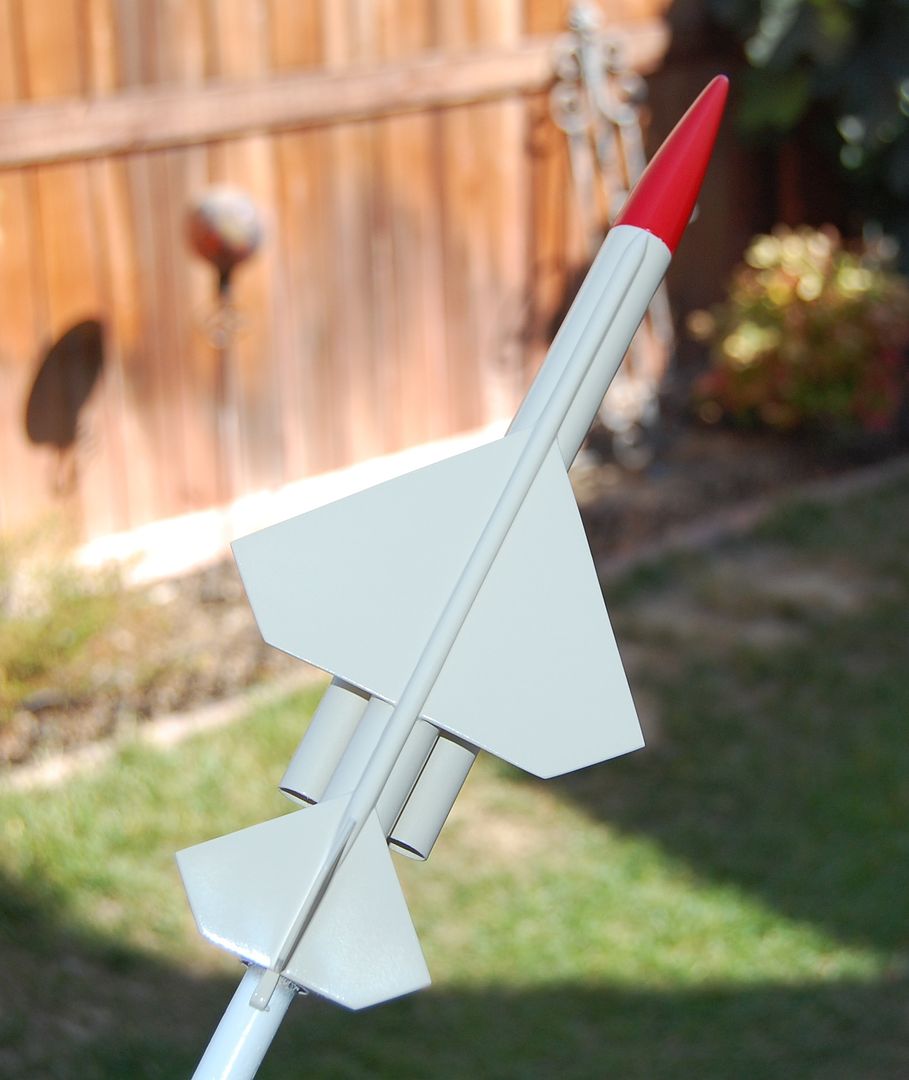
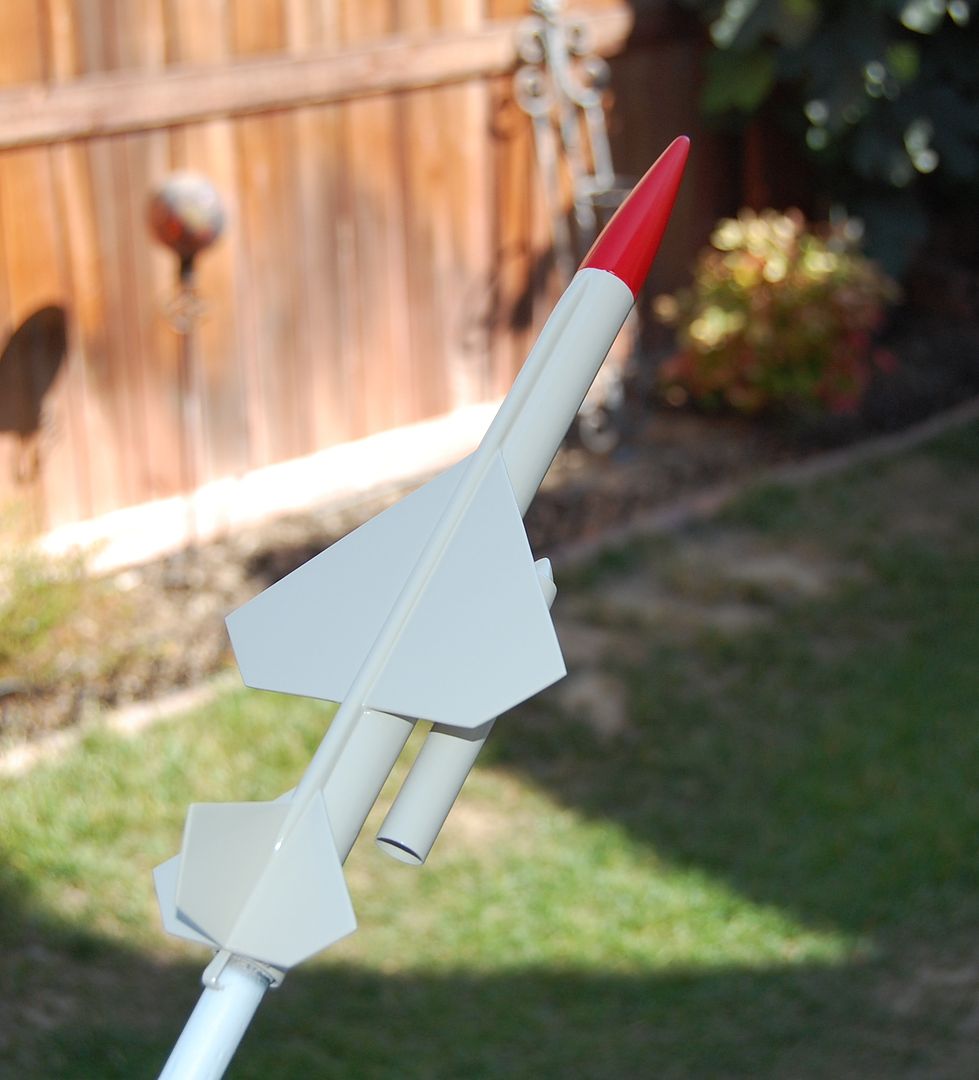
My next build is the Estes Mini Bomarc. This looks like a more challenging build and should prove to be fun. I did notice the directions call for a 10 inch parachute and as you can tell mine came with a 8 inch chute. Also what color did Estes paint this rocket? Is it light grey or white?
|
|
#2
07-03-2010, 02:55 PM
|
||||
|
||||
|
The color is light gray.
If you want to paint it black I have the decals for the mini Bomarc with the U.S. markings. Really not that hard to clone. OH! with some slight modifications the SEMROC "rocket Stand" makes a reall cool display launcher. Almost scale...almost.
__________________
"I'm a sandman. I've never killed anyone. I terminate runners when their time is up." Logan from "Logan's Run" http://sandmandecals.com/
|
|
#3
07-03-2010, 07:54 PM
|
||||
|
||||
|
Quote:
Don't you know by now that's never going to happen with any of SCIGS30's builds? 
|
|
#4
07-03-2010, 08:21 PM
|
||||
|
||||
|
Quote:
Well, he could clone another one. ")
__________________
"I'm a sandman. I've never killed anyone. I terminate runners when their time is up." Logan from "Logan's Run" http://sandmandecals.com/
|
|
#5
07-07-2010, 09:59 PM
|
|||
|
|||
|
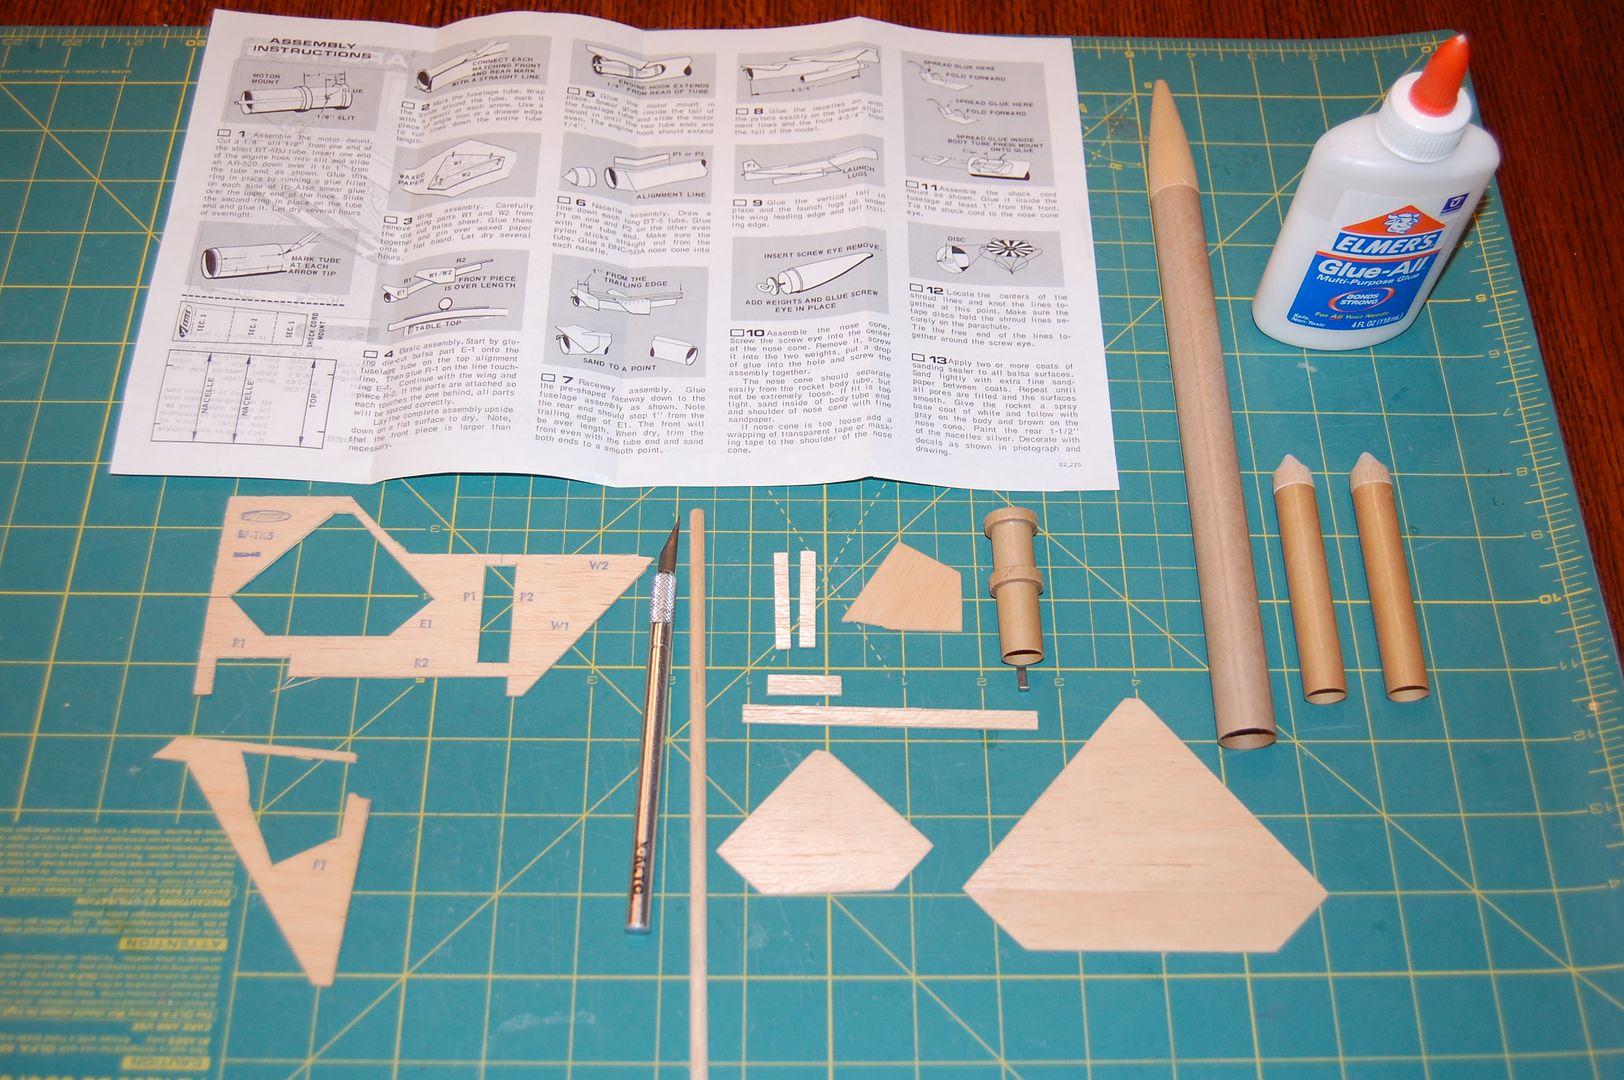
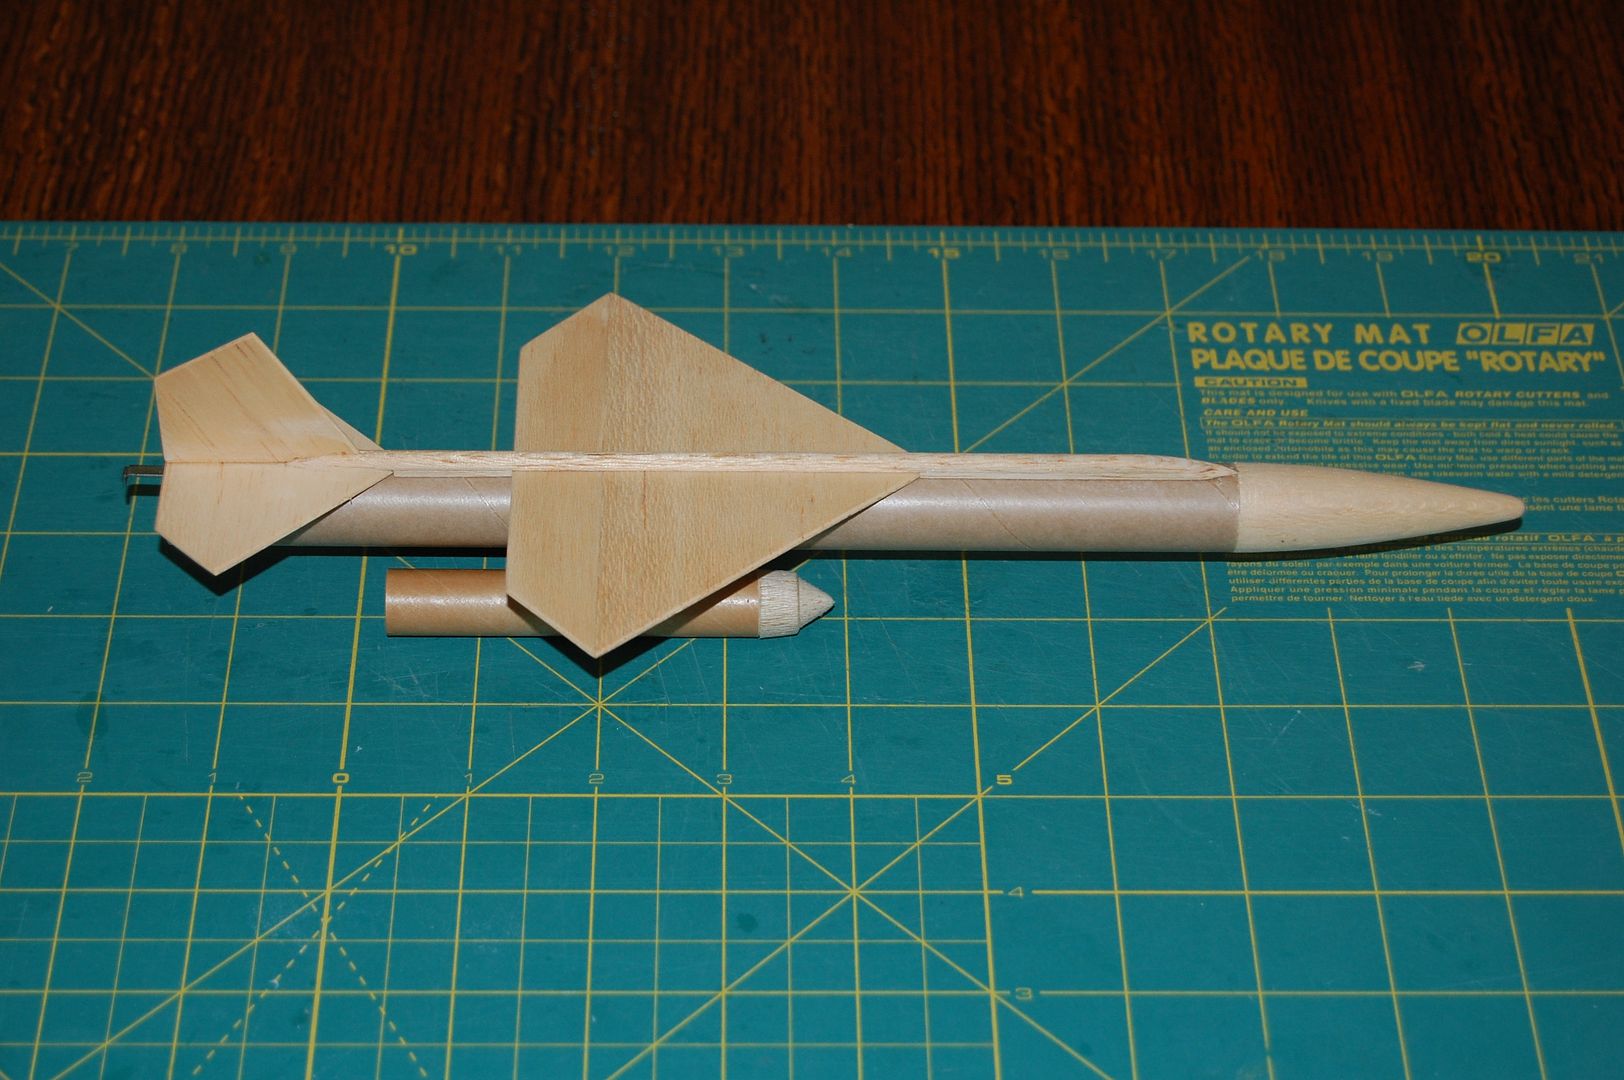
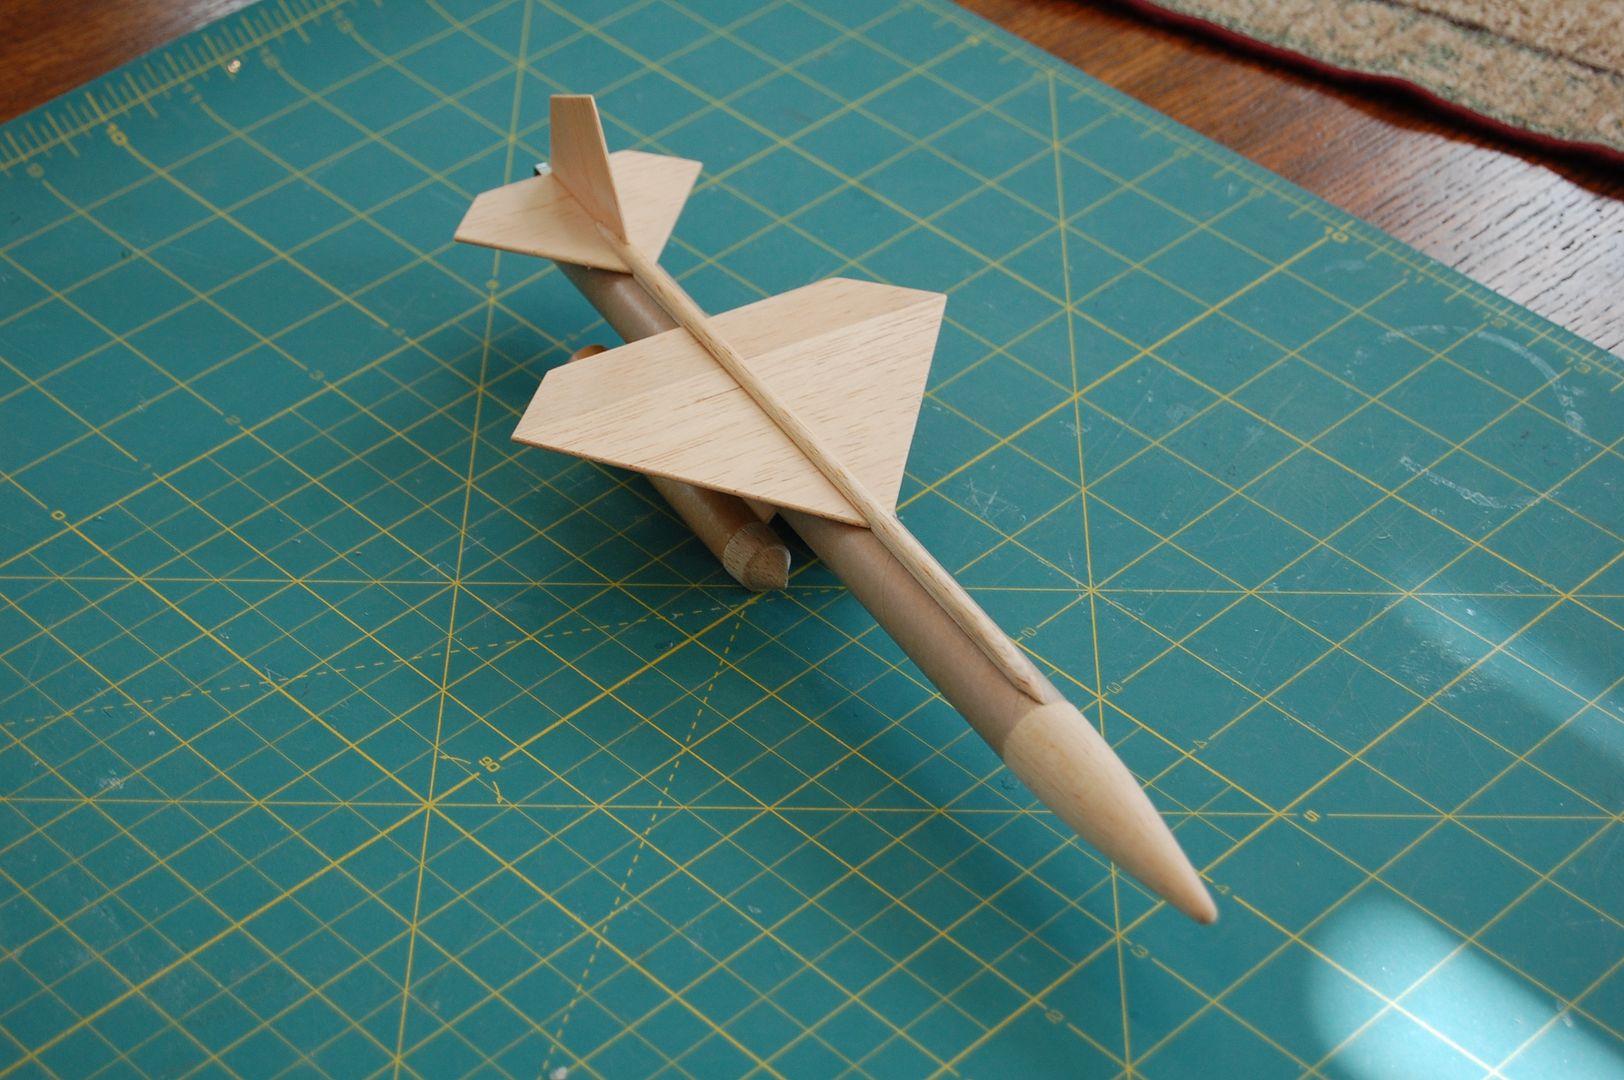
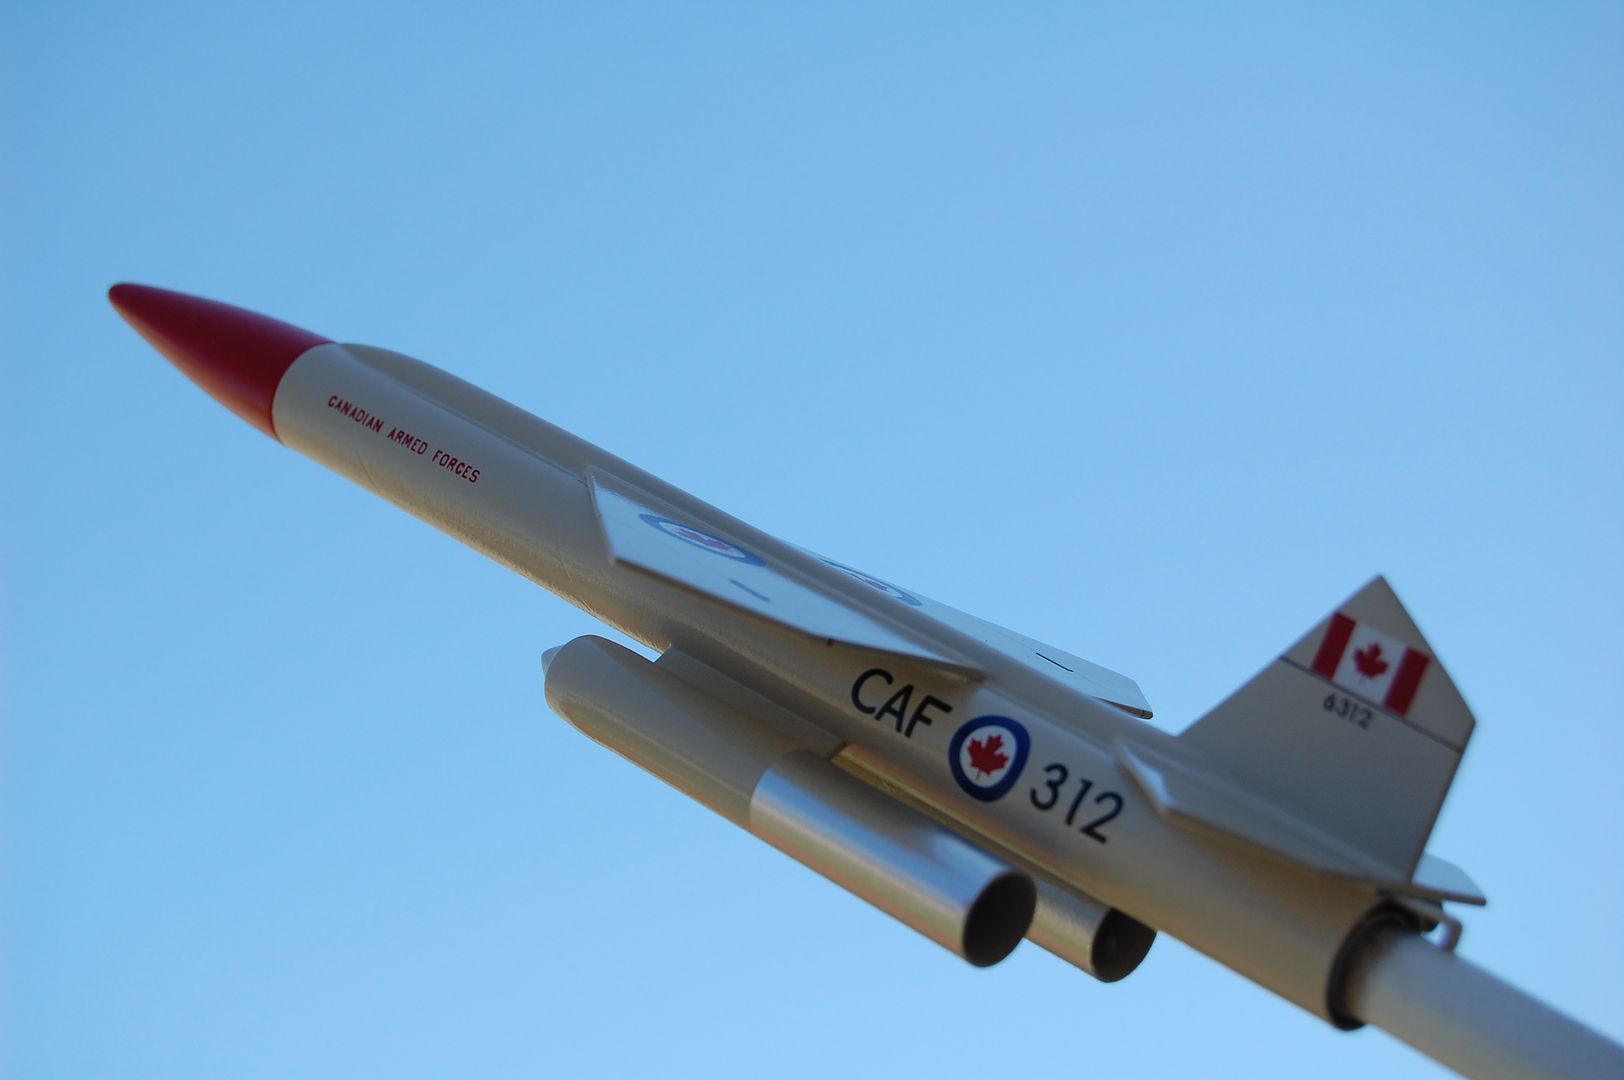
So far not too bad of a build, it has been fun using the old balsa and cardboard tubes. The rocket is built, still have to add fillets and brush on 3 coats of balsa sealer. I pulled out all of my Estes Catalogs and the 1975 shows a pretty good picture of the Mini Bomarc and it does appear to be light grey and red nose.
|
|
#6
07-11-2010, 07:37 PM
|
|||
|
|||
|
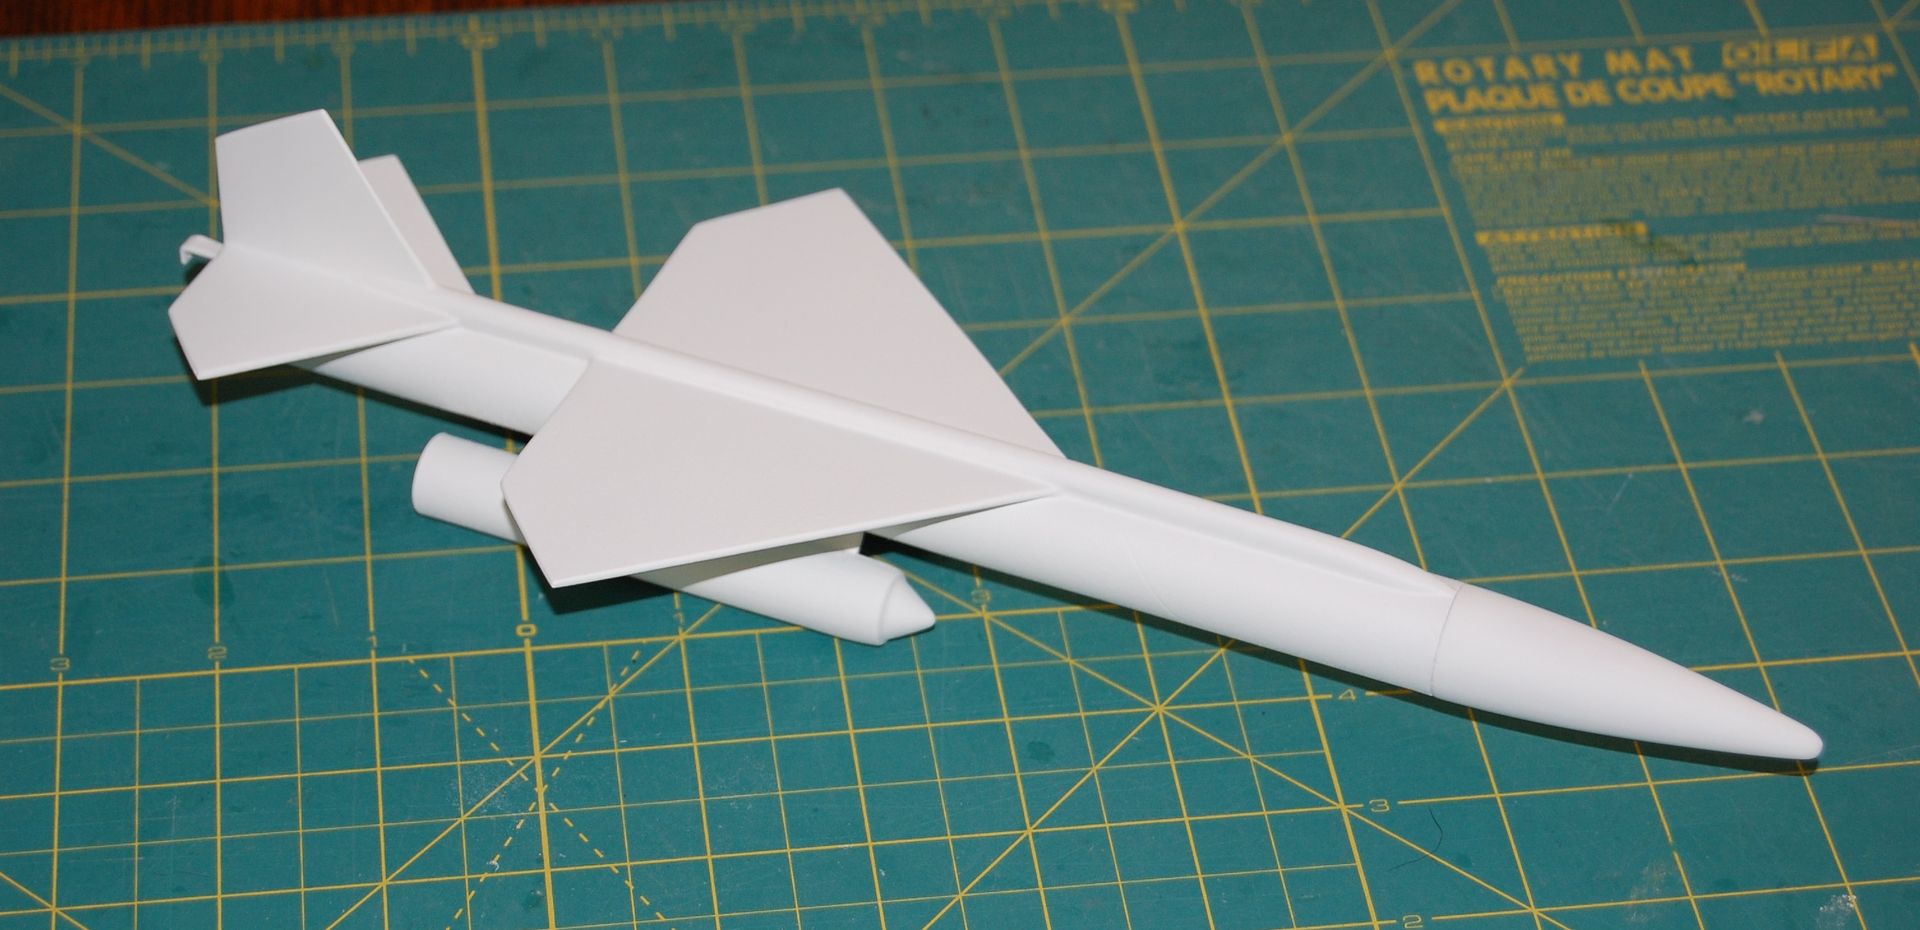
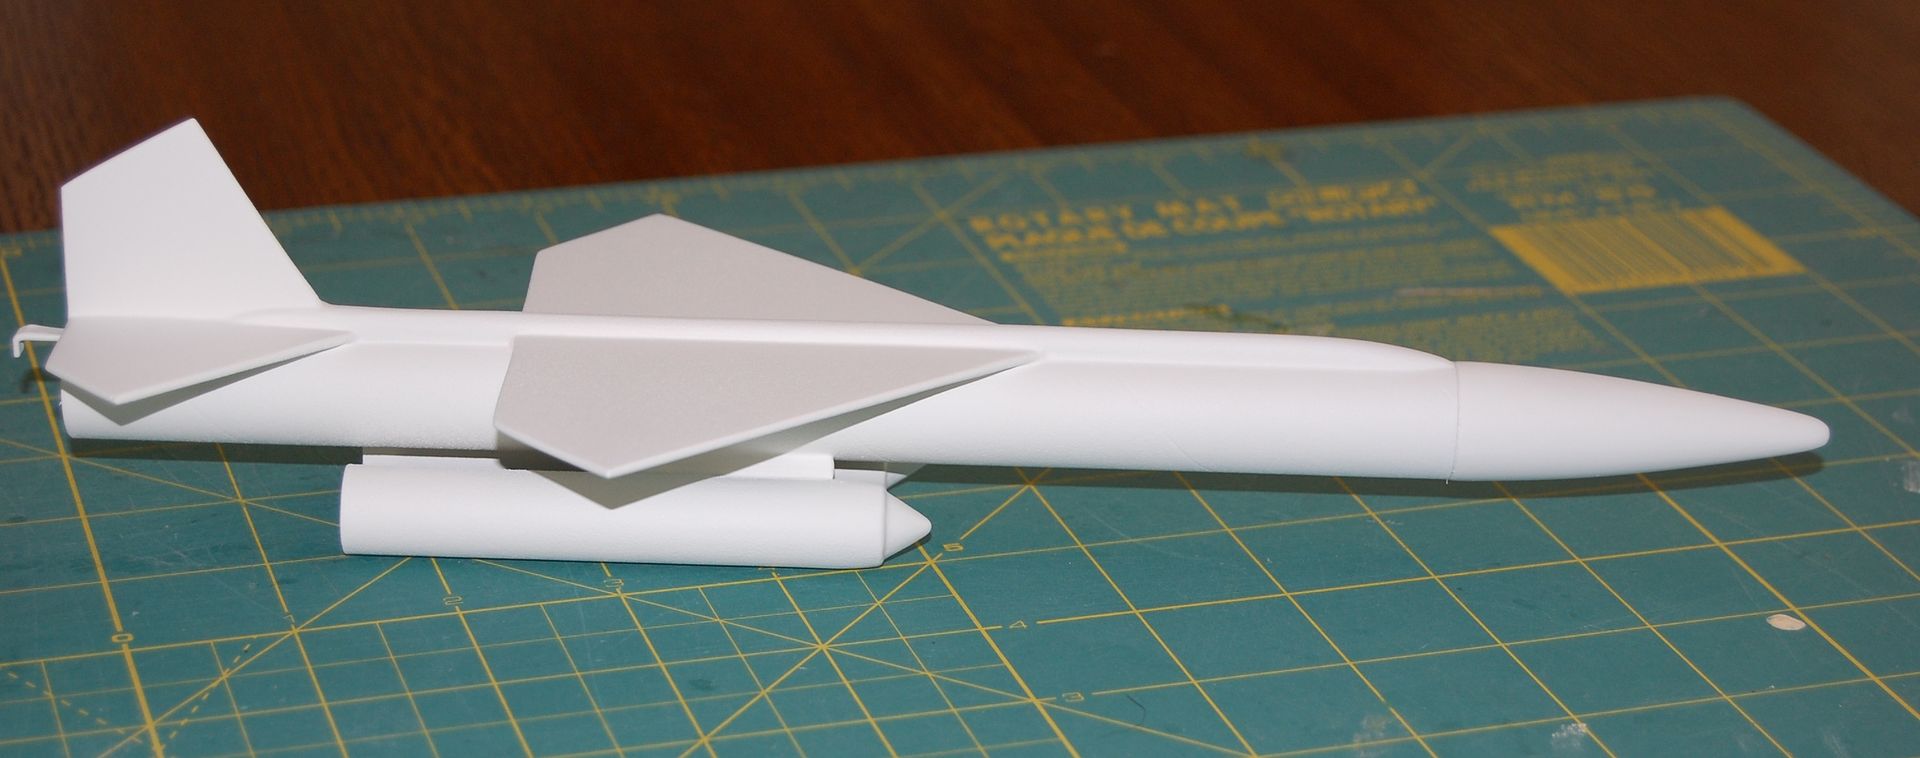
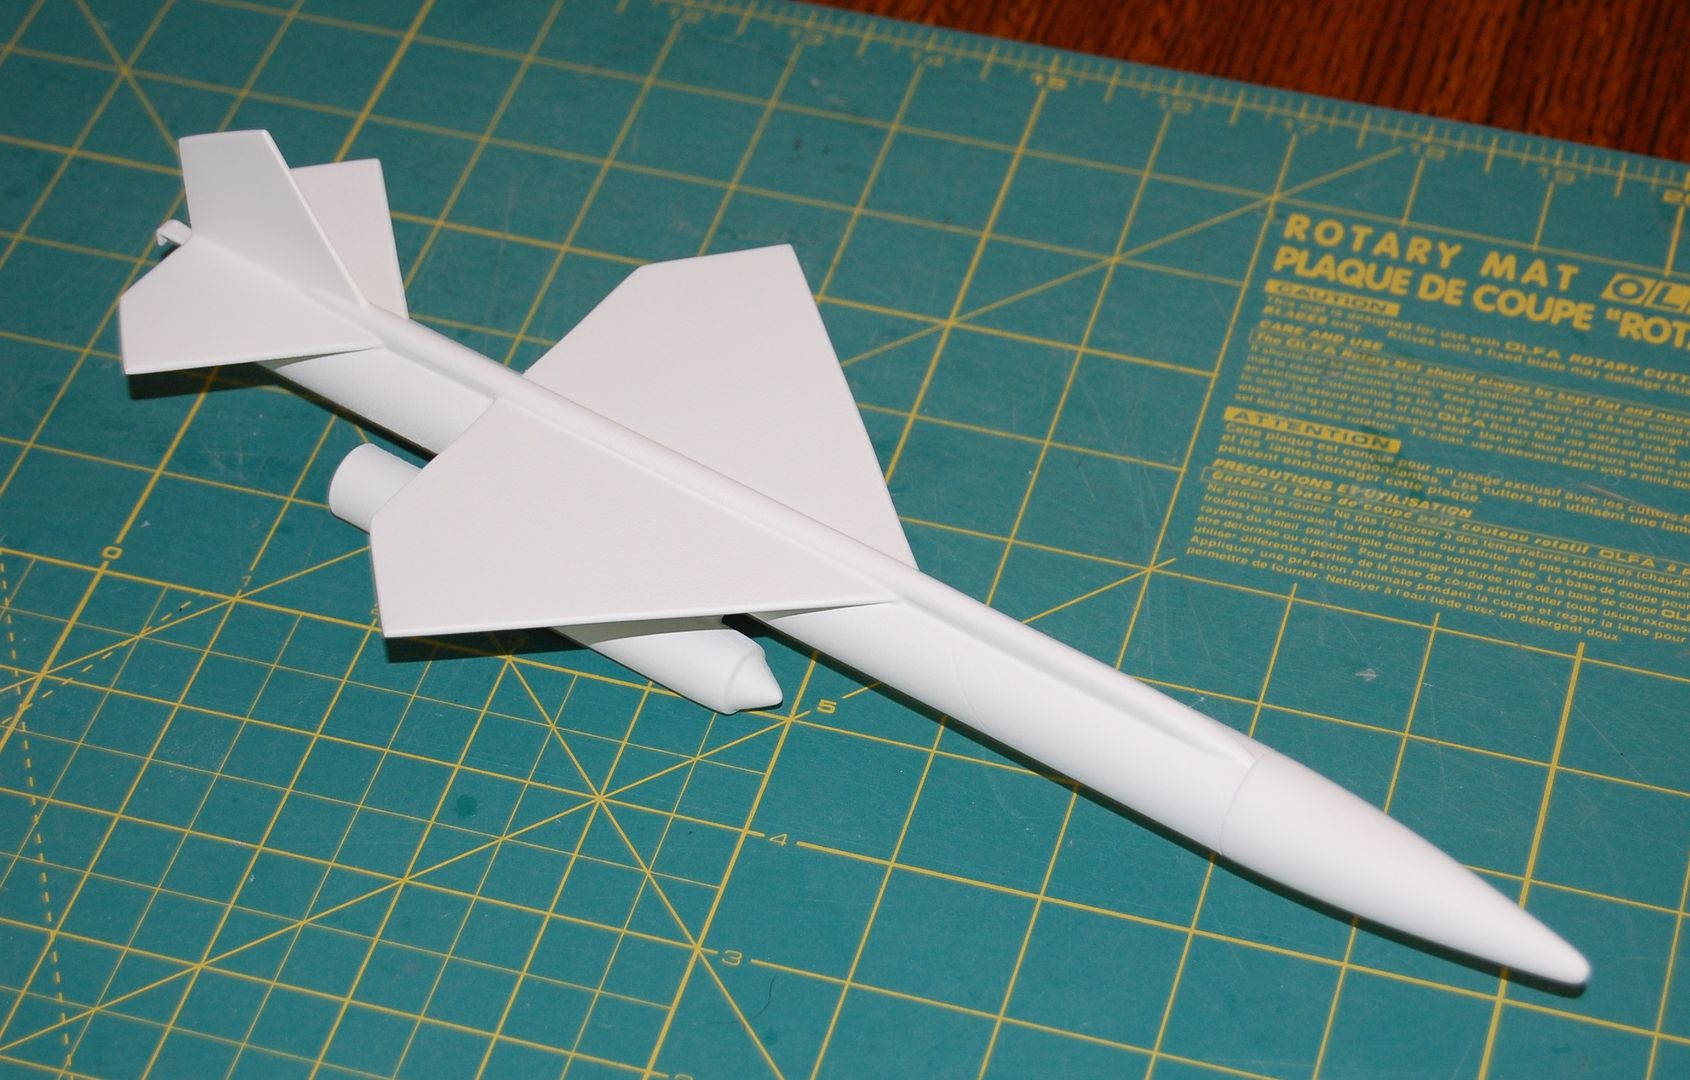
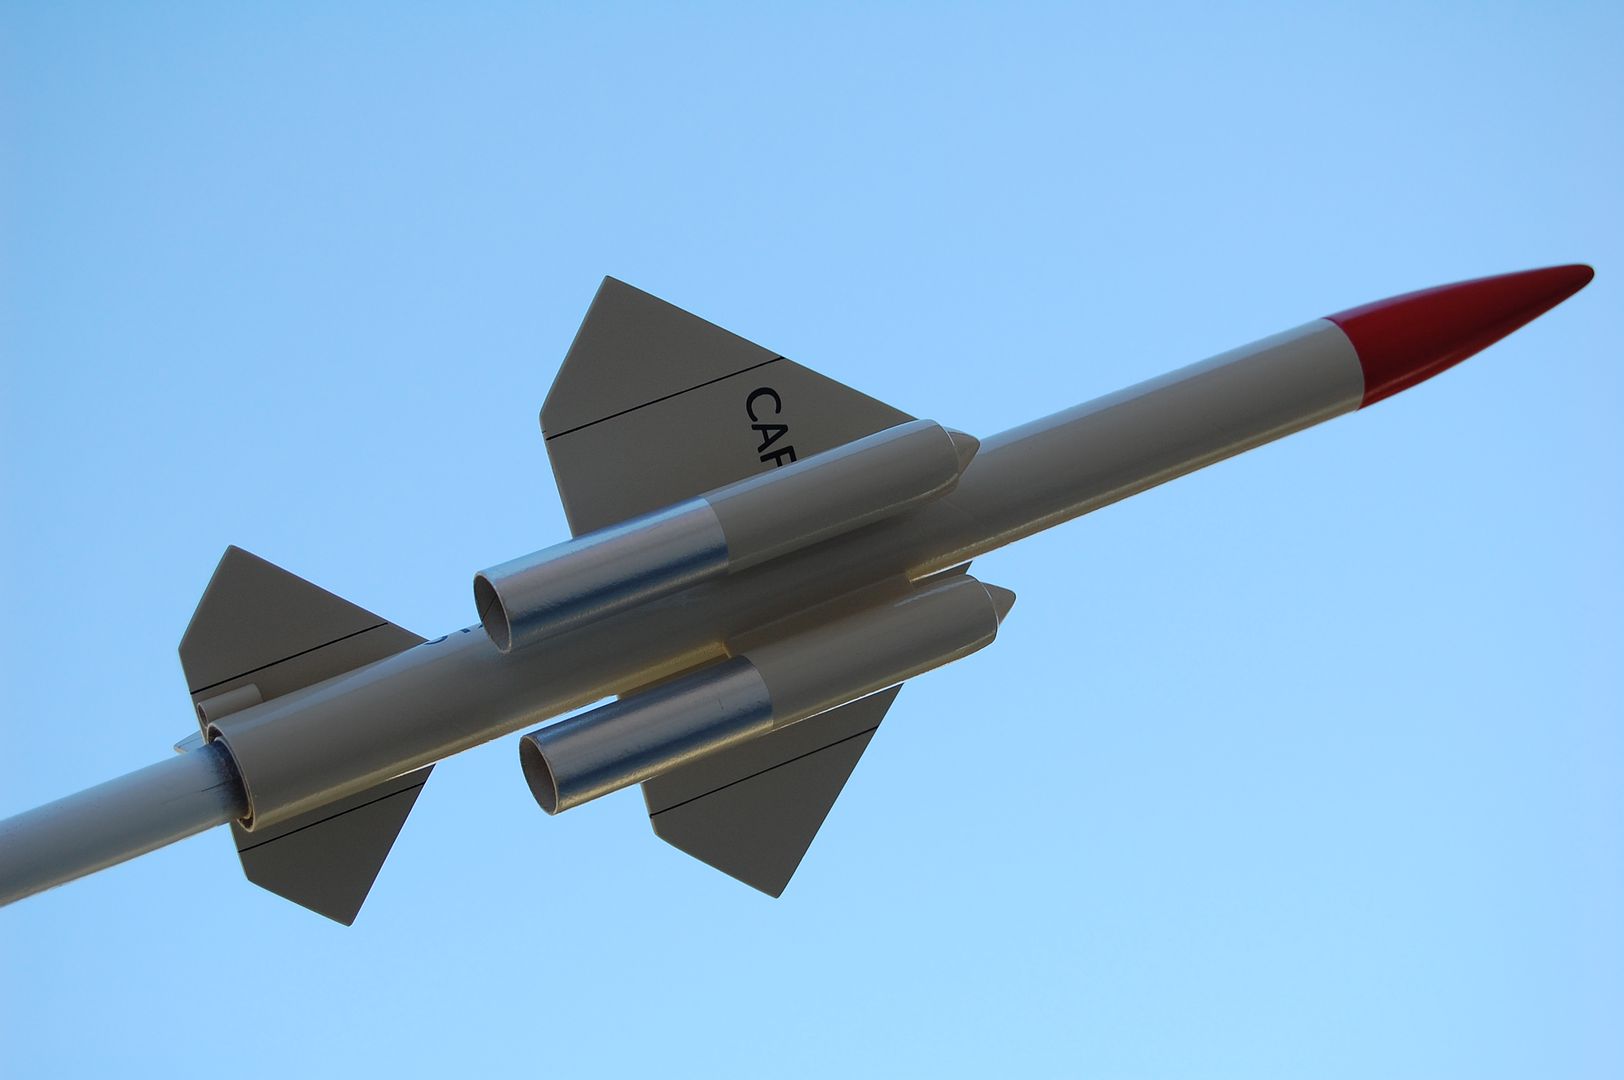
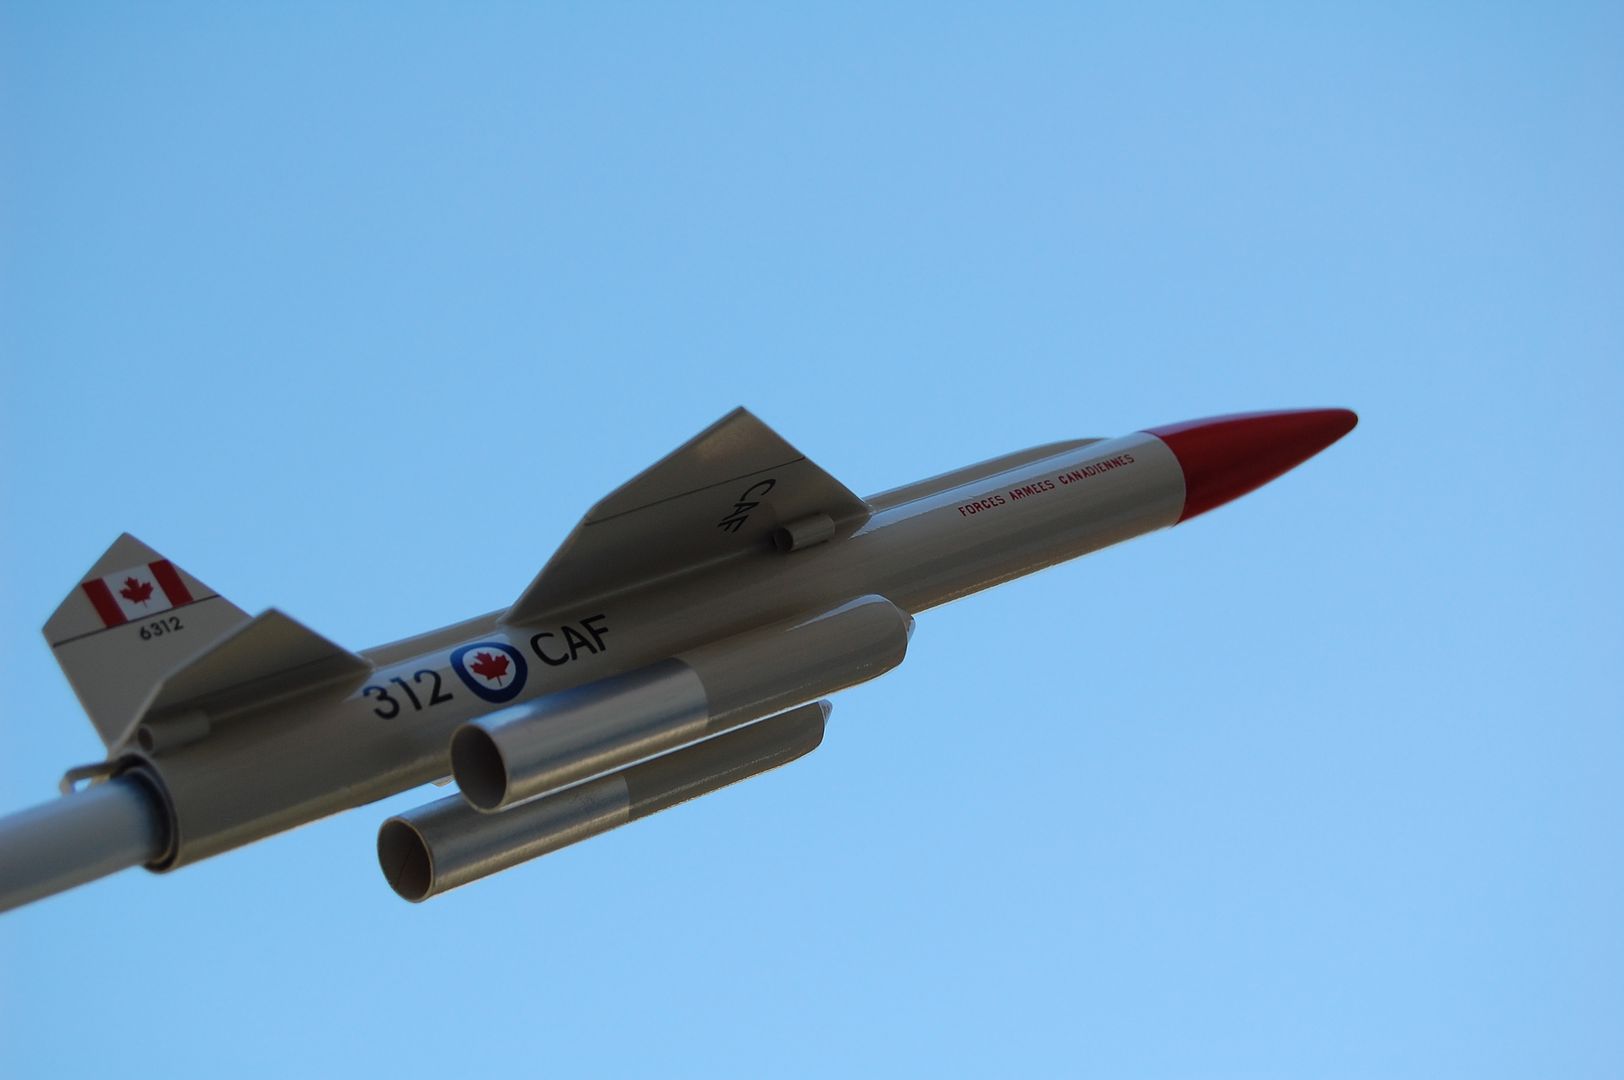
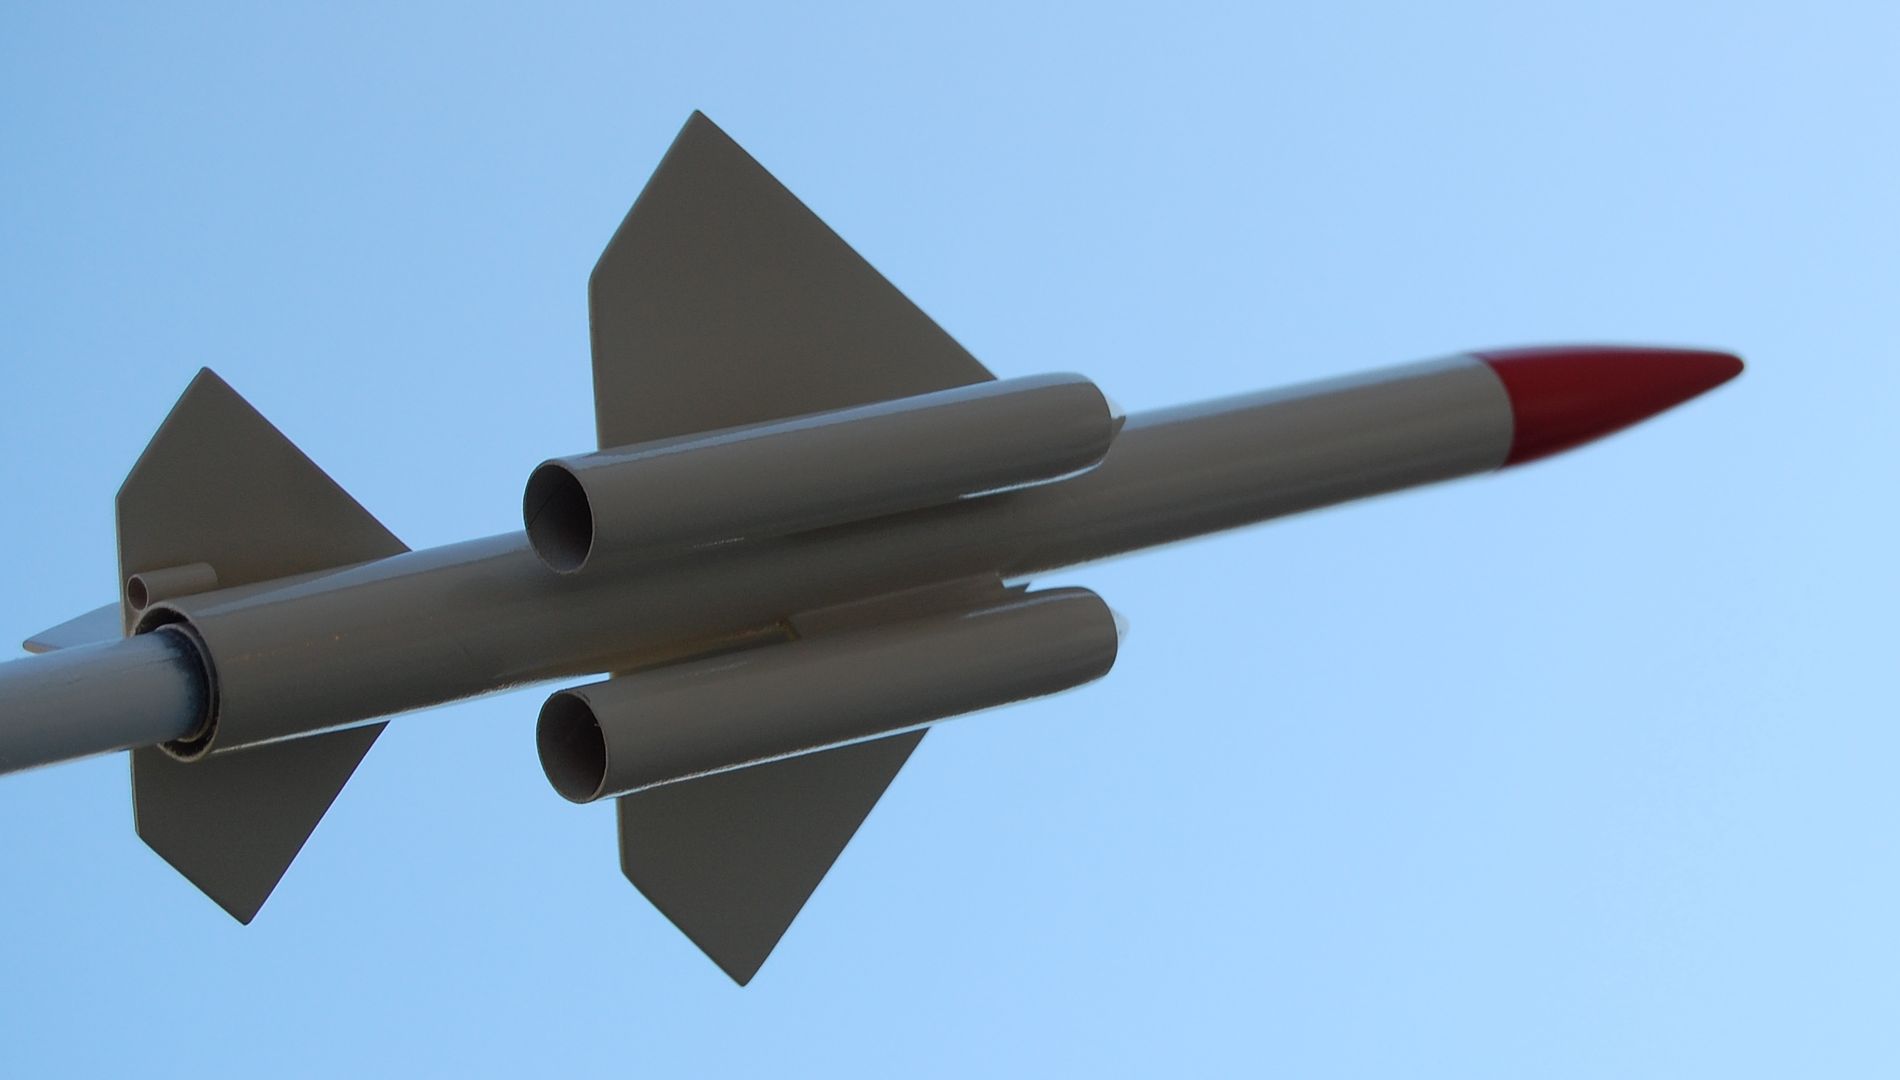
I brushed on 3 coats of balsa sealer and sanded smooth. I then shot a couple of coats of Plastikote white primer sanding between coats. I will allow this to dry overnight then I will spray a top coat tomorrow. I am using Testors Camouflage Grey for the overall color. This is a real light grey almost dirty white. I will shoot the nose with Testors red and paint the rear thrusters with silver. Sanding was a bit of a chore since I put everything together before sealing and sanding. With the help of sanding sticks and homemade sanding tools, I was able to accomplish my goal, of course I still have to sand the primer tomorrow.
|
|
#8
07-12-2010, 01:36 PM
|
|||
|
|||
|
I'd like to suggest using the Chrome Monokote trim sheet for your silver application over the ram jets and main engine rear ends. Just cut to size. Has lots less headaches and has show-stopping good looks. Super easy to use. I use a little soapy water and spray both surfaces with it. This makes placing the film where you want it a lot easier. Use a soft cloth to 'squeegee' any bubbles and excess water out, then let it dry.
For this app., weight is practically nil, and you can clear coat with anything (preferably Future or pledge). You will absolutely love the results! Allen
|
|
#9
07-13-2010, 01:31 PM
|
|||
|
|||
|
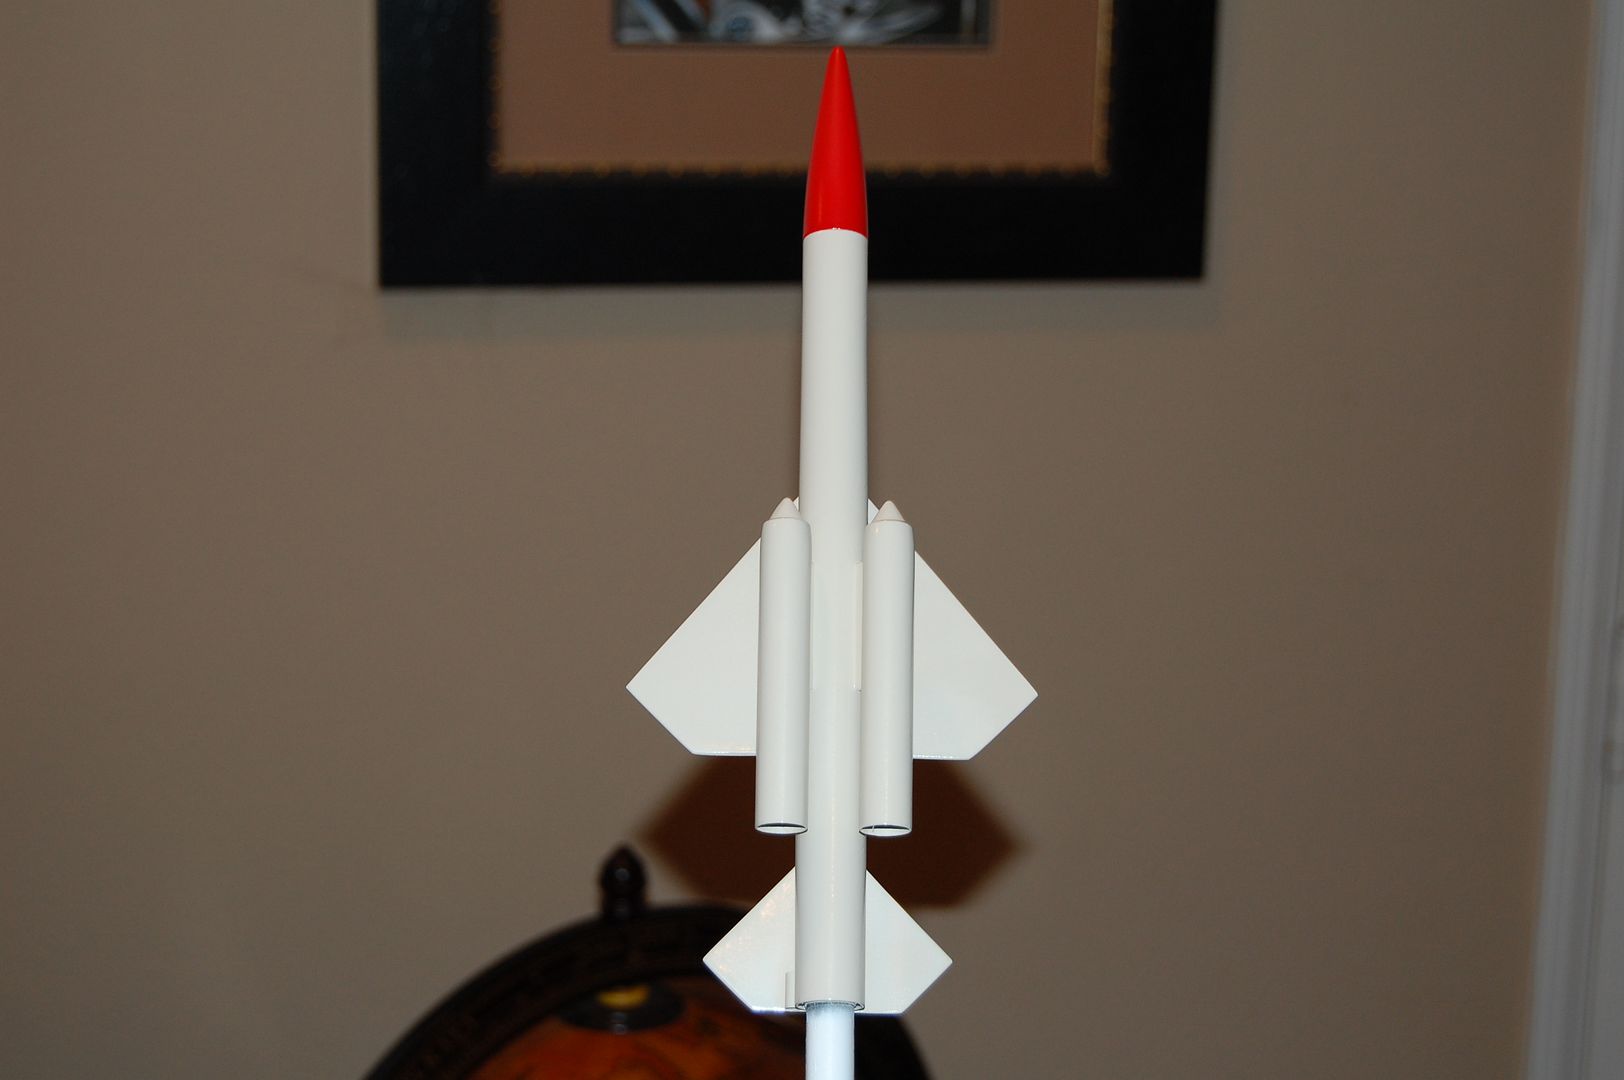
Allen, Sorry but I started painting the silver last night before I saw your post. I applied the decals today and this bird is done. It did suffer some damage when I dropped it and just kind of stepped on it. I thought for sure I was going to have to open up my other Bomarc kit and start over. Luckily the only damage was to the right pod. It came loose but was still attached. I did not want to remove it because it would have taken the paint with it and that would be a nightmare. So instead I mixed up some epoxy and used a toothpick to apply the epoxy in the gap. I then pressed the pod back in place and this came out ok, no paint required.
|
 |
| Thread Tools | Search this Thread |
| Display Modes | |
|
|


 Linear Mode

