
|
|
#1
 10-02-2008, 10:22 PM
|
|||
|
|||
|
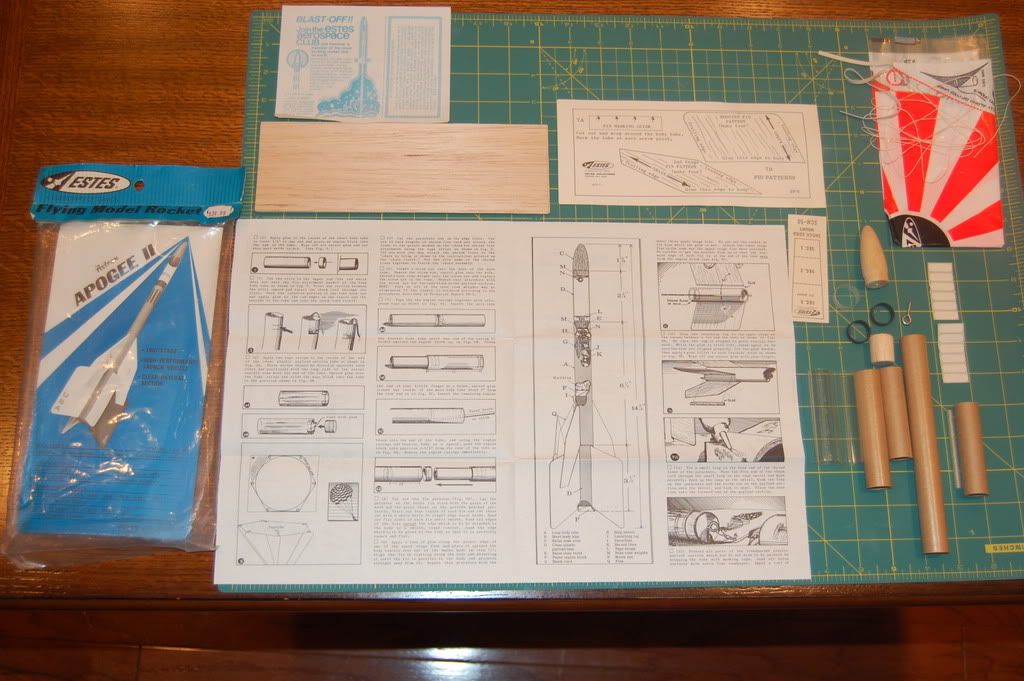
I bought this kit at an antique store some time back and have been wanting to build it. This must be a later version since some of the parts are not the same as on the directions. This kit was sealed until I opened it. It came with 2 clear payload sections even though the plans call for one. Also it has the newer orange parachute and not the checkered that is shown on the plans. It also comes with a shock cord mount, and the plans call for a slit in the body tube. There are no decals so I will have to make them on my Alps.
|
|
#2
10-08-2008, 09:06 PM
|
|||
|
|||
|
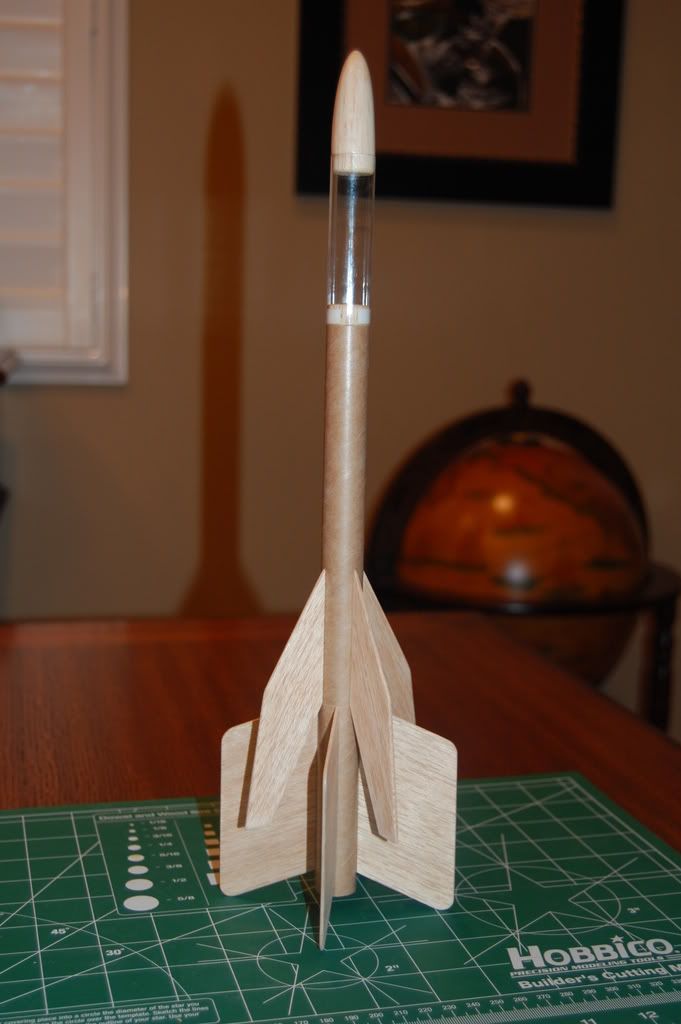
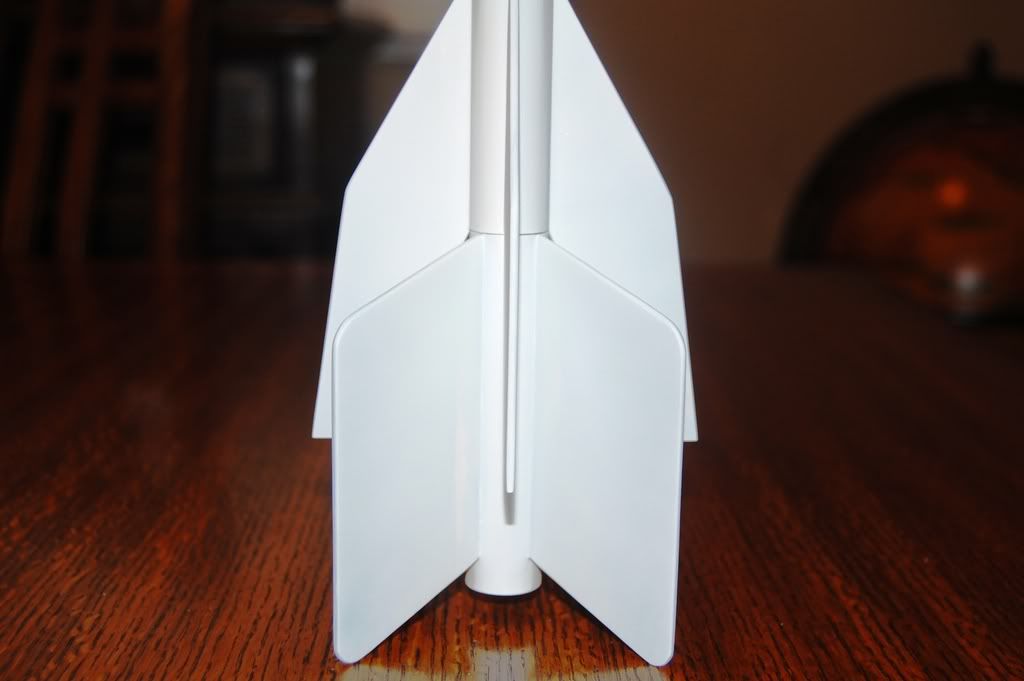
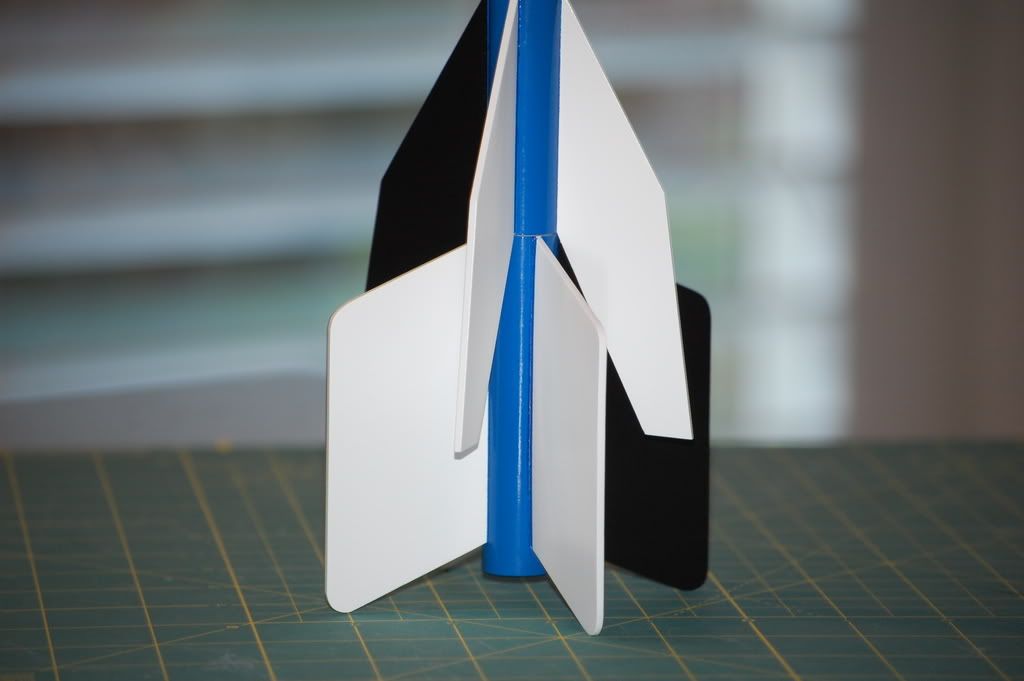
I have most of the rocket built and balsa sealed, should start painting tomorrow. The balsa is real hard and heavy but filled nicely. This is a heavy little bird with two engines, heavy balsa and 2 lead weights in the nose. The picture in the catalog have the booster fins in the wrong location. The directions clearly show and state the top of the booster fins should be even with the top of the booster. The picture on the card shows the fins even with the bottom of the booster bt. I am also building Semrocs Space plane and restoring an old Der Red Max, so I am a little busy but having fun.
|
|
#3
10-10-2008, 12:56 PM
|
|||
|
|||
|
I have the Apogee primed, sanded and now I will begin painting. I applied 4 coats of Aerogloss balsa sealer, one coat each of grey and white primer. The first coat will be the Glossy white on 6 of the eight fins. Tomorrow will be the blue body tube and nose. Unfortunately I will not be able to apply the black until Thursday because of my work schedule.
|
|
#4
01-13-2009, 07:26 PM
|
|||
|
|||
|
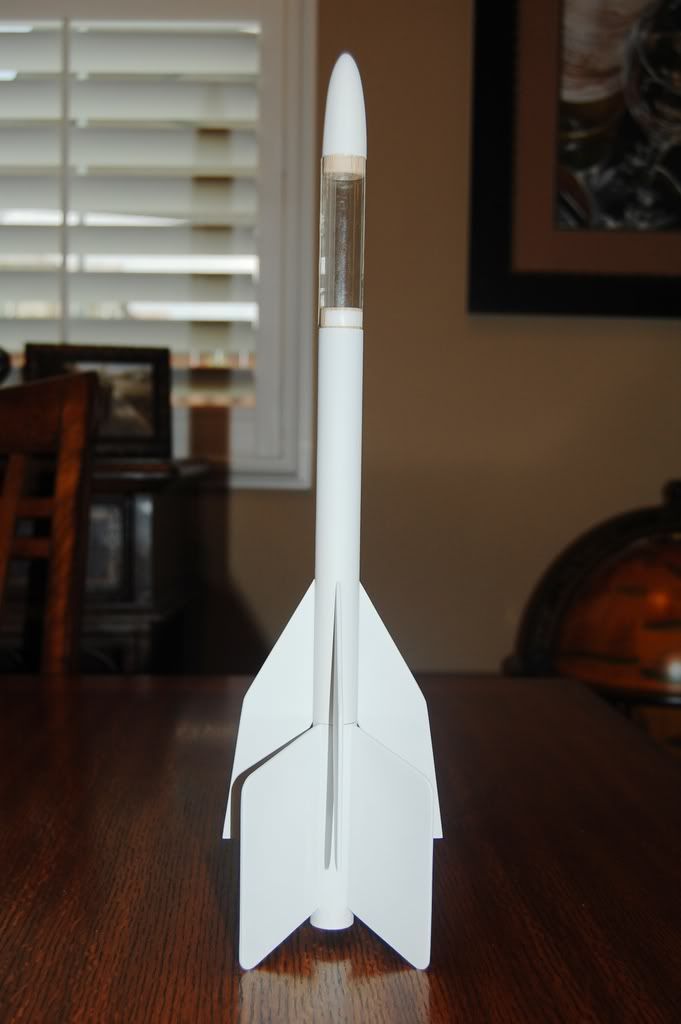
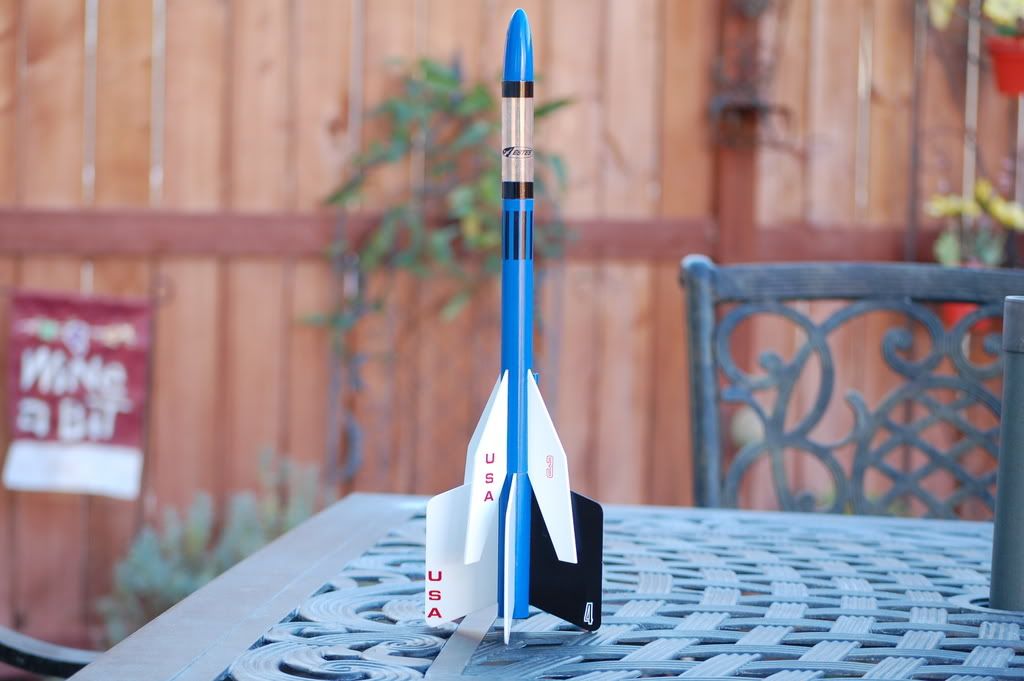
This has been my longest project yet. Everything was going well until I painted with Krylon Blue. I must of had a bad batch, because it did not go on smooth and just looked horrible. It would have been quicker to start all over, but this is a vintage kit and I can't see throwing it away so I began sanding. I was able to sand all the way down to the primer. I made sure it was smooth and sprayed a light flat white coat. Then gloss white on the fins and blue on the body. This time the blue came out nice. I had to order some Glossy Black and when it came it was back to painting for me. Tomorrow I will add the D13 decal.
|
|
#5
01-13-2009, 09:01 PM
|
||||
|
||||
|
That's a great looking Apogee II. I've been gathering the parts to clone one myself. Any chance you could scan in the decal sheet and post it here?
|
|
#6
01-13-2009, 09:27 PM
|
||||
|
||||
|
Agreed, looks really nice! While on the subject, several years ago, while I was fairly heavy into flying the Astrocam payload, I thought about building a clone of the Astron Delta two
stage launch vehicle for the payload. I've always thought those vintage designed classics were (and still are) the best! Thanks for sharing your Apogee II build!
__________________
Dave, NAR # 21853 SR.
|
|
#7
01-13-2009, 10:01 PM
|
|||
|
|||
|
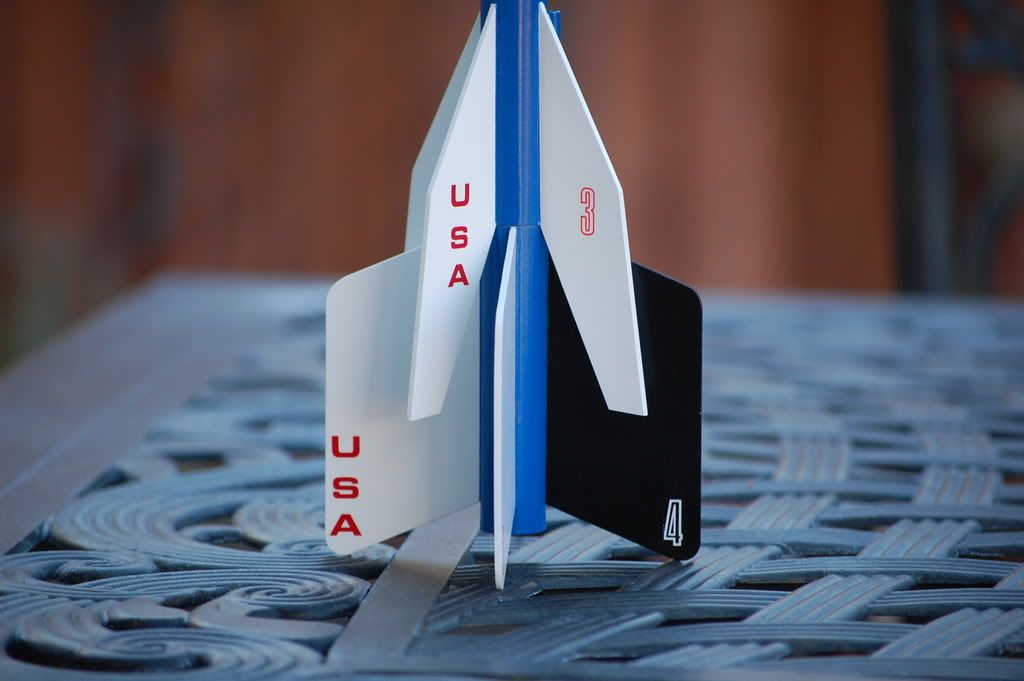
The kit comes with no decals, but Estes uses a mix of decals. They used the Shrike decals also know as the Estes D13 decal. It is posted in Kurts decal under D13. The wrap around decal is the Beta decal also located in Kurts Decals.
|
|
#9
01-14-2009, 05:10 PM
|
||||
|
||||
|
Looks great. I hope mine looks that good when we finally get some painting weather again. I pushed the envelope a few weeks back when we had a 60 degree day, and trying the new Krylon for the first time. It wasn't a good idea. I'm going to have to do some sanding on mine too.

__________________
I love sanding. ")
|
|
#10
01-14-2009, 05:23 PM
|
|||
|
|||
|
I ordered some old Krylon from an industrial shop near my house, hope it will last awhile. The salesperson said they will continue to order it, but they have been informed that Krylon will stop selling the old formula in California in the near nurture. The closest thing to old formula Krylon that I know of is Automobile paint that is sold at Pep Boys and other automobile stores. I just don't have the time to wait for Enamels to dry so I will pay a little extra for the Acrylic Lacquers.
|
 |
| Thread Tools | Search this Thread |
| Display Modes | |
|
|


 Linear Mode

