
|
|
#3
 08-21-2008, 11:32 PM
|
||||
|
||||
|
Great work! I wish I could get mine to look that good.
__________________
Carl McLawhorn NAR#4717 L2 semroc.com 
|
|
#4
08-22-2008, 12:42 AM
|
||||
|
||||
|
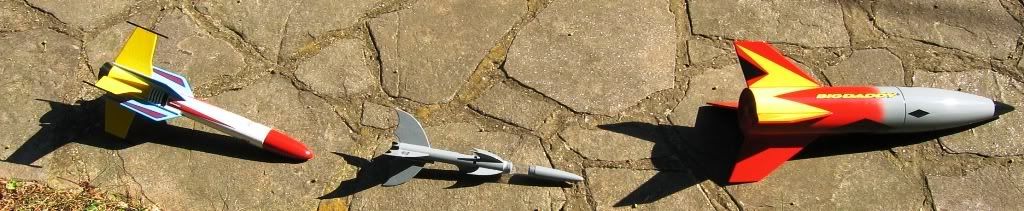
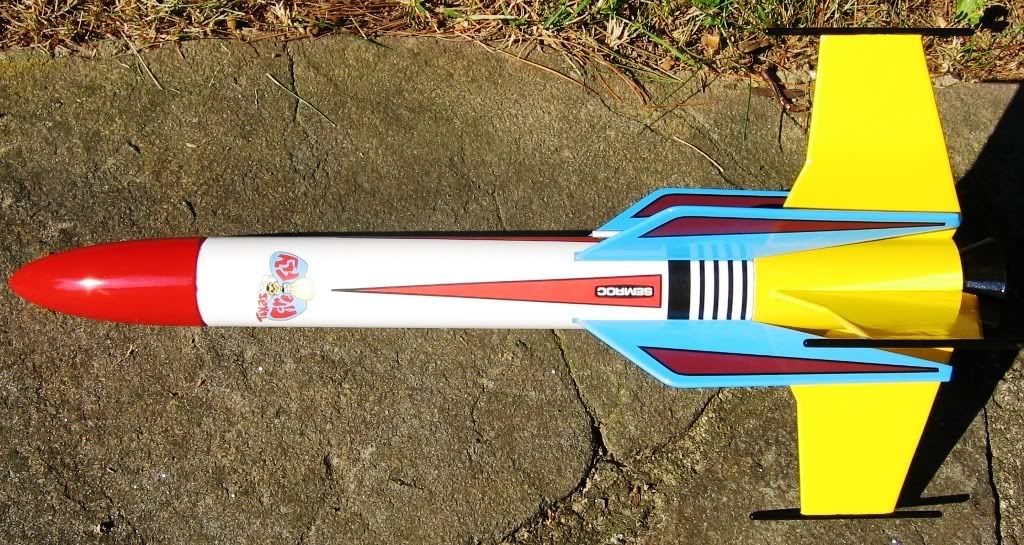
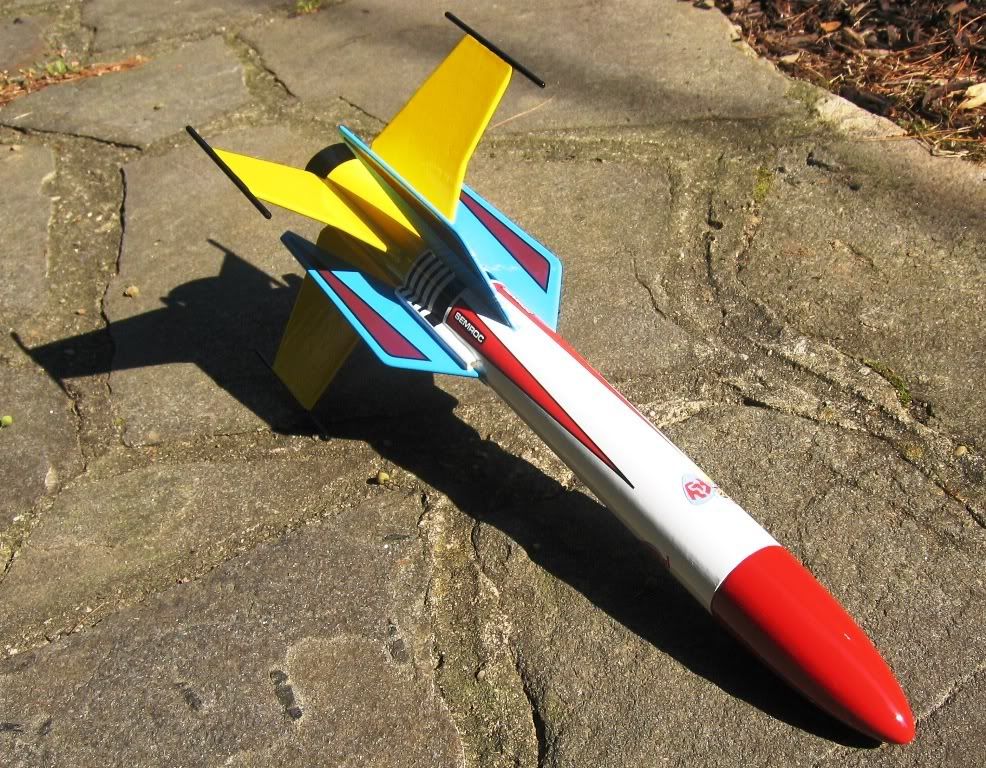
Very nice. They all look good, especially the Texas Fire Fly.
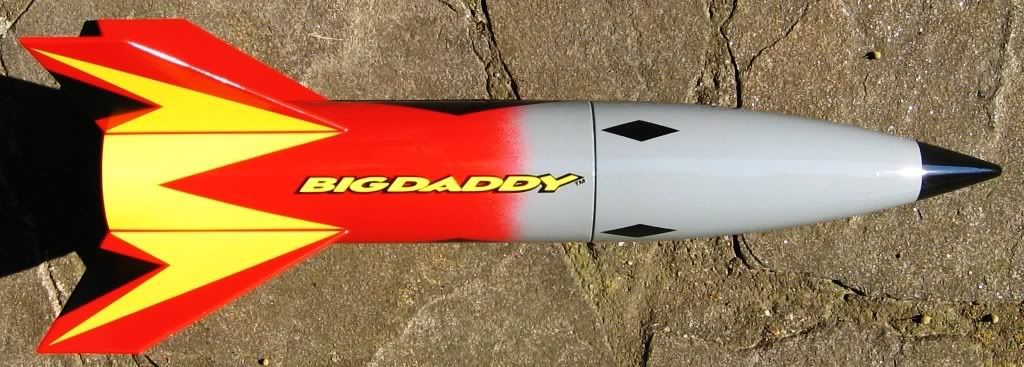
Regarding the Big Daddy, how did you the bleed effect without getting it all over the place. I just picked up a BD last weekend and hope it'll look half as good as yours. Read up on the BD mods at EMRR today. Please be sure to post some action pics when the time comes.
|
|
#6
08-22-2008, 10:00 AM
|
|||
|
|||
|
Nice looking texas firefly, how did you get such a high gloss? What motors do you plan to put her up on? This is near the top of my build list; do you have any build tips?
__________________
Paul If we weren't all crazy, we would go insane - Jimmy Buffett NAR #87246 www.wooshrocketry.org
|
|
#7
08-22-2008, 09:06 PM
|
||||
|
||||
|
WOW!!!!
They are all exceptional, but the Texas Firefly is worthy of a glass case. (How dare you lay it on stone!!!!!) My builds come out indicitave of my lack of skill and patience, sometimes presentable. MY new car didn't have the finish of your model. PLEASE Share your Techniques!!!!
|
|
#8
08-23-2008, 03:15 PM
|
|||
|
|||
|
Hey everybody -- thanks for all the compliments!
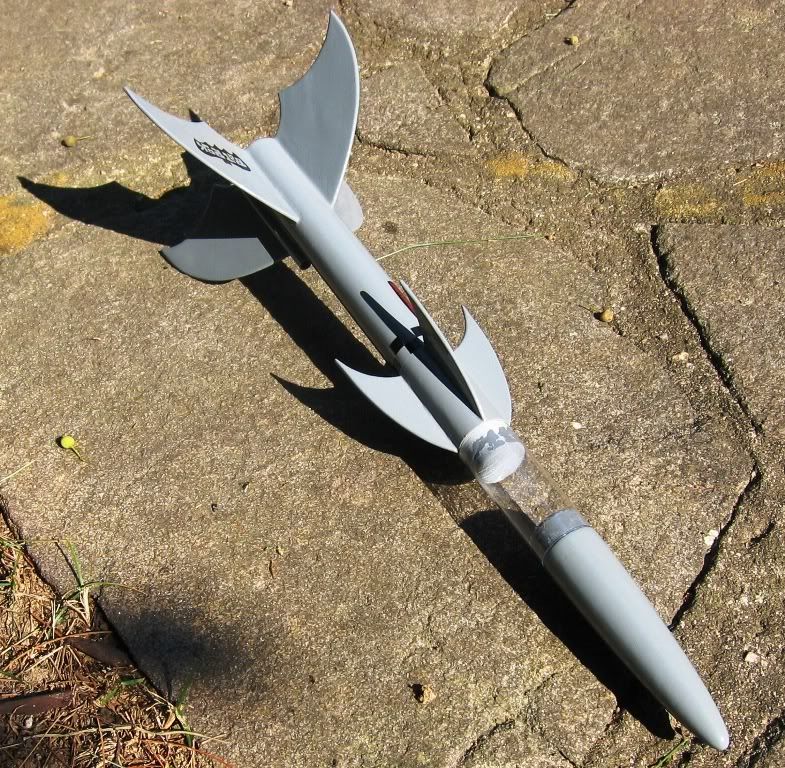
Carl, I'm sure you're just being modest, but thanks, that means a lot coming from Mr. Semroc. :-) You know, they turned out well, but the camera does tend to hide the flaws. I think they always look best when shot outside in sunlight like these were. The Texas Firefly actually has more evidence of grain showing on the fins than the other two. I probably should have hit it with a couple more coats of sanding sealer. As for techniques, this was an area I didn't have the knowledge, patience (or proper funding) the first time around, so I looked for advice on these boards and elsewhere when I became a BAR last summer. I read lots of threads and also found other resources helpful: NARHAMS Tech Tips (Paint Finishing, in particular): http://www.narhams.org/library/tech/index.html [I have to admit that I don't do nearly as much as is recommended -- I've taken the 'basecoat' phase out my finishing technique (and settled for picking a primer of a suitable color (usually white)), and after using the airbrush on a few models, settled on old formula Krylon for its ease of use.] I usually use three heavy coats of sanding sealer to fill fins and then sand smooth (using 320 or 400 grit paper). I always wet sand the primer coat (old Krylon white, gray, or brown) using 400 or 600 grit paper about a day after it's been applied. Then I apply the color(s) lightest to darkest (mask with cellophane tape a day after previous color is applied, if needed). I apply top coats by applying a couple of light coats in succession followed by a heavy 'wet look' coat. I try not to have to go back and hit it again as I find the more times I do, something goes wrong (like the little bug that lands on the wet paint -- yes, I paint outdoors). Sometimes I use filler (thinned Elmer's Carpenter's Wood Filler) instead of sealer, as I did with the BatRok. I also use the filler if there are gaps in fillets or big nicks in the fins. For some colors or details I use other paints. The blue fins on the Texas Firefly are Testors Light Blue enamel (spray paint). [It helps if the weather cooperates -- I used this same can of paint this morning on a Galaxy Guppy clone I'm working on for my son, and it totally crazed -- perhaps it was too humid? The only other difference is that it went over Krylon Gloss White on the Firely and went right on Krylon primer for the Guppy...] For little brush details (e.g., the nozzle and fin tips on the Texas Firefly) I use thinned Testors enamel. For applying decals and clear coats, I like Phread from Excelsior Rocketry's tips: http://towrowrow.tripod.com/excelsiorrocketry/id3.html I find the Microscale products he recommends especially helpful for thin Estes decals (like I've had in the Big Daddy and Interceptor kits). Future Floor Finish really adds a nice glossy shine, and I've had good enough luck using the foam brush method that I've stayed with it (it does require patience, and the bigger the rocket, the trickier it is -- though Windex does take it right off if you need to do a complete redo (as I did once)). This may be a little redundant, but I also summarized the Big Daddy finish in response to a question on TRF: http://www.rocketryforum.com/showpo...10&postcount=27
|
|
#9
08-23-2008, 03:25 PM
|
|||
|
|||
|
Quote:
I also clear coated with Future before applying decals to make a smoother finish (to avoid decal 'silvering'). I did fly them all last weekend, but no pics. The Big Daddy flew on a D12-5 and promptly beat up a fin with its nose cone (yes, I had a long shock cord, 6' -- 3' of Kevlar cord + 3' of 1/4" elastic cord).
|
|
#10
08-23-2008, 03:47 PM
|
|||
|
|||
|
Quote:
 But I didn't want to lose her on her first flight. One of the booster dowels snapped on landing, but I don't see any way to avoid that (other than not attaching them). It has since been repaired. This was my first gap-staged rocket, and it worked flawlessly. It's very nice to not have to tape the engines together. But I didn't want to lose her on her first flight. One of the booster dowels snapped on landing, but I don't see any way to avoid that (other than not attaching them). It has since been repaired. This was my first gap-staged rocket, and it worked flawlessly. It's very nice to not have to tape the engines together. I've had my eye on the Texas Firefly since I discovered SEMROC last year shortly after becoming a BAR. I really like this kit a lot. For the most part, it was a very straightforward build, just a few more parts than a basic kit. I modified the 'chute to be about 10" (plus a spill hole) to cut down on drifting. The trickiest part is probably the paper tail cone, which requires a little patience. I had to sand out the inside of the narrow end after it dried to get it to fit over the engine tube. I also used a little filler to smooth out the paper seam.
|
 |
| Thread Tools | Search this Thread |
| Display Modes | |
|
|


 Linear Mode

